Cozy Winter Cabin Craft
It’s January, the month were I take a deep breath after the busy holiday season. It is usually pretty chilly at this time of the year in PA and it is a great month to snuggle up inside with a good book, drink a hot cup of coffee or tea, or watch the snow fall outside while working on a good craft. Growing up, I loved reading the Little House books by Laura Ingalls Wilder; this cabin craft was partly inspired by those books. In the Little House in the Big Woods book, Laura tells the story of her home in the Big Woods. It still captures my imagination today thinking about being in a warm house surrounded by a quiet old forest blanketed in snow. I also enjoy daydreaming about David and I having a cabin the the woods someplace miles away from anywhere. I dream of listening to the quiet snowfall outside the window and feeling safe and warm tucked in a blanket by the fireplace.
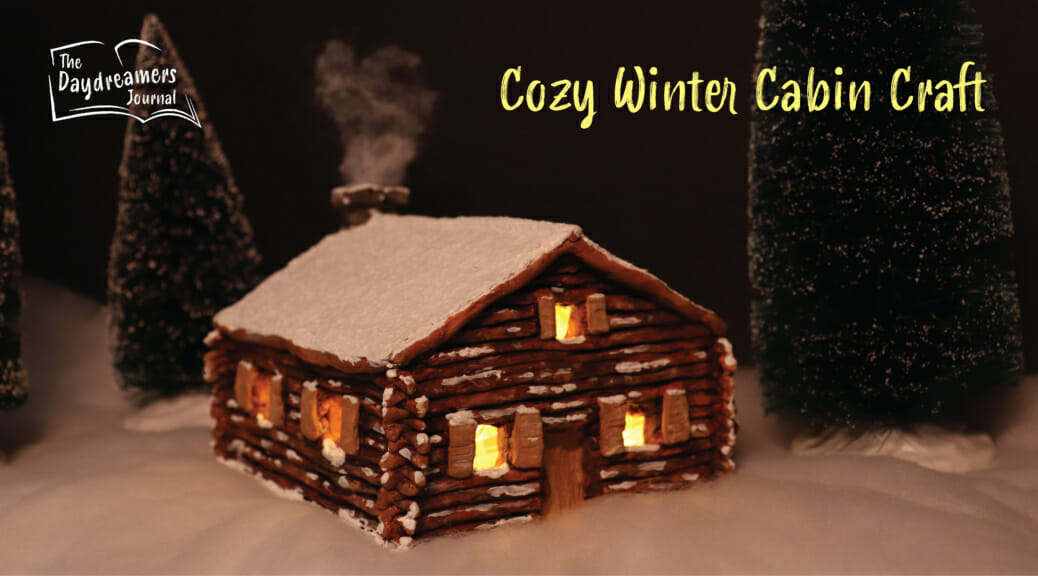
With those ideas in mind, I created my own miniature cabin for a shelf in our bedroom. It was a very fun craft it takes a bit more time because you have to factor in drying time, but the results were all that I hoped they would be. I hope you get inspired to try it yourself.
Materials Needed
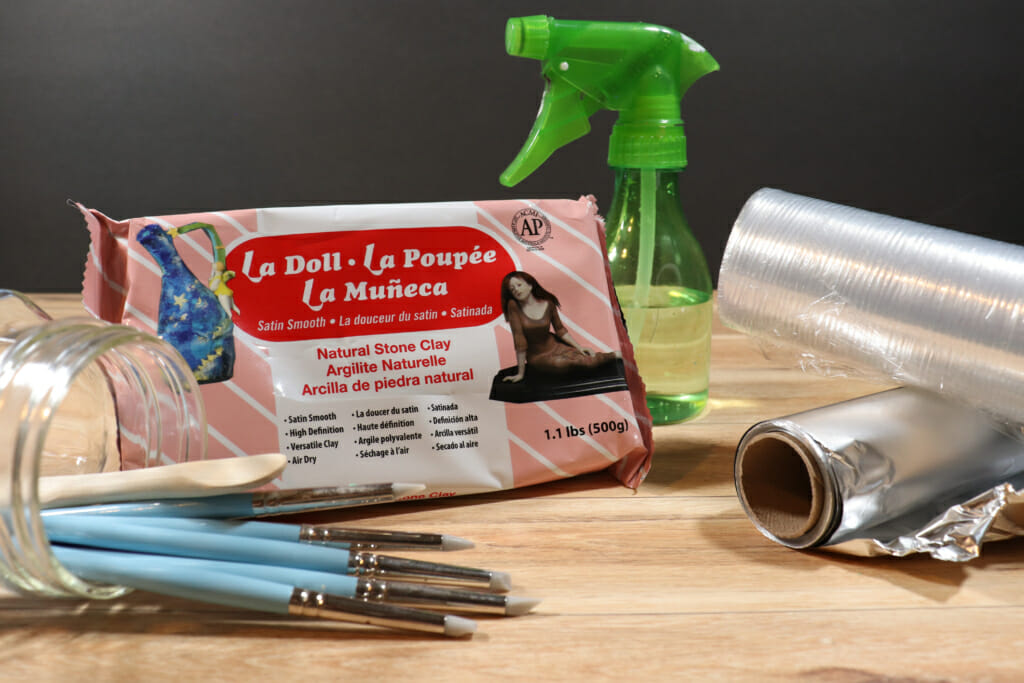
- Air dry clay (I used La Doll)
- Clay sculpting tools
- Water in a spray bottle
- Foam core
- Tape
- Aluminum foil
- Plastic wrap
- Xacto knife
- Paper towels
- Pallet knife, plastic knife, or popcicle stick
- Paint brushes
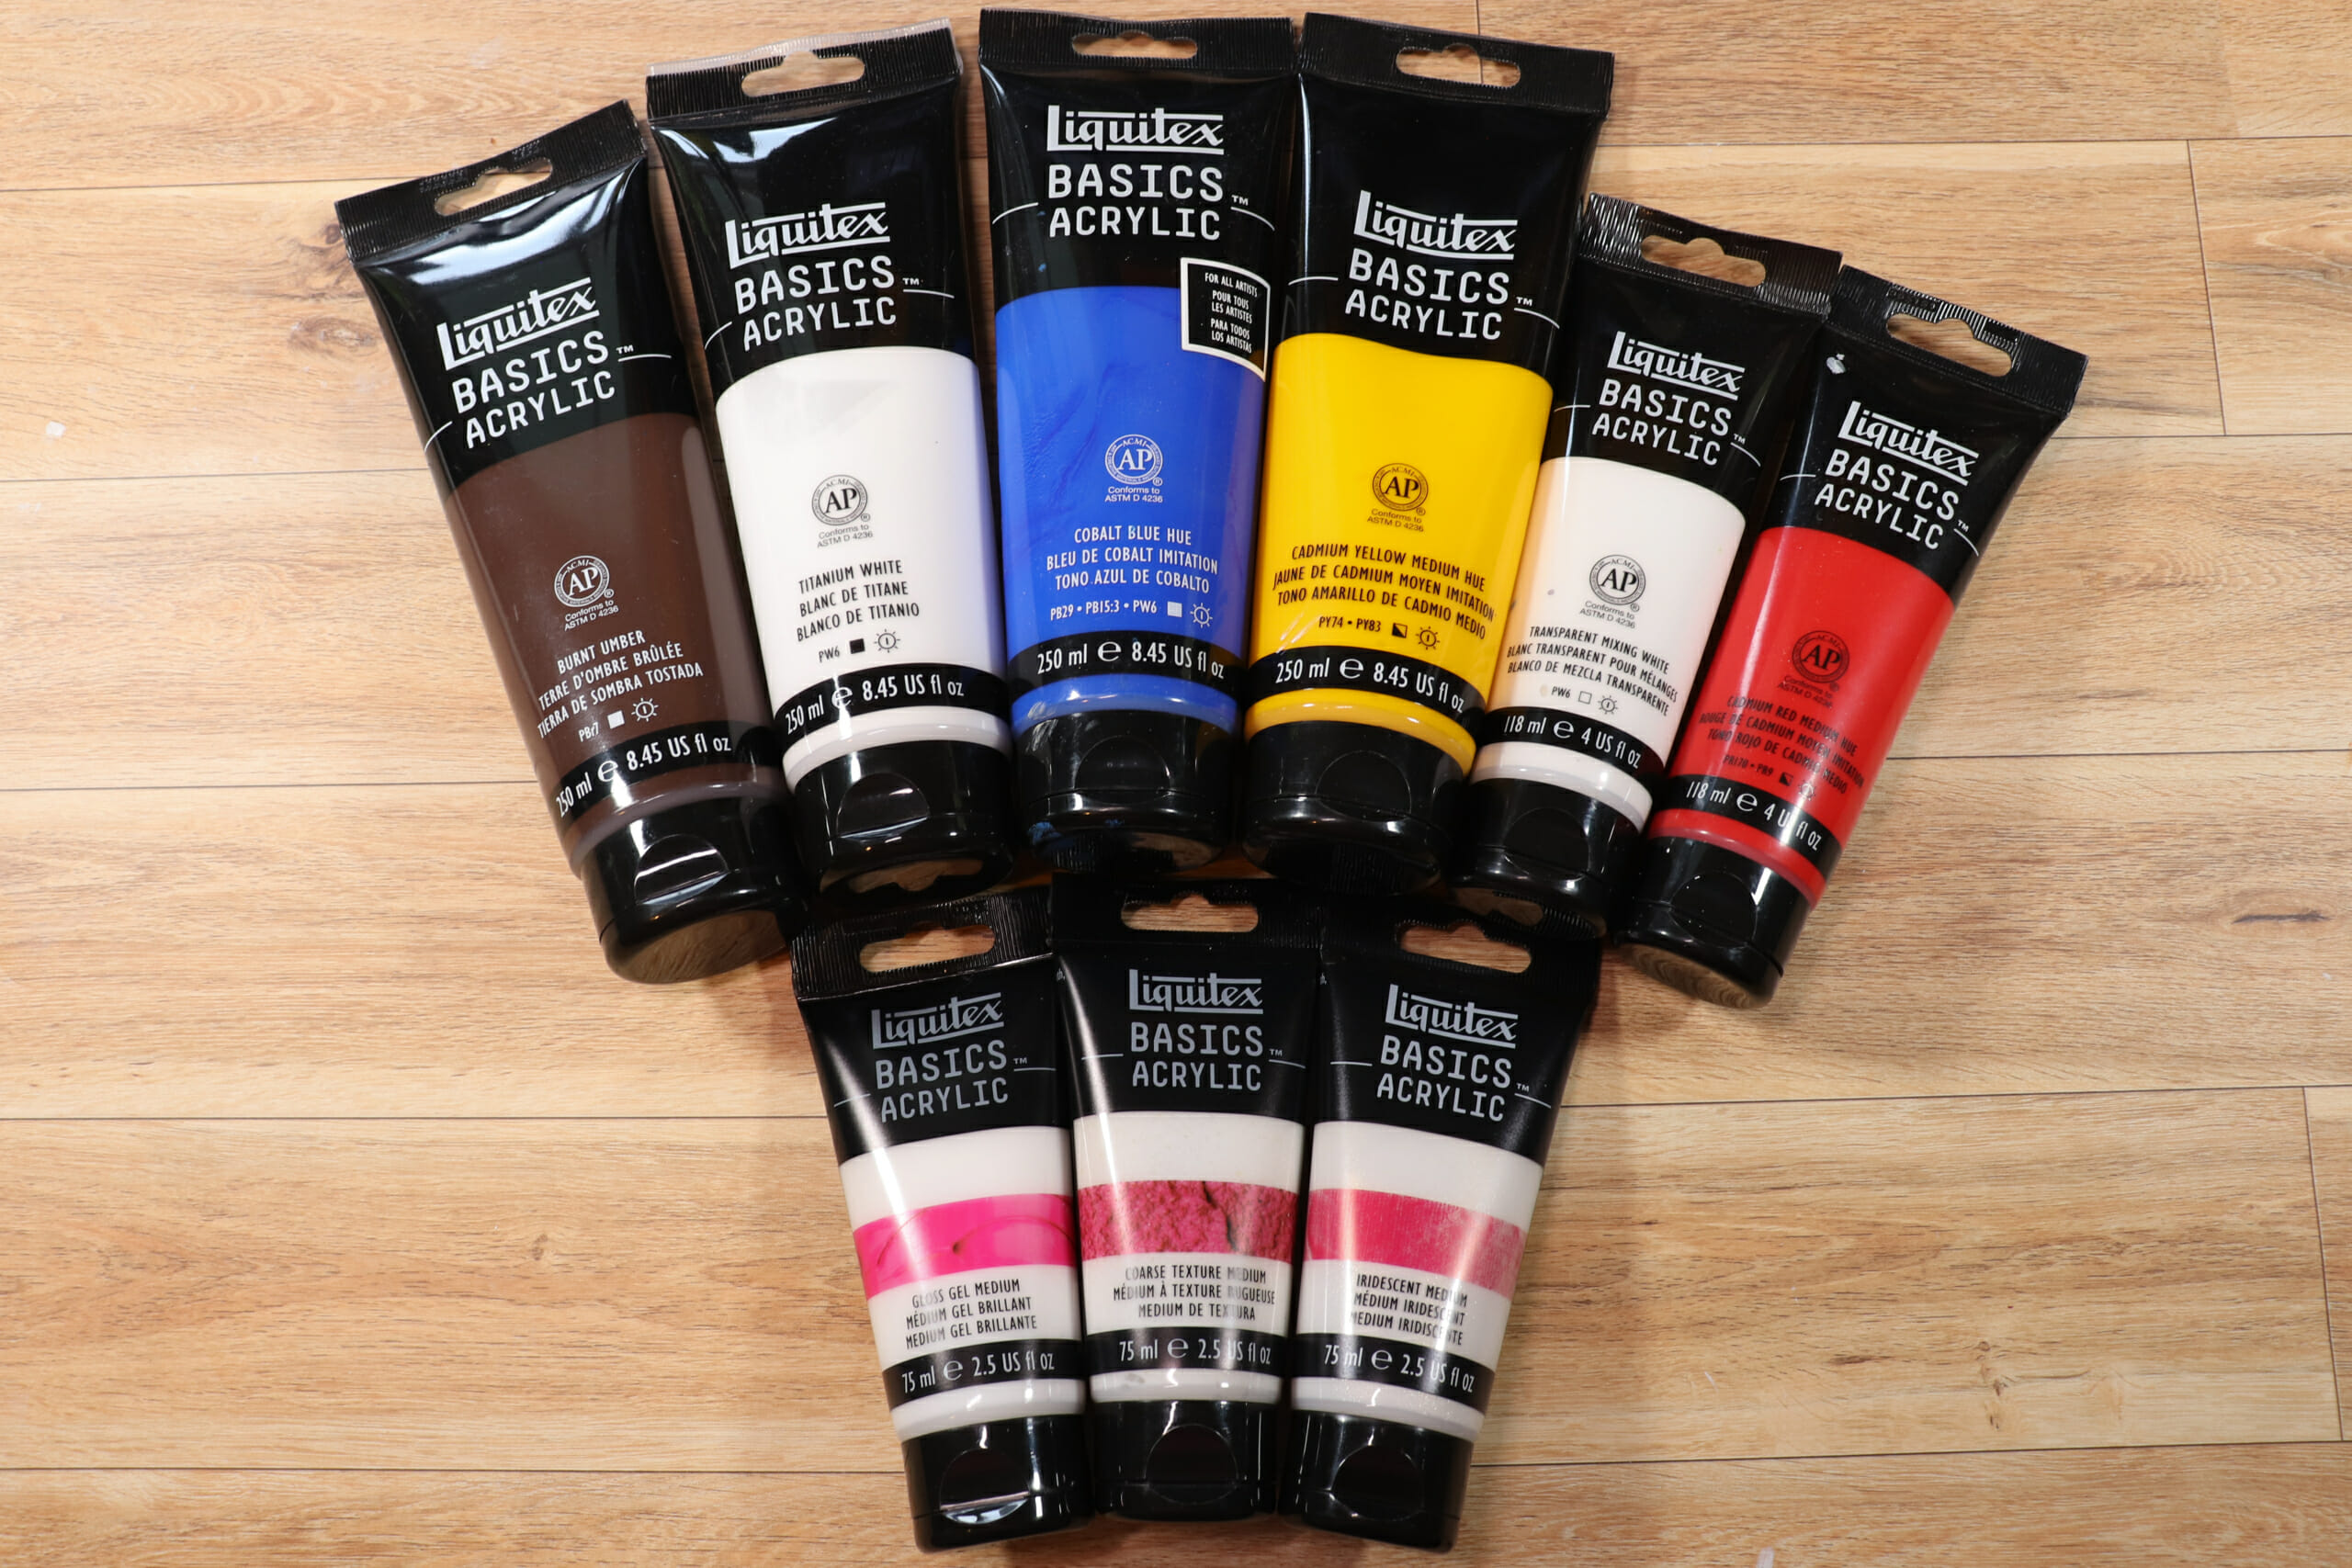
- Acrylic Paint (I used Liquitex Basics: Burnt Umber, Titanium White, Ivory Black, Cobalt Blue Hue, Cadmium Yellow Medium Hue, Transparent Mixing White, and Cadmium Red Medium Hue. Why two whites? Titanium whites is more opaque and creates lighter shades of color but you loose some of the vibrancy of that color. Transparent Mixing white is just what it sound like, more transparent so it will still create lighter shades of color but it keeps more of the colors original saturation.)
- Liquitex Basics Gloss Gel Medium (this gives the paint a thicker body for the snow also adds some gloss)
- Liquitex Basics Coarse Texture Medium (this adds a sand like texture to the snow to give dimension)
- Liquitex Basics Iridescent Medium (this adds just a bit of shimmery shine to the snow)
- String lights (optional)
- Buffalo snow and/or Snow Blanket (optional)
- Frosted trees of various sizes (optional)
Getting Started
You will start by measuring and cutting foam core. The foam core is going to be used as a support for the clay. Here are the pieces that I made: the front and back were approximately 2 3/4 inches by 3 inches and shaped resemble an uneven pentagon. The sides were 2 inches by 4 inches. The roof was 4 inches by 4 1/4 inches.
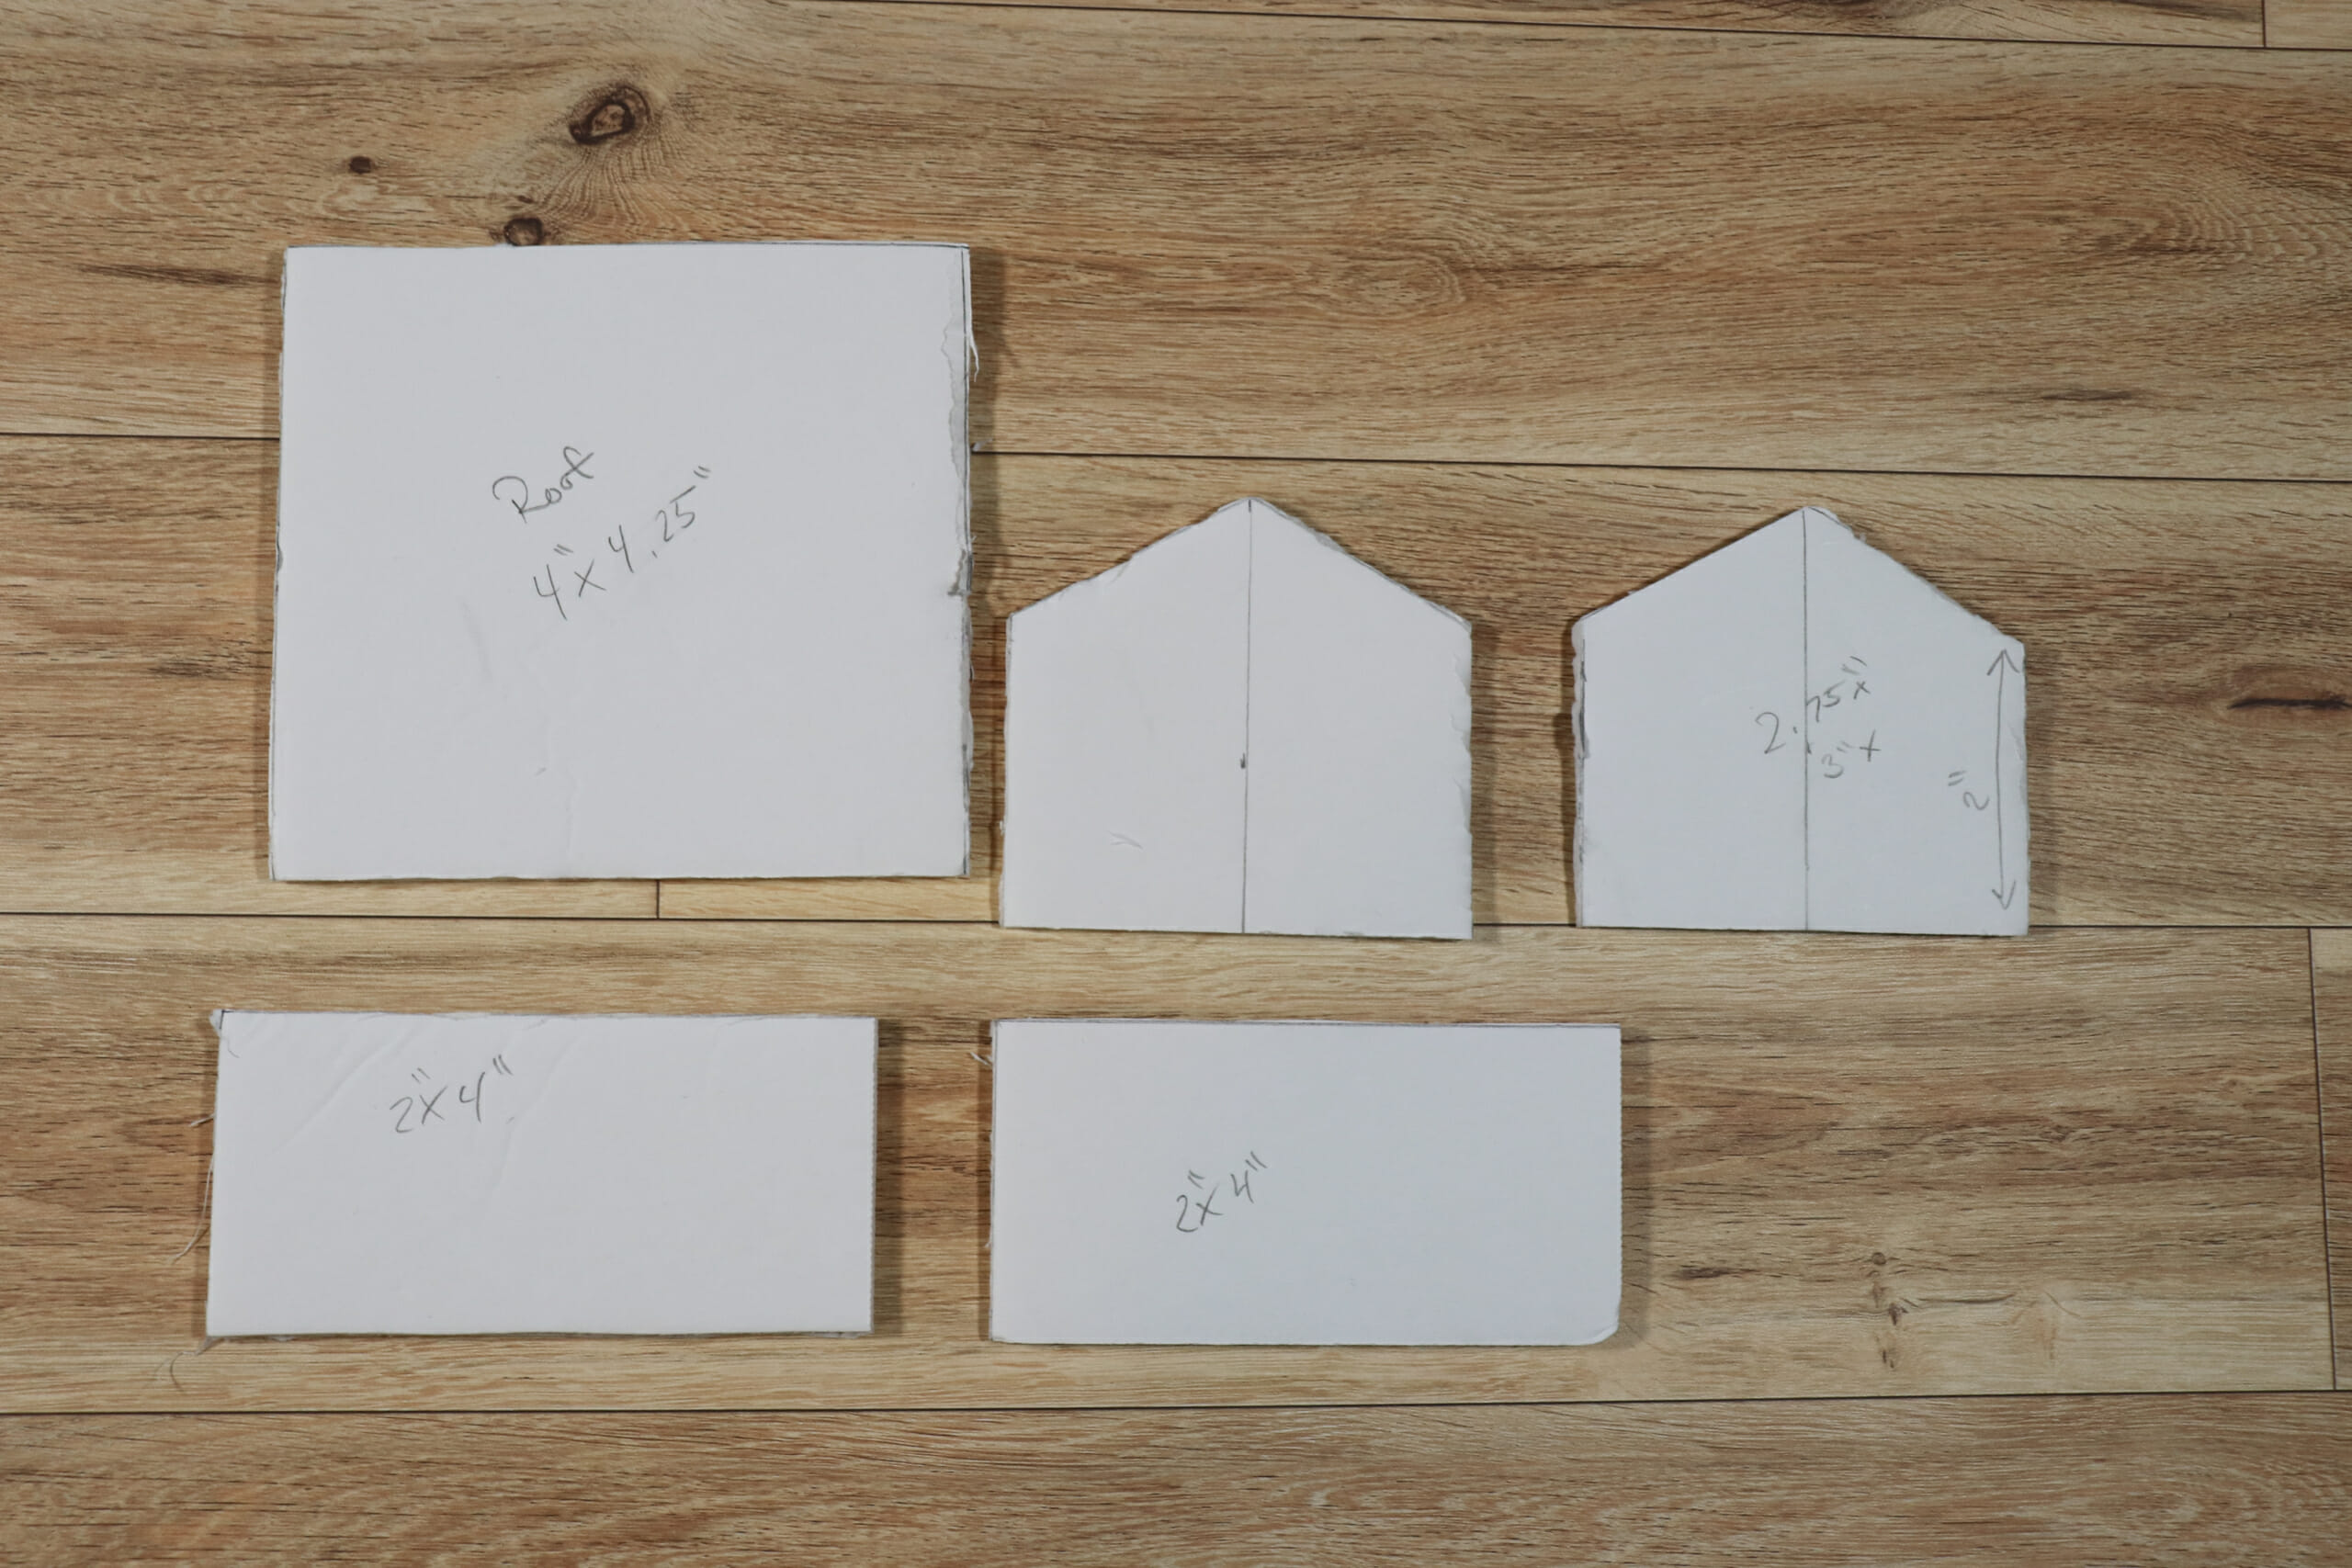
You can make your cabin any size you like, just keep in mind that the finished construction will be slightly bigger than the foam core support.
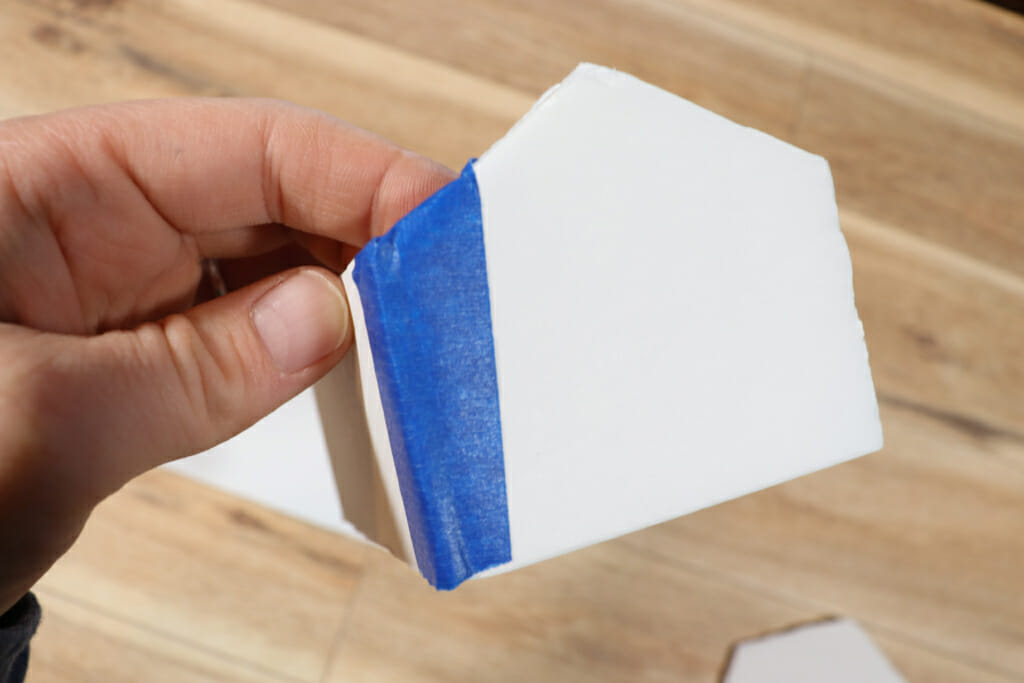
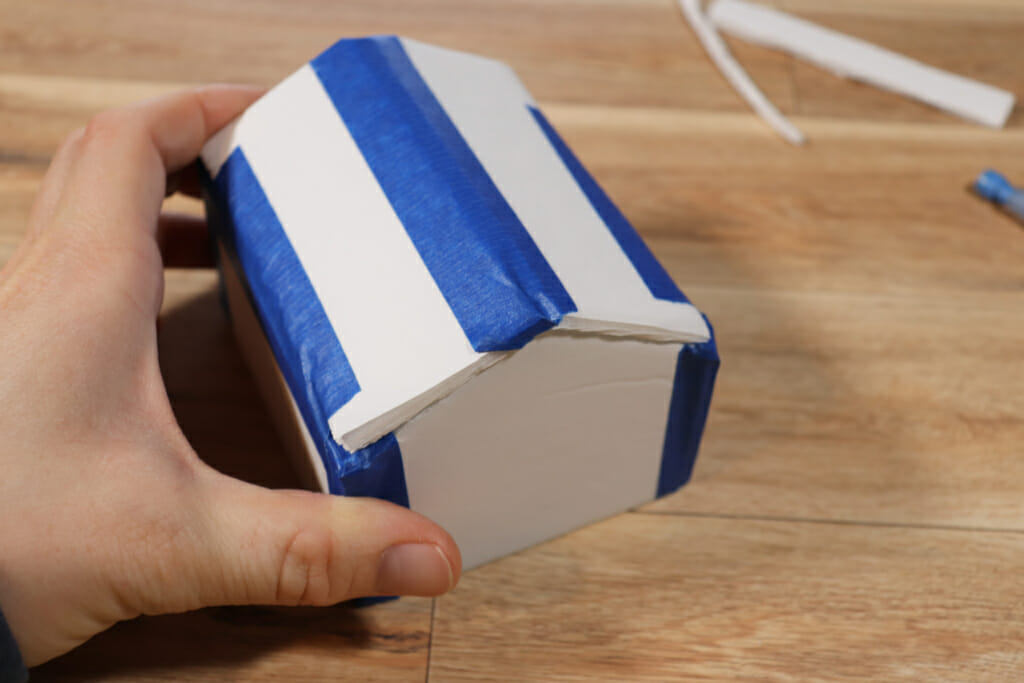
On to assembly! Tape the sides to the front, then tape the sides onto the back. I used blue tape here because that is what I had handy, but any tape will do.
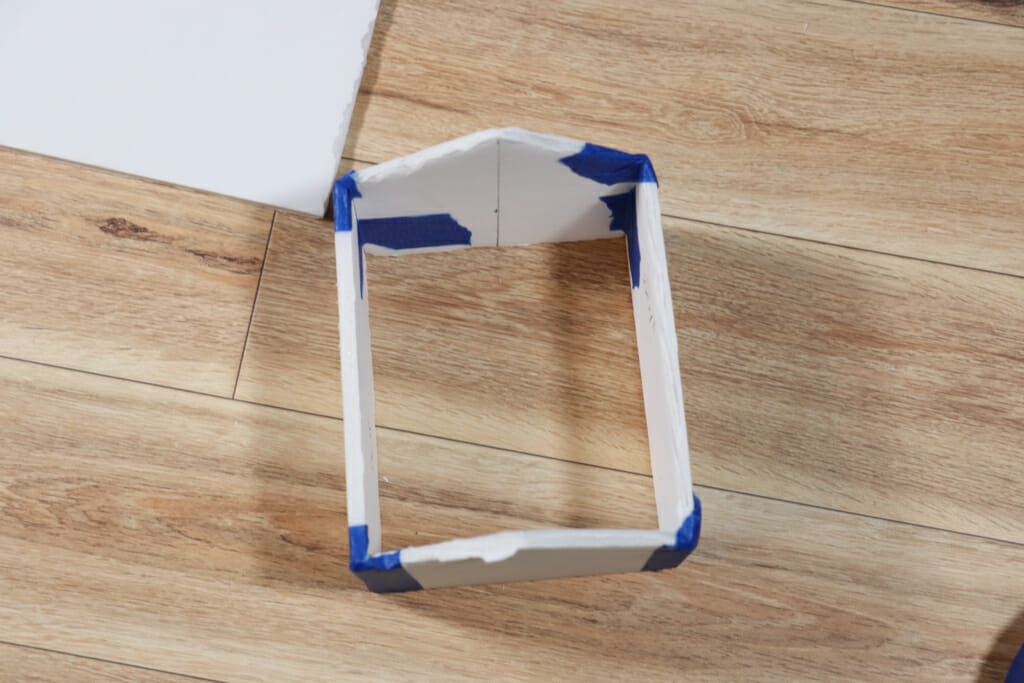
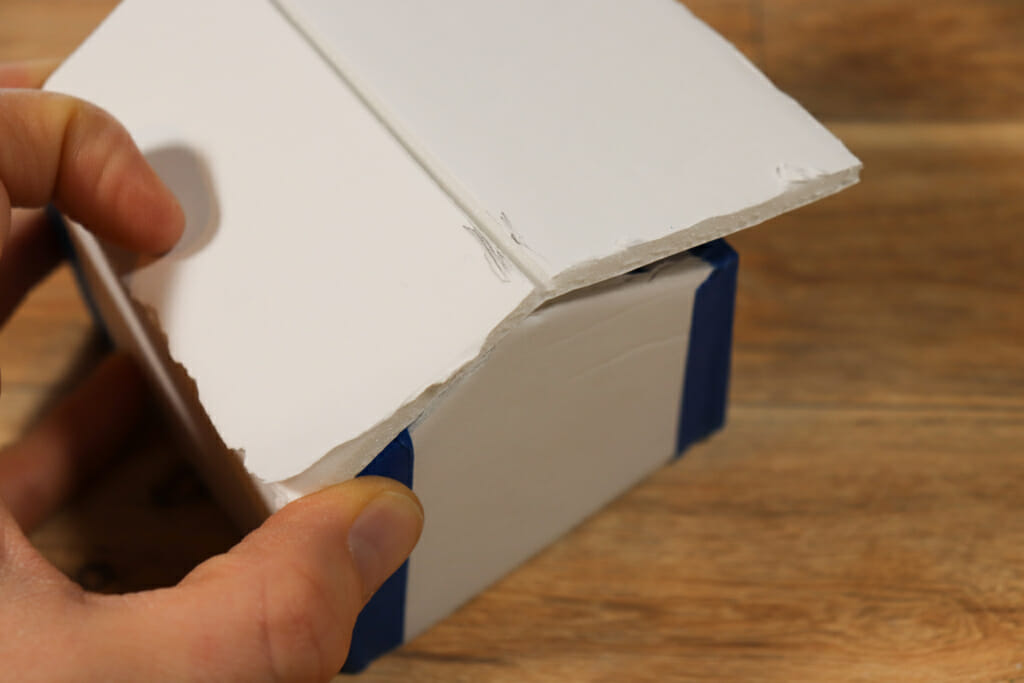
For the roof, place the roof section on top of the walls and mark the middle where the peak of the front and back meet the roof.
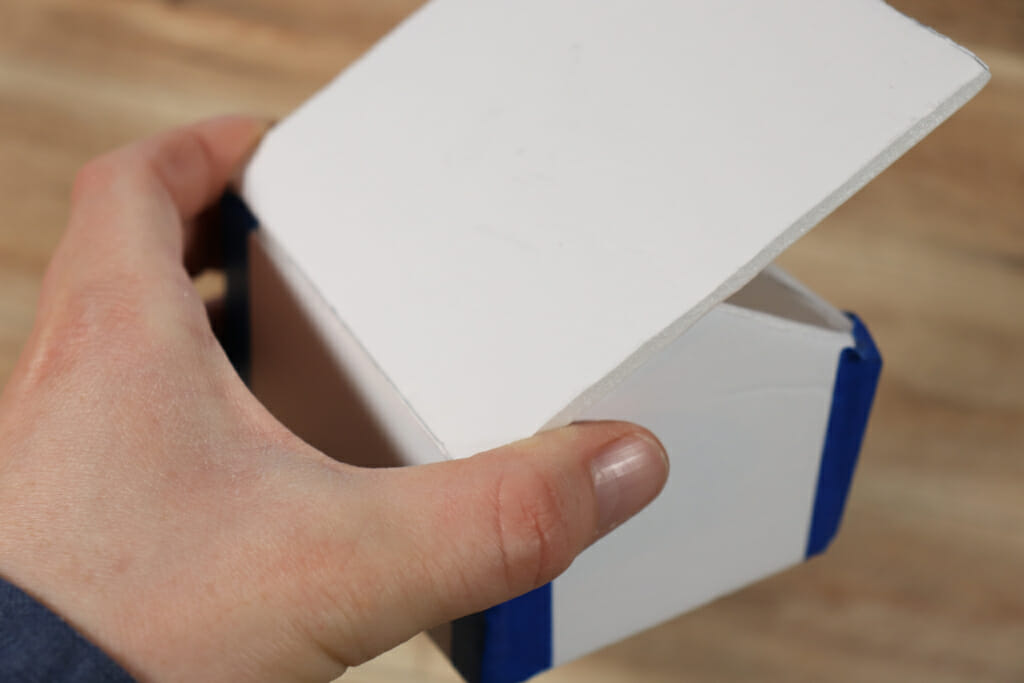
Then, cut a straight line with an Xacto knife from that mark to create the ridgeline of the roof. Don’t cut the whole way through the foam core, leave the bottom paper intact so that the roof creates a sort of hinge.
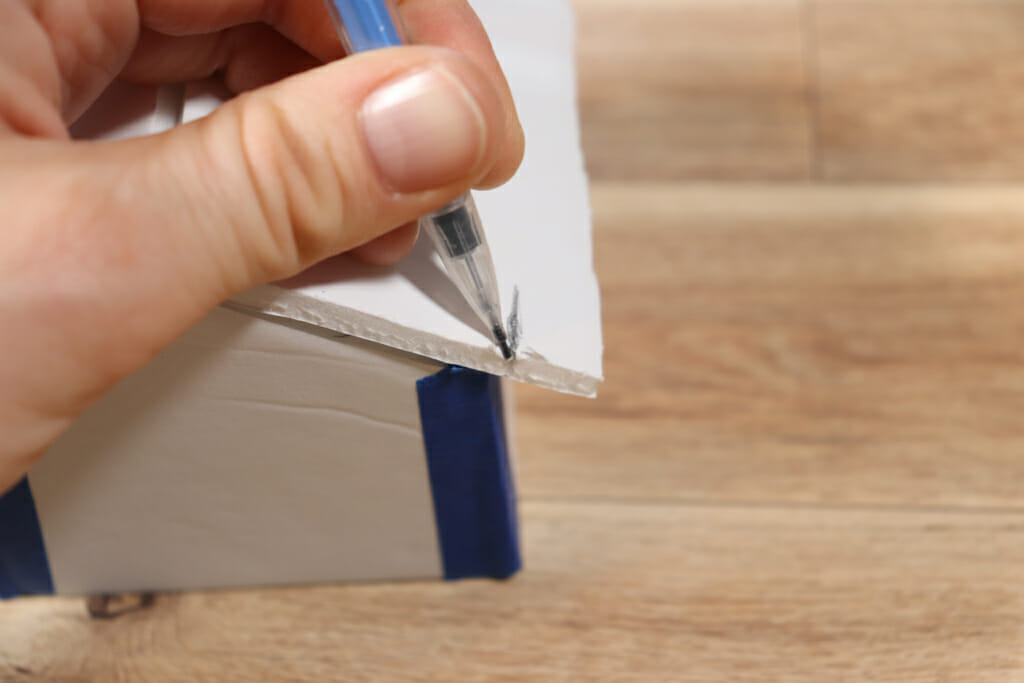
If you have a bit of excess on the other side of the roof, mark it with a pencil and carefully cut off the extra so it is flush with the wall. Then, tape the roof to the walls.
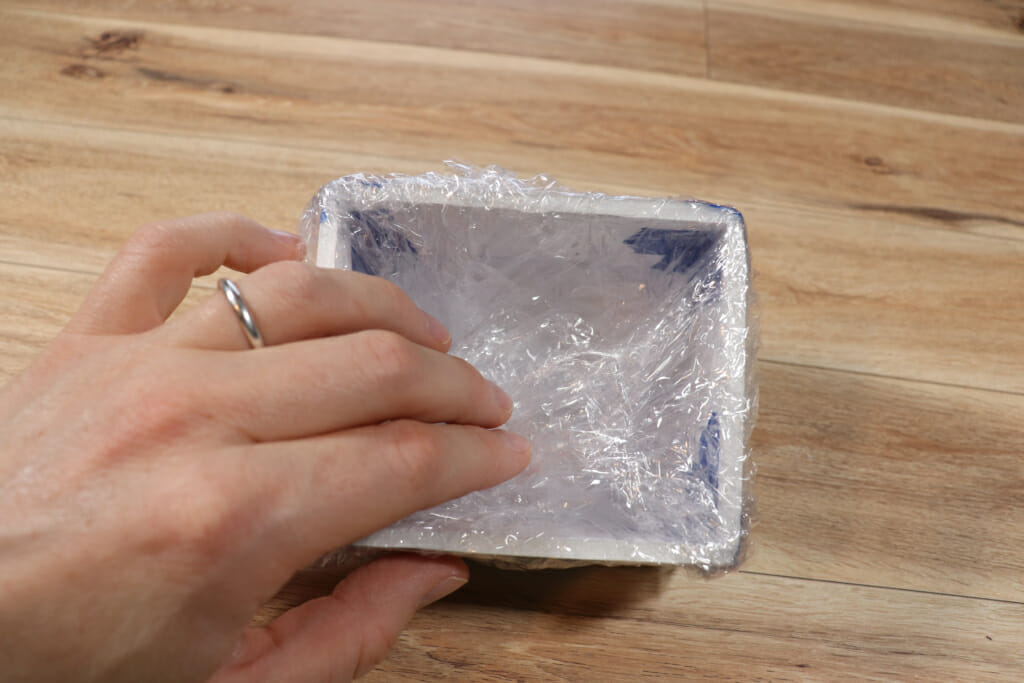
Now, cover the whole foam core structure with plastic wrap by laying a larger piece of plastic wrap on top of the foam core roof. Leave some excess and tuck the extra plastic wrap into the foam core support, this will help you later when you want to remove the clay cabin from the support.
Shaping the Cabin
Now the fun part! Get out the clay! You’ll want to keep your spray bottle nearby to periodically wet the clay while you are working with it. You may also want to keep the clay that you aren’t using at the moment covered in more plastic wrap so it doesn’t dry out too much.
Start by cutting off a manageable chunk from your block of clay. Then, give it a couple of kneads with your hands to get it pliable. Spray a little water on it if it feels a bit dry or crumbly.
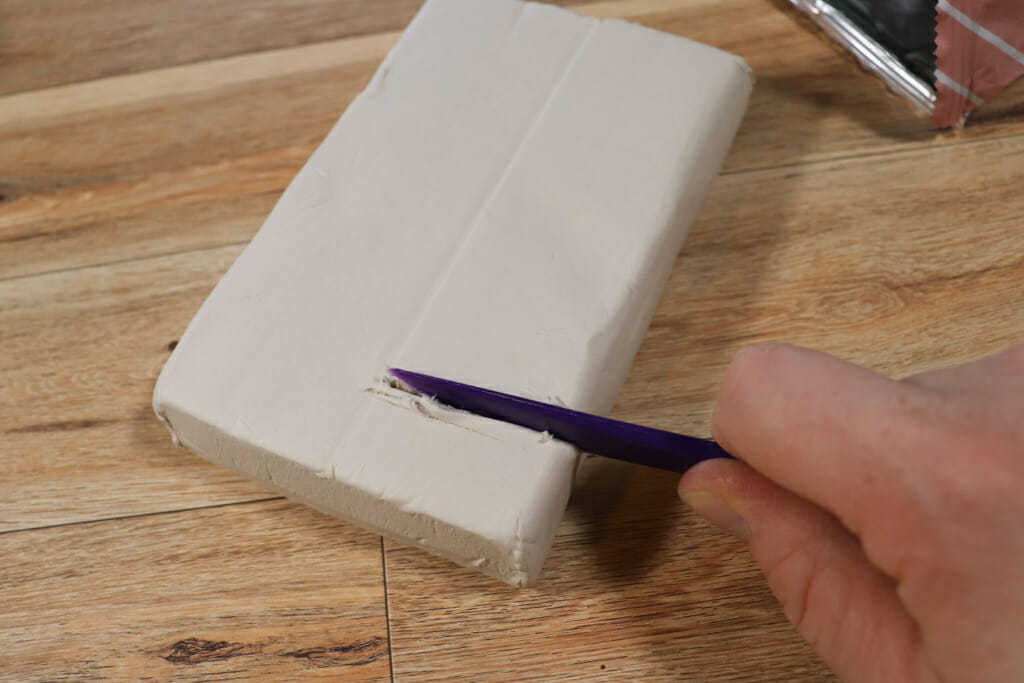
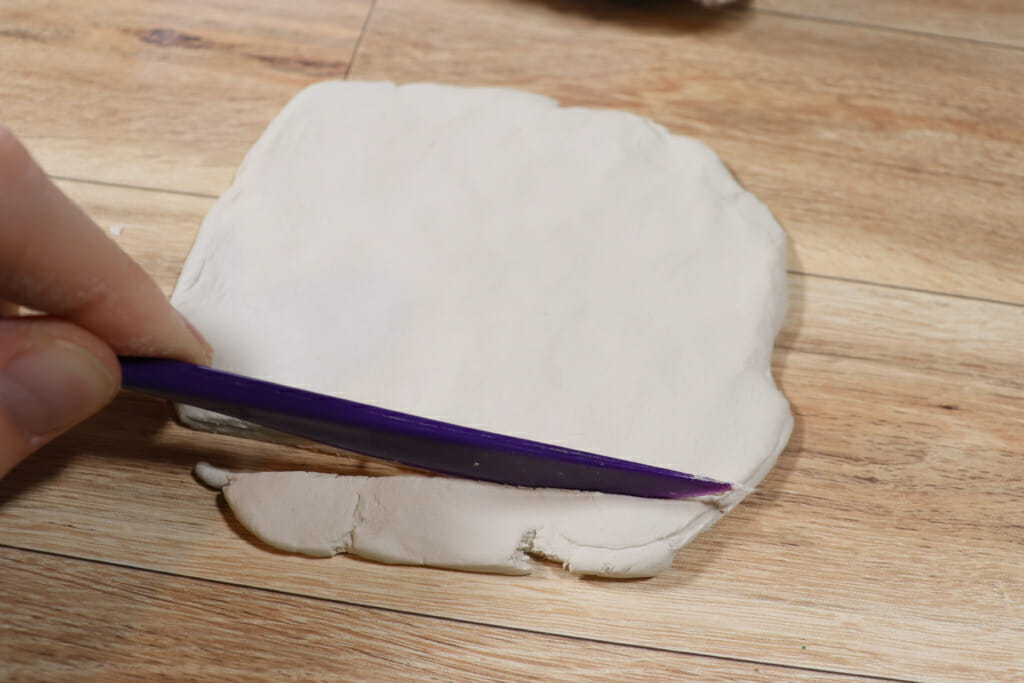
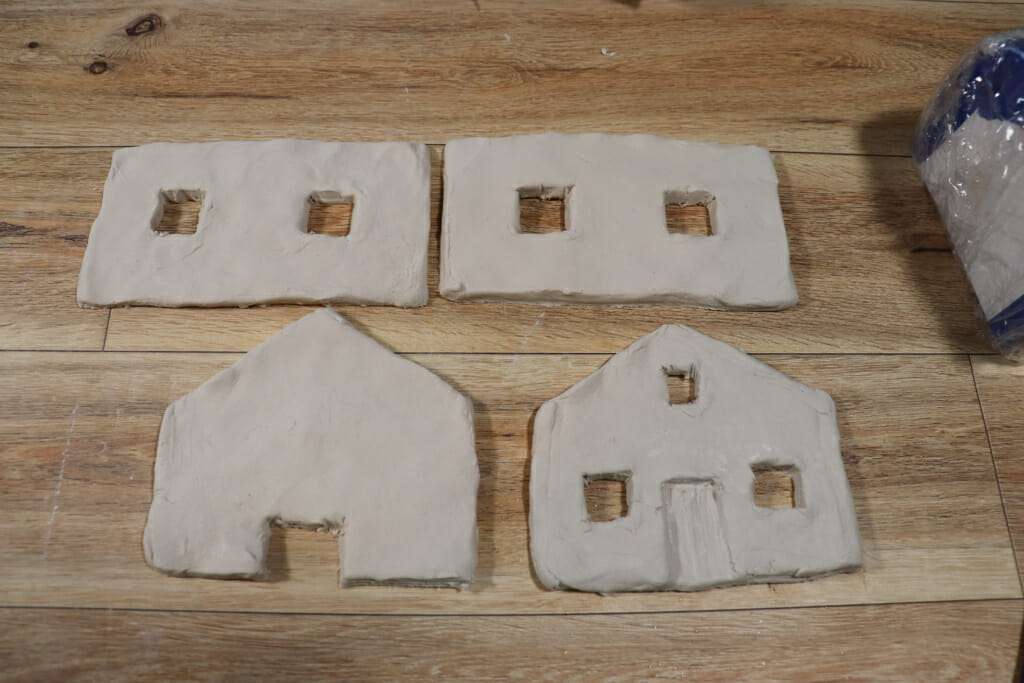
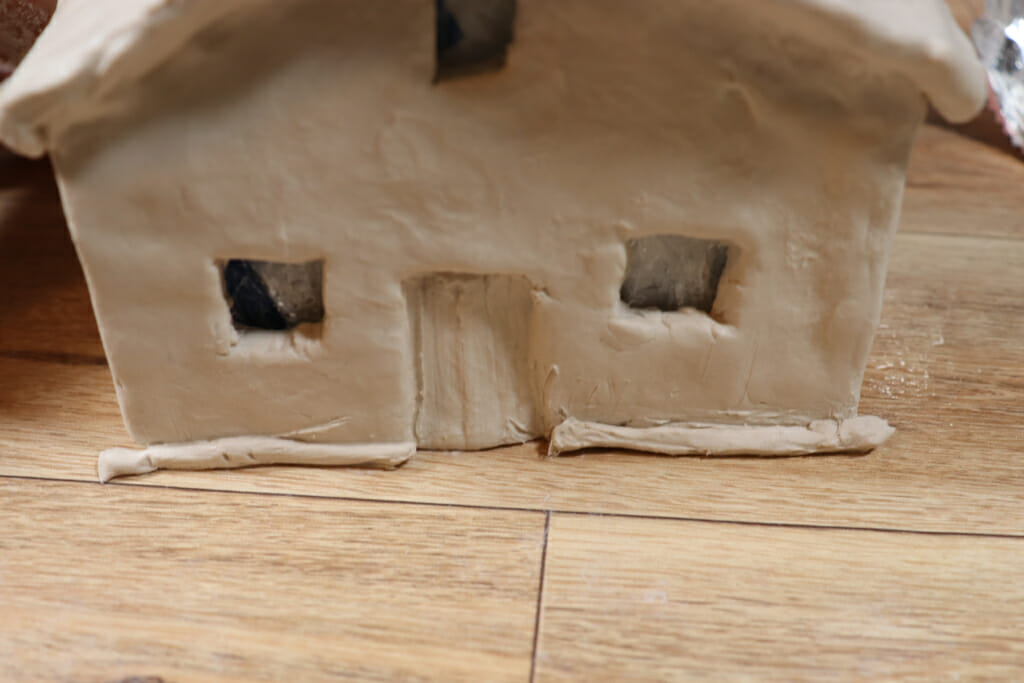
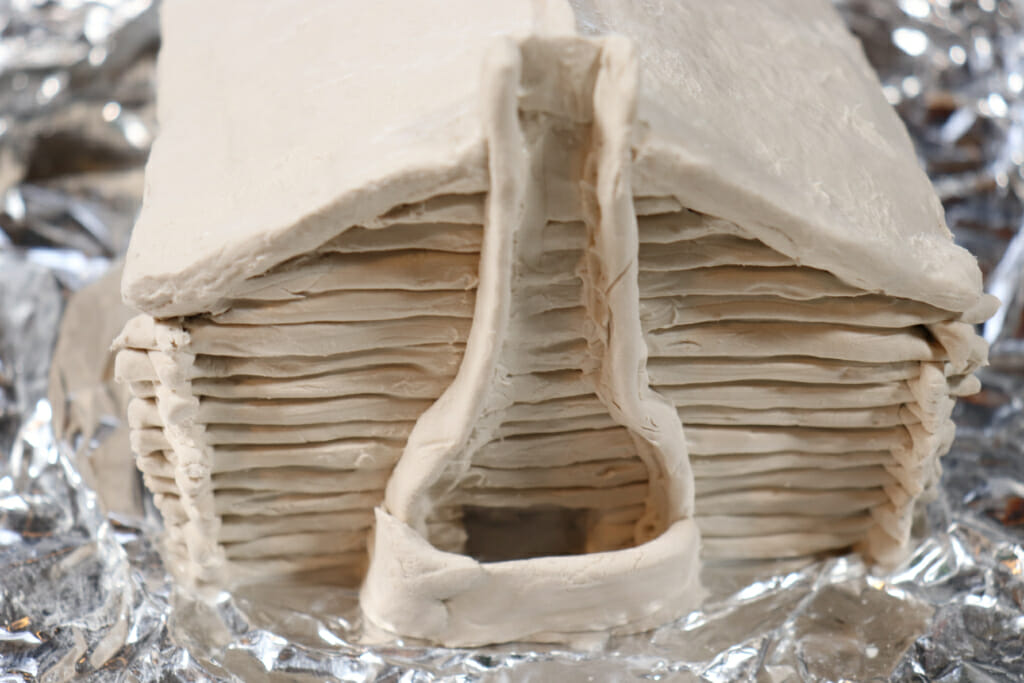
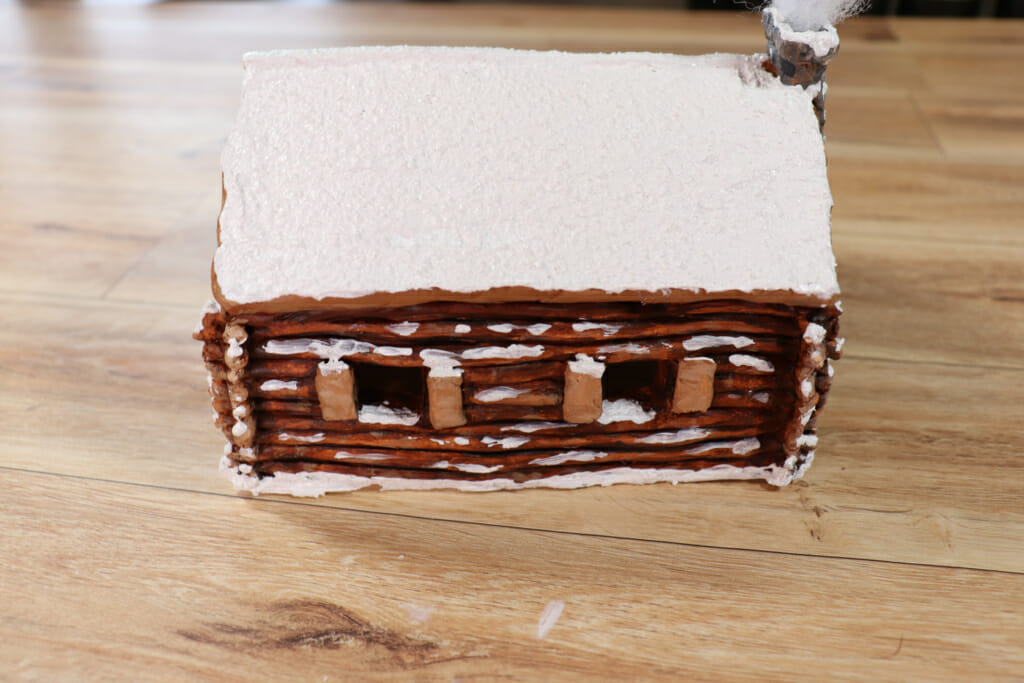
Pat the clay out into a flat square or rectangle, you can use your hands for this. Then, cut out the shapes of the cabin sides, front, back and roof. Cut out any window holes that you desire and add a door. I chose to carve out my door slightly so it is inset in the front of the cabin and I left it with some texture to be reminiscent of wood. You’ll notice I had a small opening cut into the bottom of my cabin wall on the piece that would be the back, I did this in hopes that the lights I would put into the cabin would potentially shine up the chimney. It turned out that I couldn’t see light coming from the chimney so you can skip this step.=P
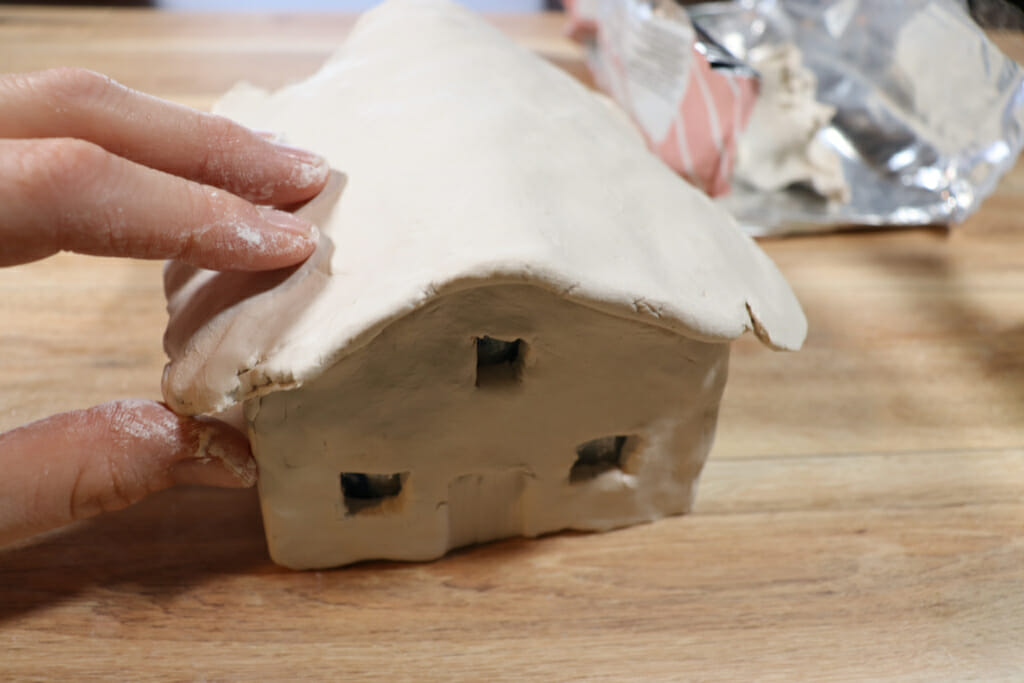
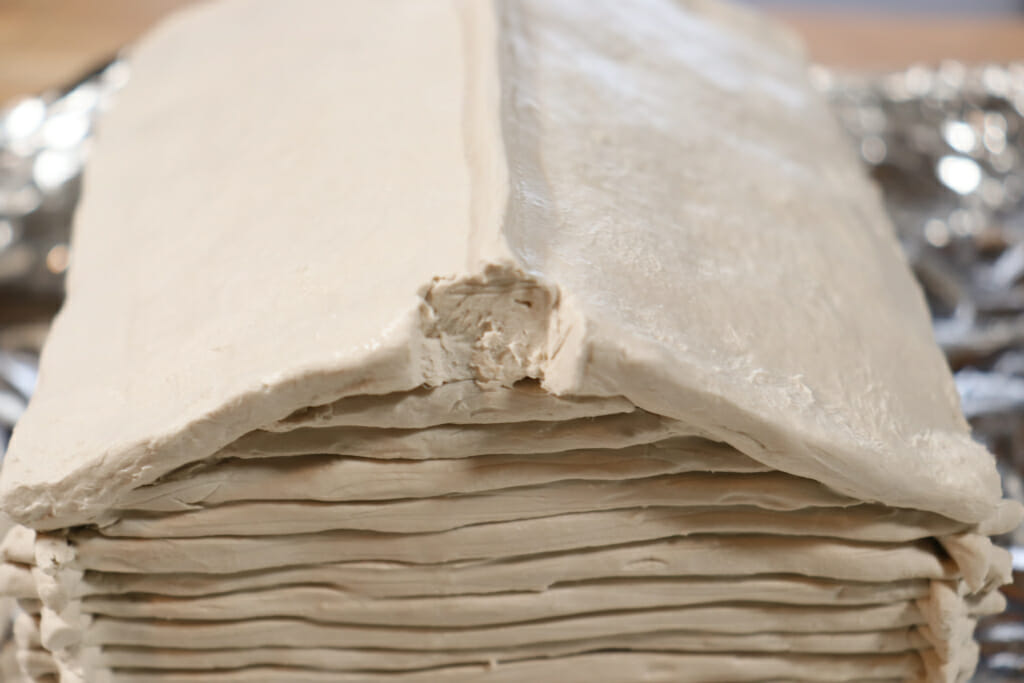
Carefully peel the cabin pieces up from your work surface and place them on the support. Start with one side and then add the front or back accordingly, mashing the corner slightly where the pieces join.

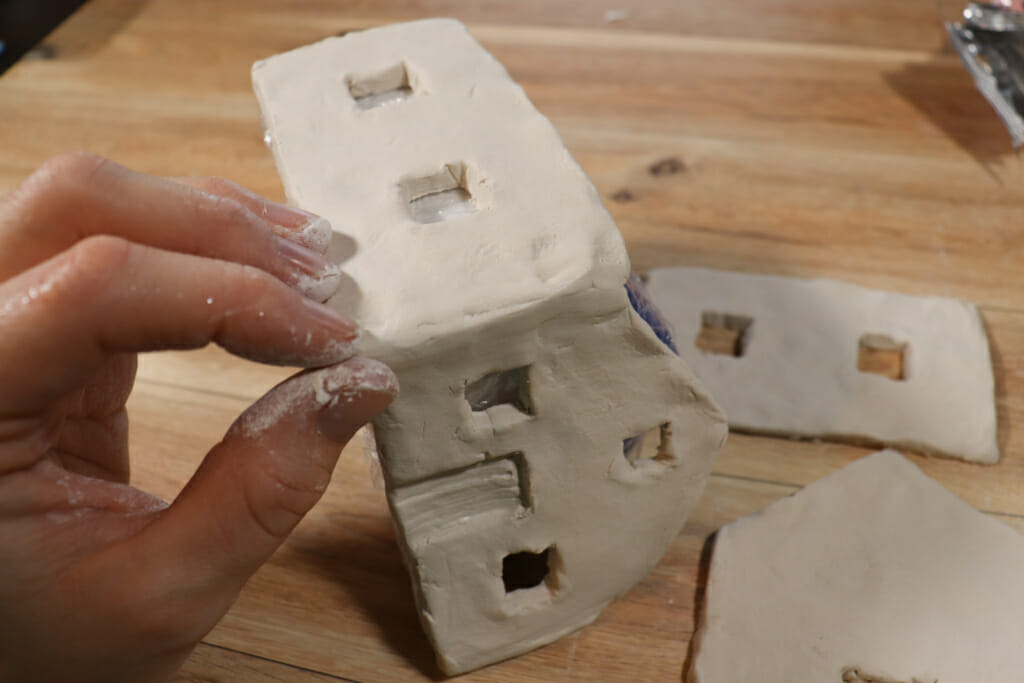
Smooth out the corners with a little bit of water if needed. Once all the side are in place, attach the roof piece to the top by pressing it gently into the walls below leaving a lip of clay extending past the walls. Trim off any excess.
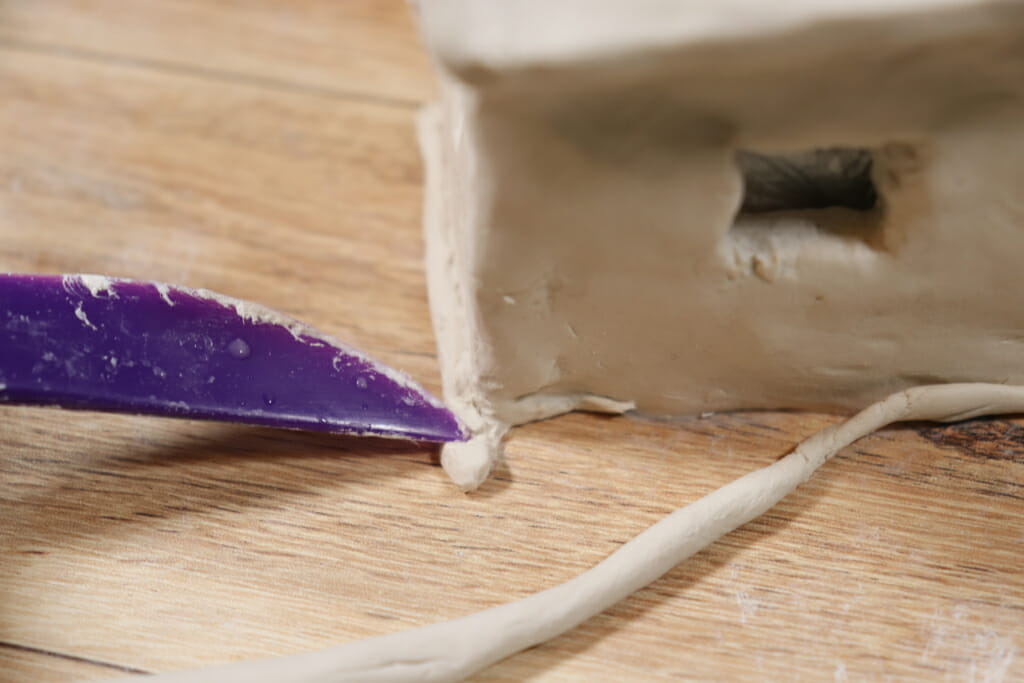
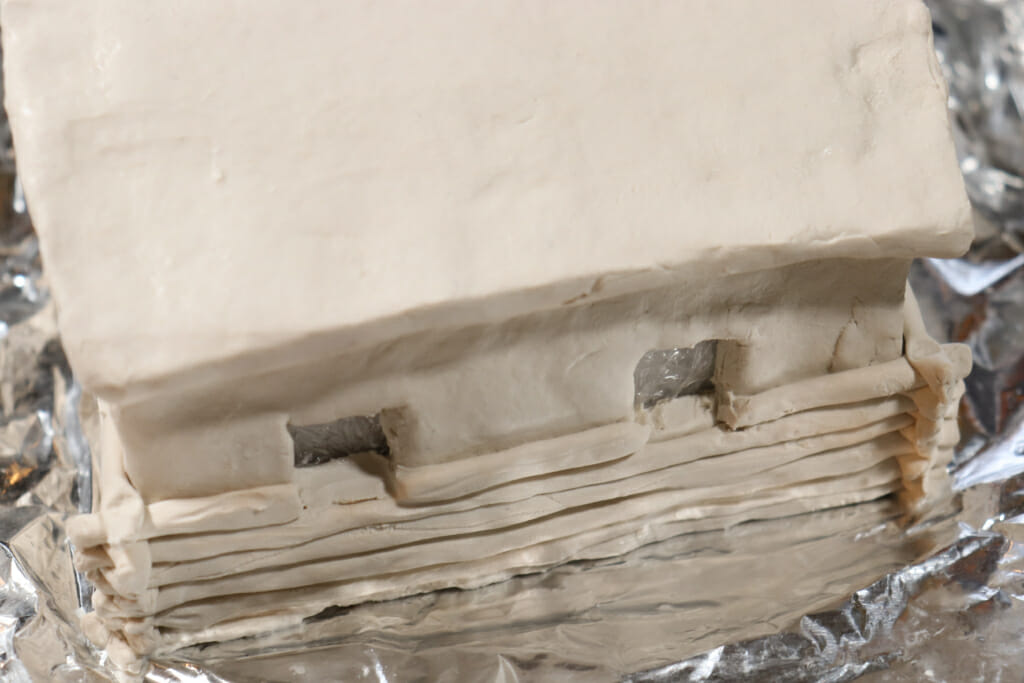
Next, take a walnut sized ball of clay and roll it out into a cylinder and then continue rolling it into a long snake. Cut the snake to length to fit your walls, these will be the ‘logs’ of the cabin.

Gently push the logs onto the cabin walls starting at the bottom. If needed mist a little water onto the walls to help the logs stick.
I chose to make the logs longer than I needed and added a dent to the end of the log to make a space for the next log on the adjacent side to slot into. This step is optional, but I liked the way it looked.
It was helpful at this point to place the cabin on a piece of aluminum foil so I could easily spin it when adding my logs.
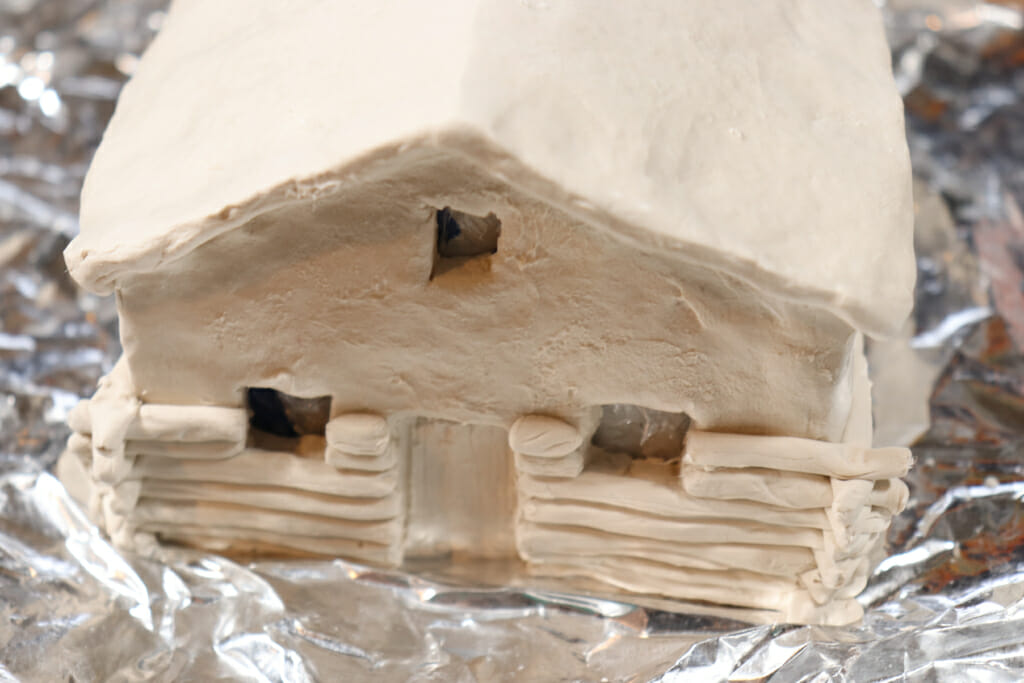
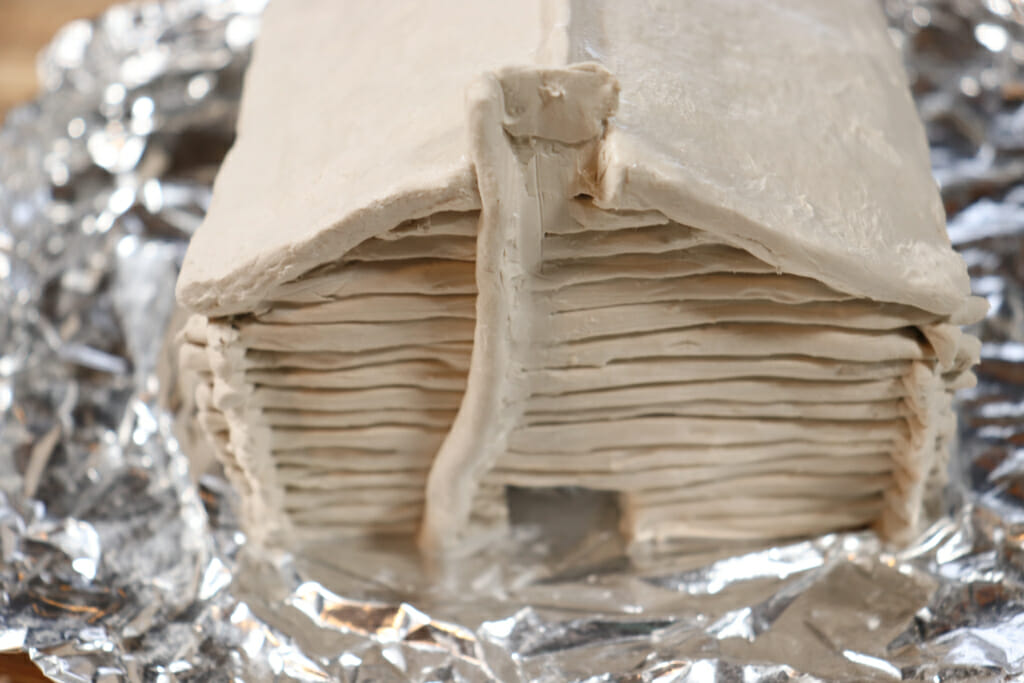
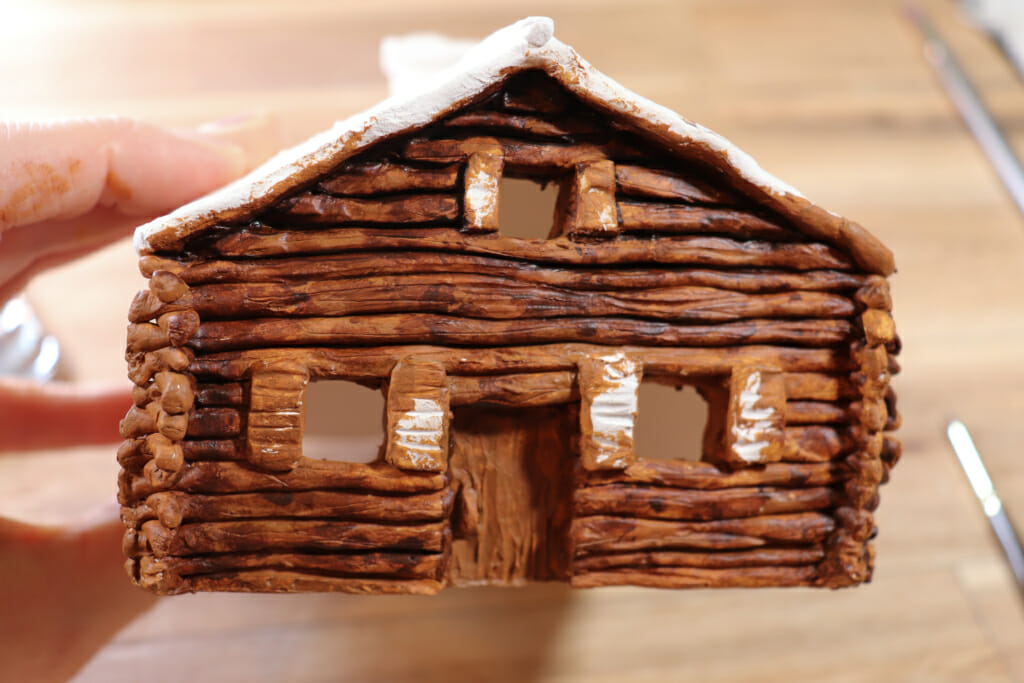
Keep adding more logs, turning the cabin as you go and placing a log on each side making sure not to cover your windows or door.
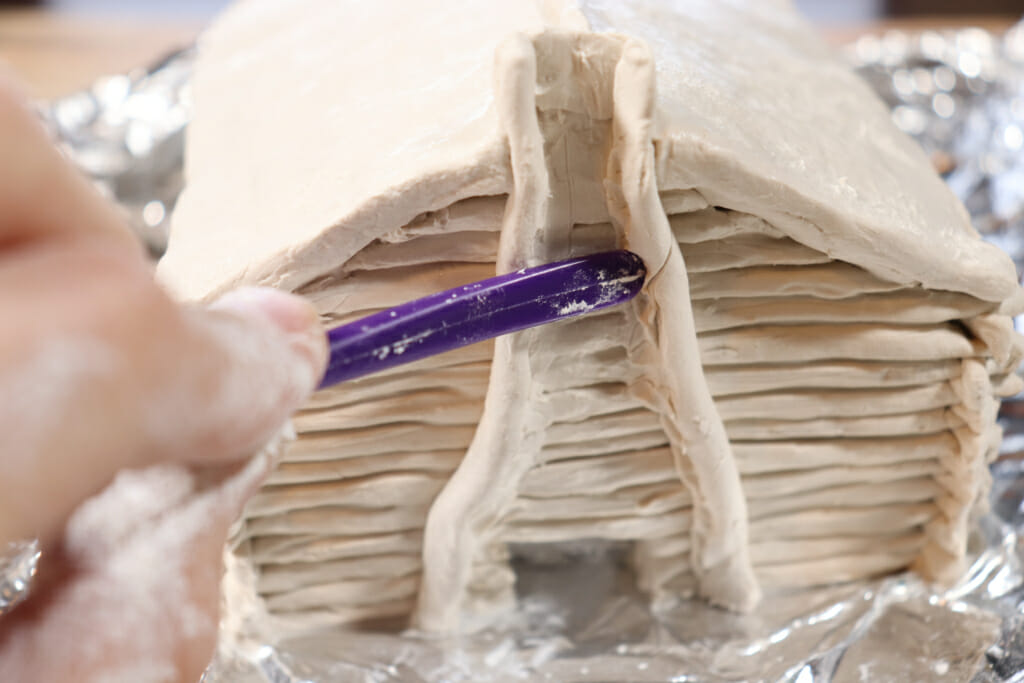
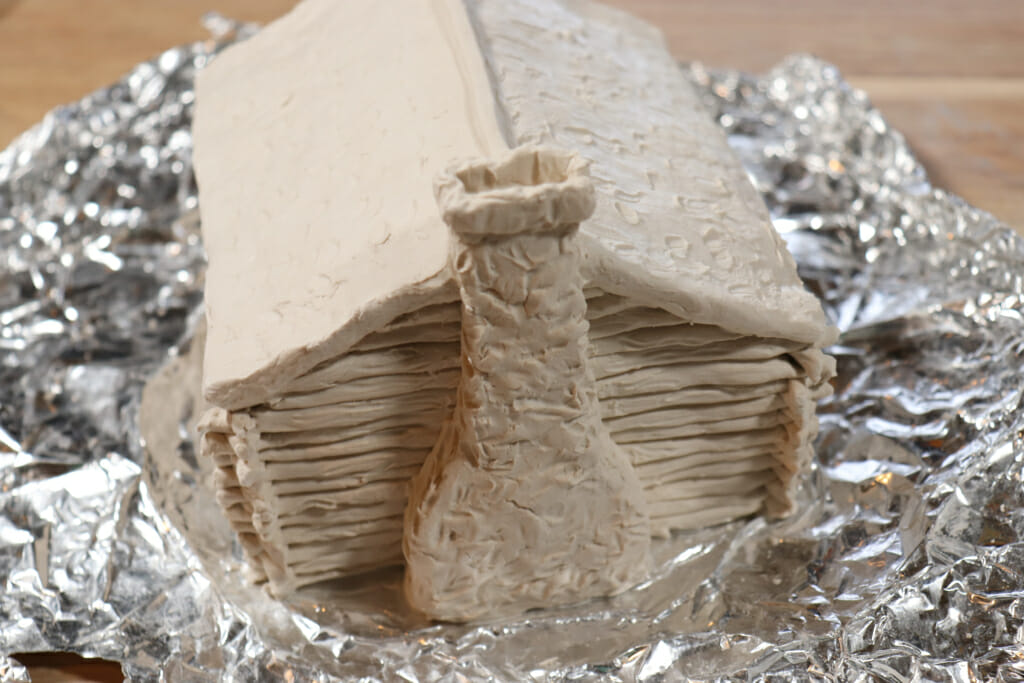
Once all the logs are in place cut a notch out of the back of the roof to make a space for the chimney.
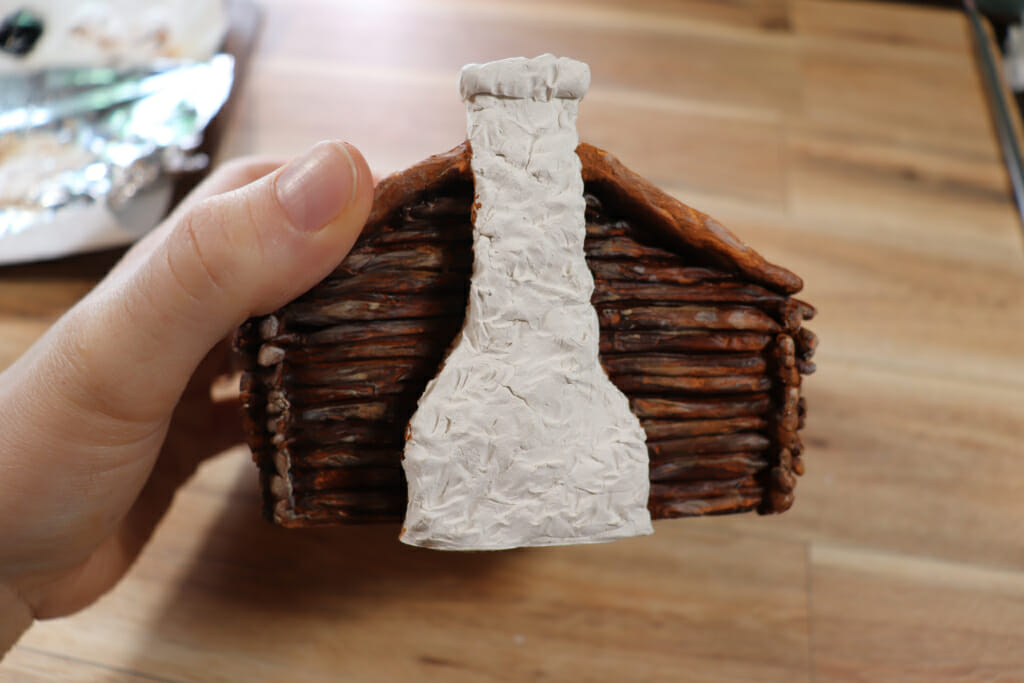
Start the chimney by making a snake and attaching it inside the notch and to the wall of the cabin. Then add a little piece of clay to create the front of the chimney.
Make a second snake and attach it to the roof and wall.
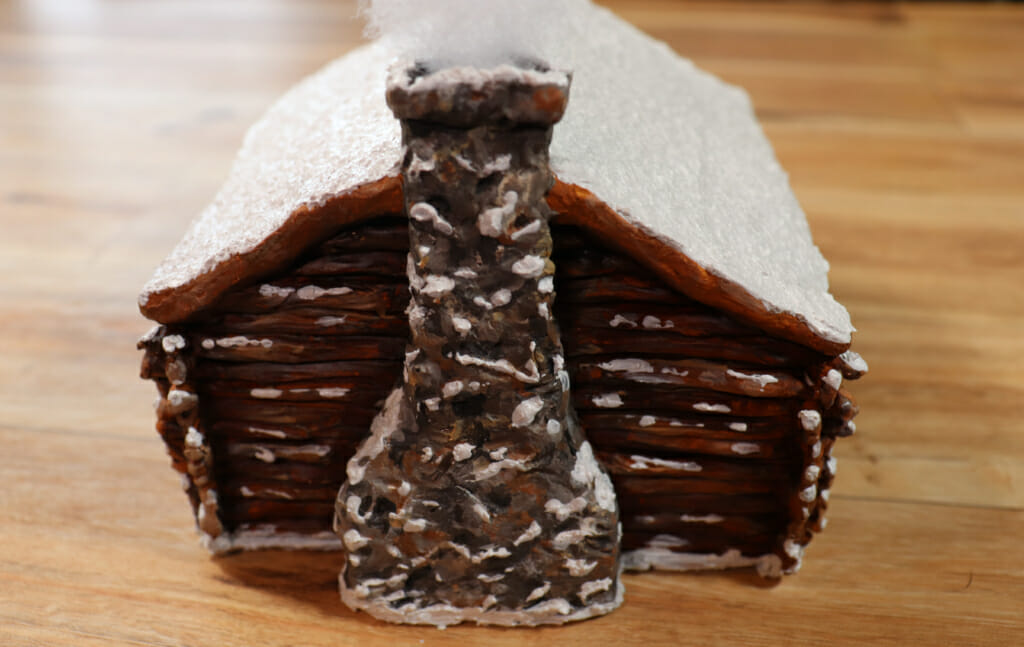
Make the back of the chimney by adding flat pieces of clay to the sides of the chimney. You wouldn’t have to make the chimney hollow, you could just choose to make the very top hollow so that you can add smoke to it later. I made mine hollow because I hoped the lights from the inside would shine up the chimney and make a neat effect in the smoke in the final product.
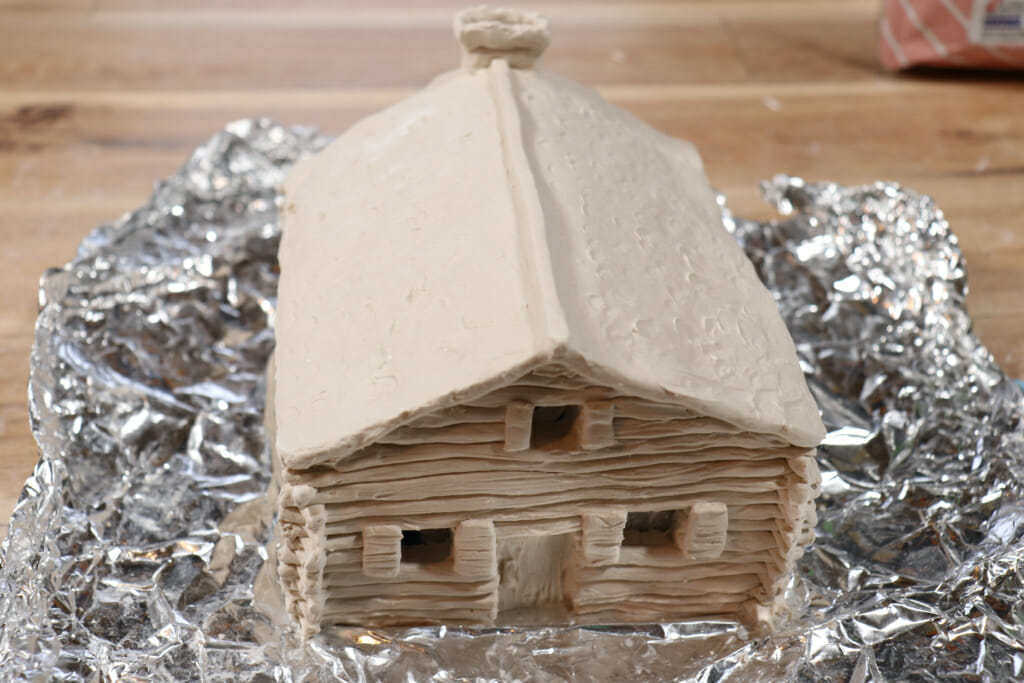
Add more clay to the chimney, building it all the way up. Then, using a tool, add some texture to make it look like rock.
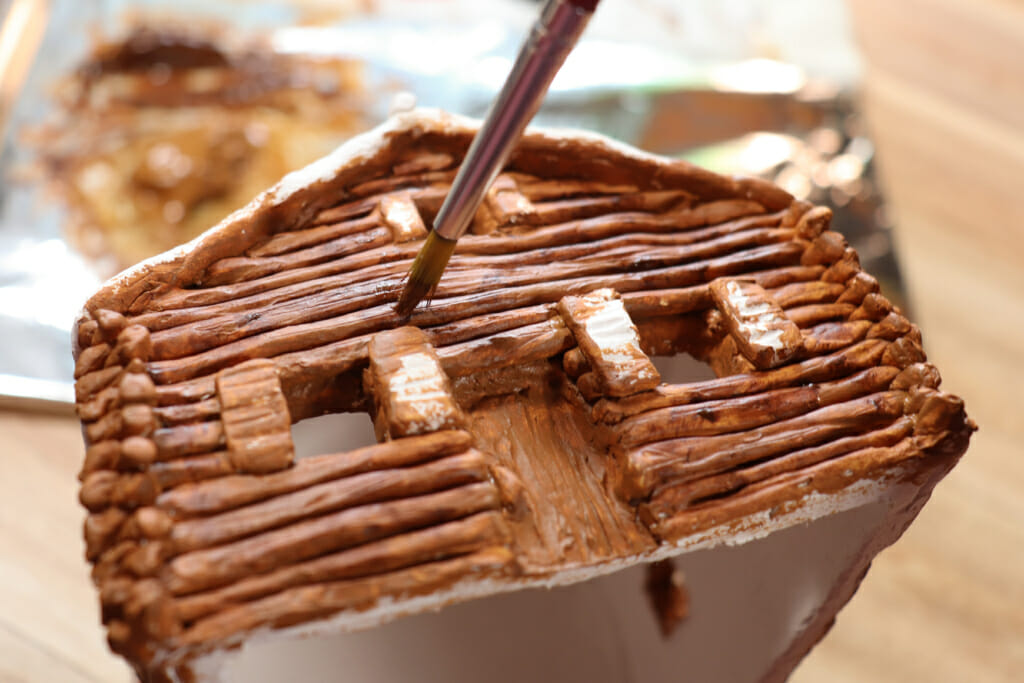
Using a tool, add some texture to the logs to make them look more like wood. You can also add shutters to the windows if you would like. I also added a tiny door handle to my door, but you can go as simple or as extravagant as you like.
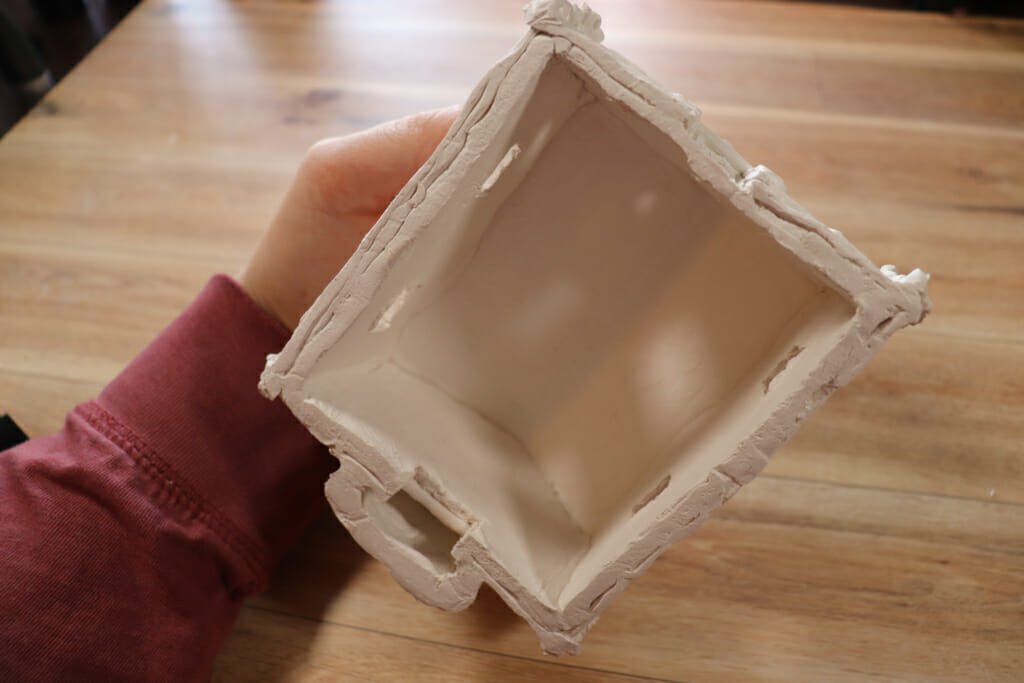
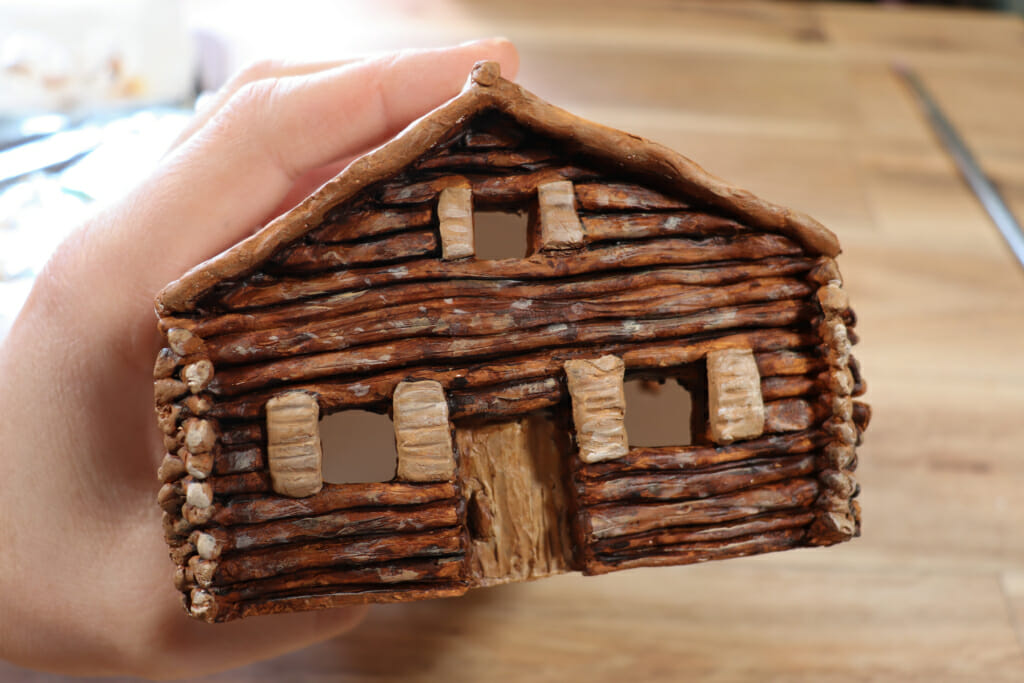
Let the cabin dry completely. It took a couple of days for mine to dry. Once it is totally dry, remove the support by gently pulling the plastic wrap that your tucked under the cabin. Take your time and be gentle as you wiggle the support out of the cabin. Once it is removed, feel around the inside and make sure it is dry. If it is still damp, let it dry another day or so.
Painting the Cabin
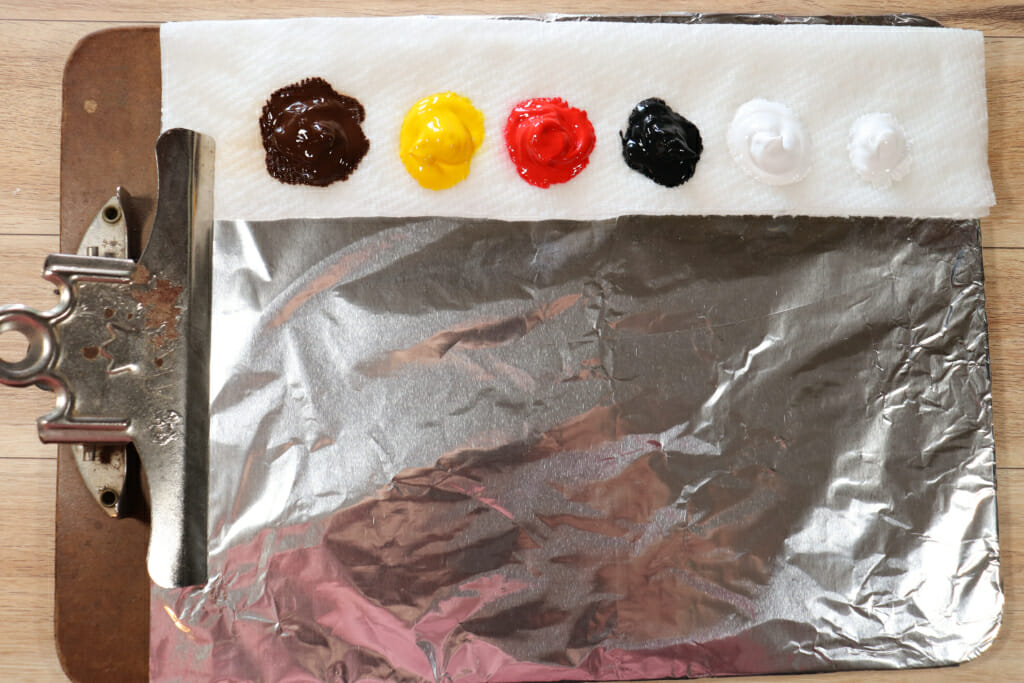
Time to bring the cabin to life! You can paint your cabin as simple or as detailed as you like. I’m going to share step by step what I did, but feel free to get creative! I didn’t have my normal pallet available (it was tied up in another project) so instead I used a piece of aluminum foil and attached it to a clipboard to keep it in place. I then took strips of paper towel and moistened them with water and then squeezed out my paint onto the towels. This keeps the paint moist while you are working so the paint doesn’t dry out or form a skin. It is also helpful to spray the whole pallet with water occasionally with a spray bottle to keep the paint in good working condition.
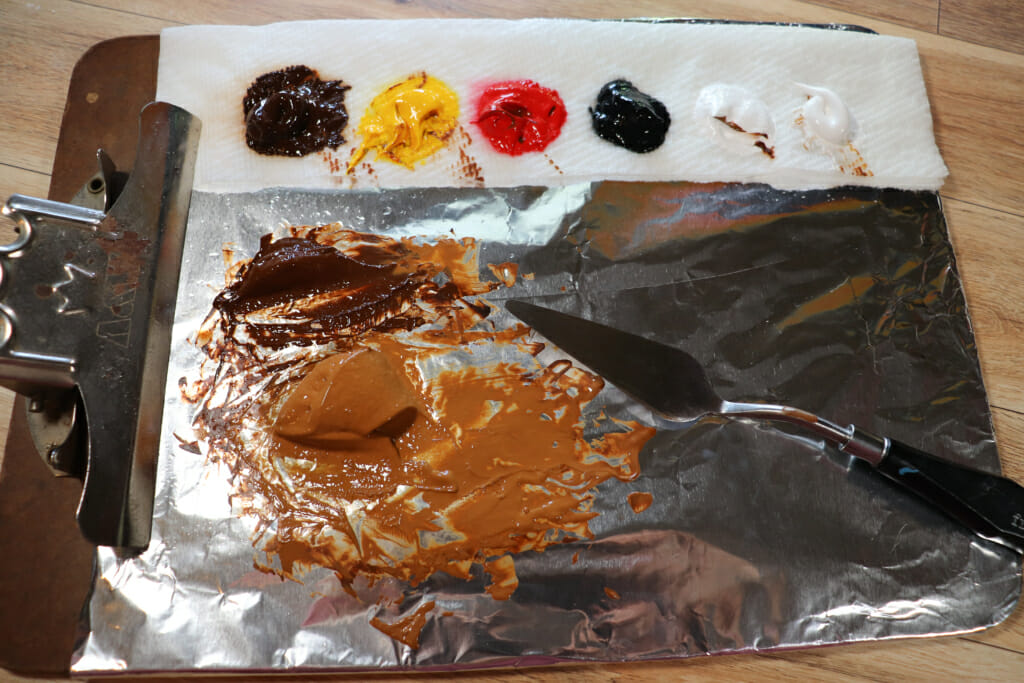
I started by mixing a nice warm medium brown for my base coat and a darker chocolate brown.
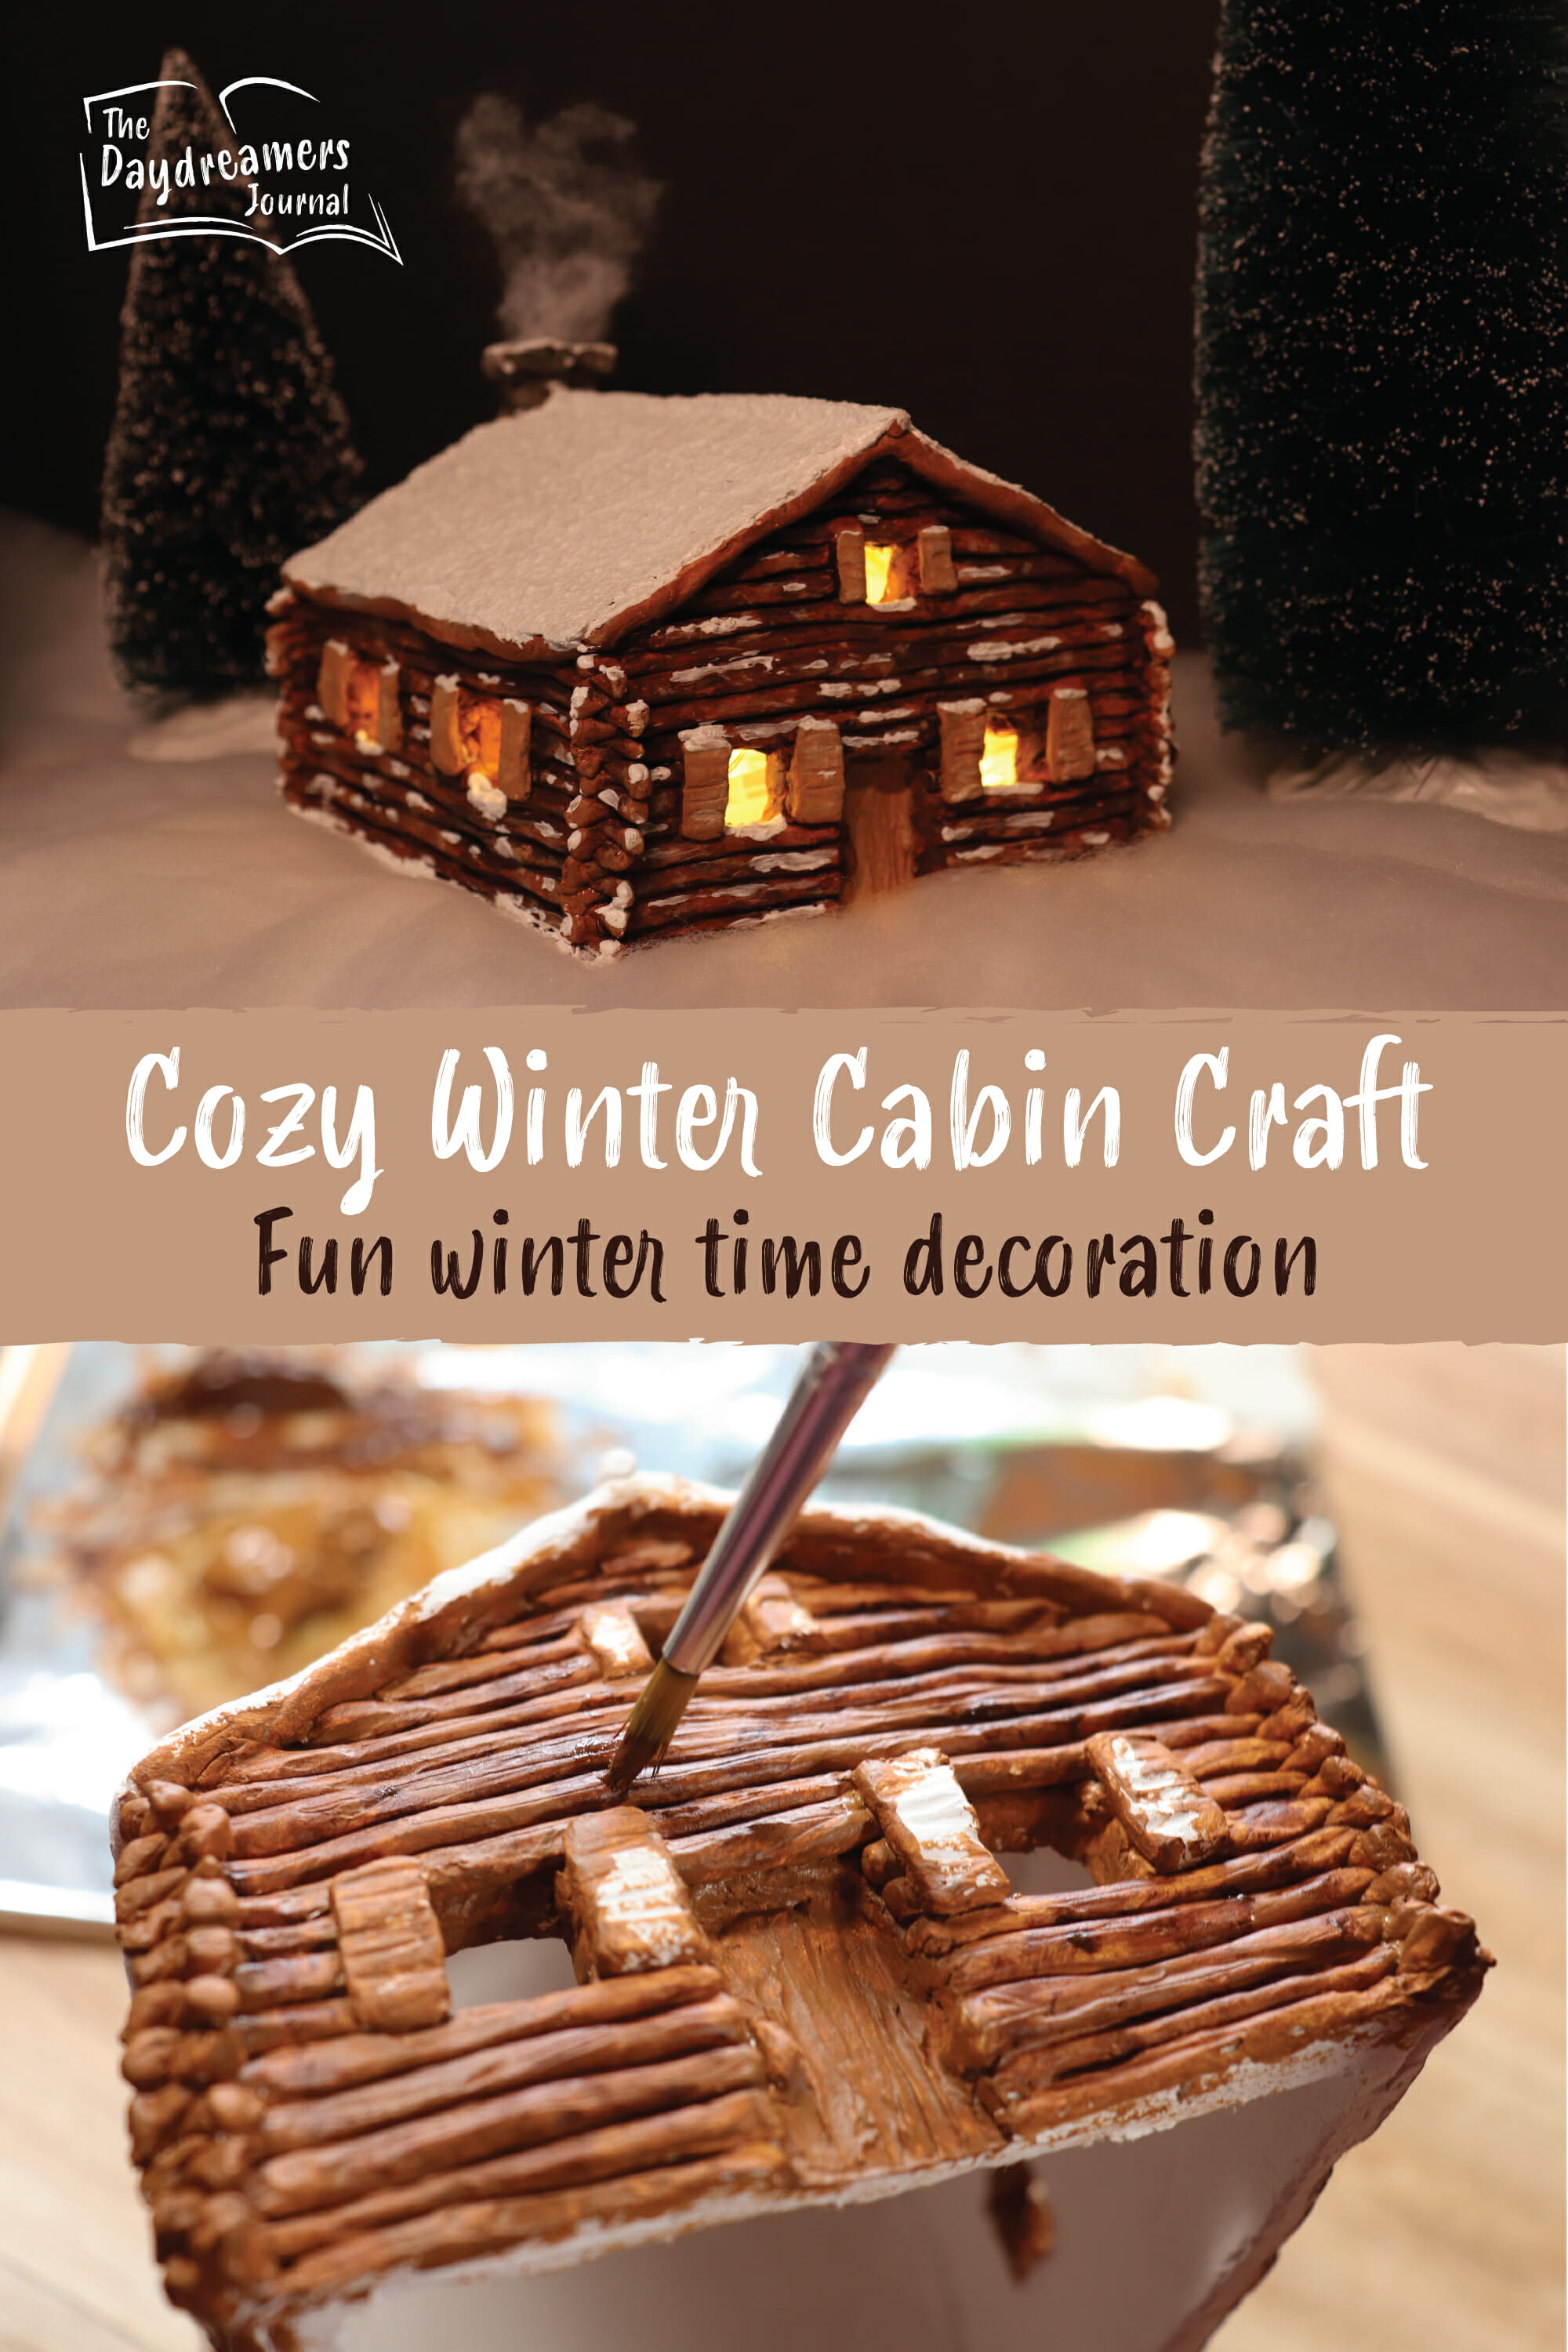
Start applying the paint to the cabin, you may want to use an old brush that you won’t wearing out more, sometimes I had a hard time getting the paint into all of the cracks an crevices of the logs which caused me to use a scrubbing motion with my brush, which can damage the bristles.
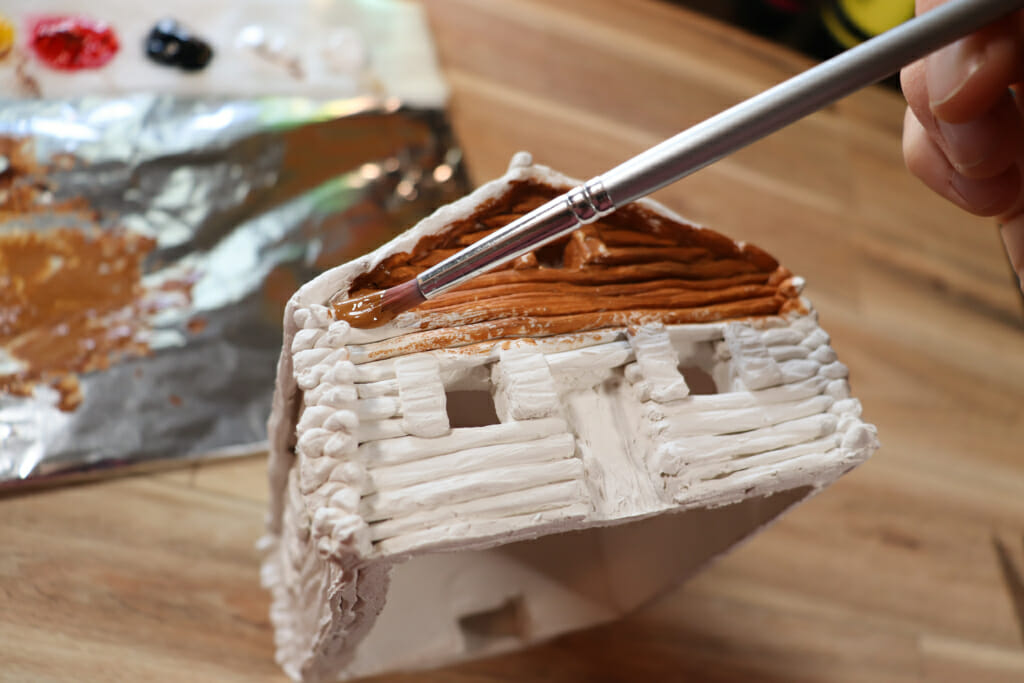
Once my base layer was done I started adding some darker tones. I concentrated my darker colors in the cracks between the logs as well as inside the window frames and directly under the roof. I then dabbed my paintbrush along the walls to create a bark-like texture.
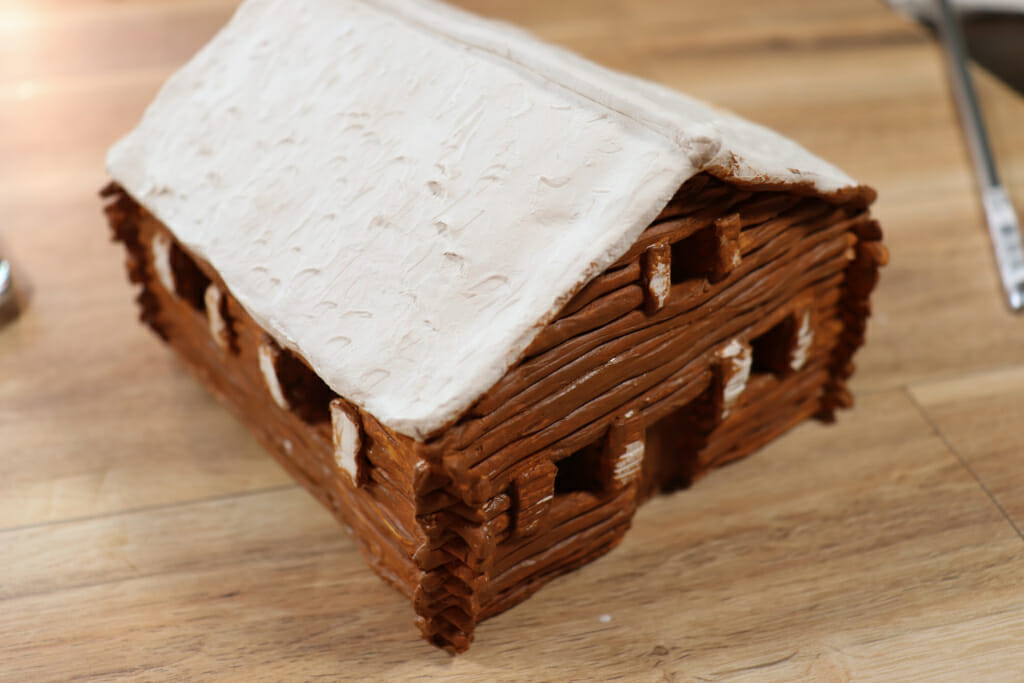
I then mixed a light tan/brown and dabbed my paintbrush along the walls with this lighter shade to create more texture as well as on the ends of the logs where they crossed over one another. I also used the lighter color on the door and the shutters. I added a slightly lighter tan to create some highlights on the logs, shutters, and door. I used some of the lighter brown on the edges of the roof that would be visible under the snow.
I added some of the darker brown around the sides of the chimney to make it stand out more.
Next, I mixed some warm grey colors and a redish tan. I left them slightly undermixed to create some swirls of light and dark colors to add variation to the rocks.
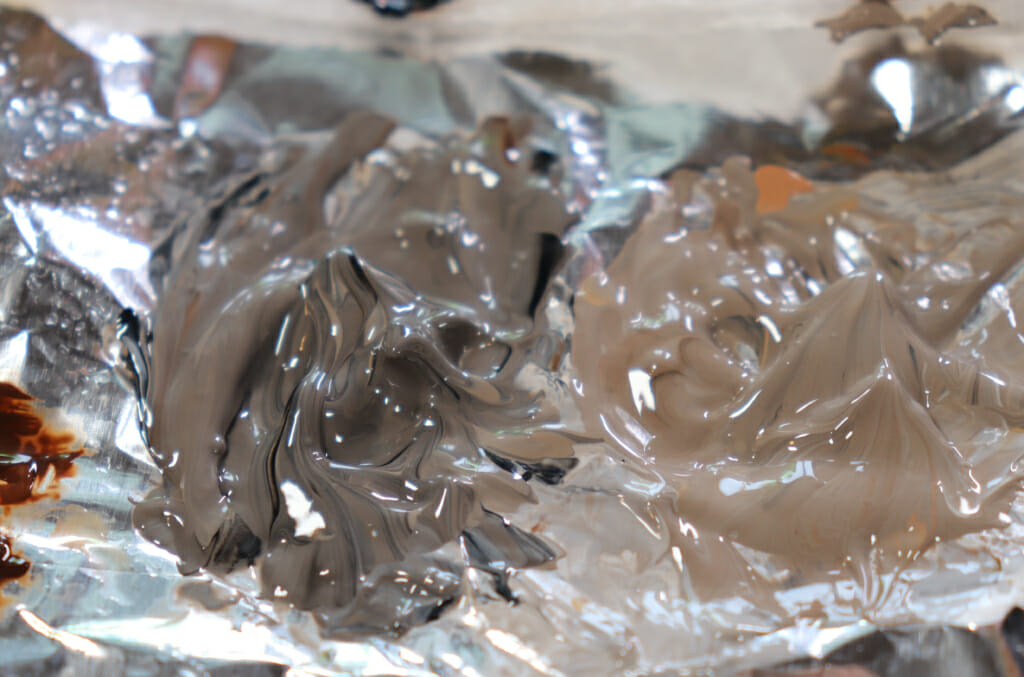
Using the greys and tan I dabbed the paint onto the chimney. I tried to keep it blotchy and vary the colors as I went, and I didn’t bother rinsing my brush between colors so the colors would blend slightly.
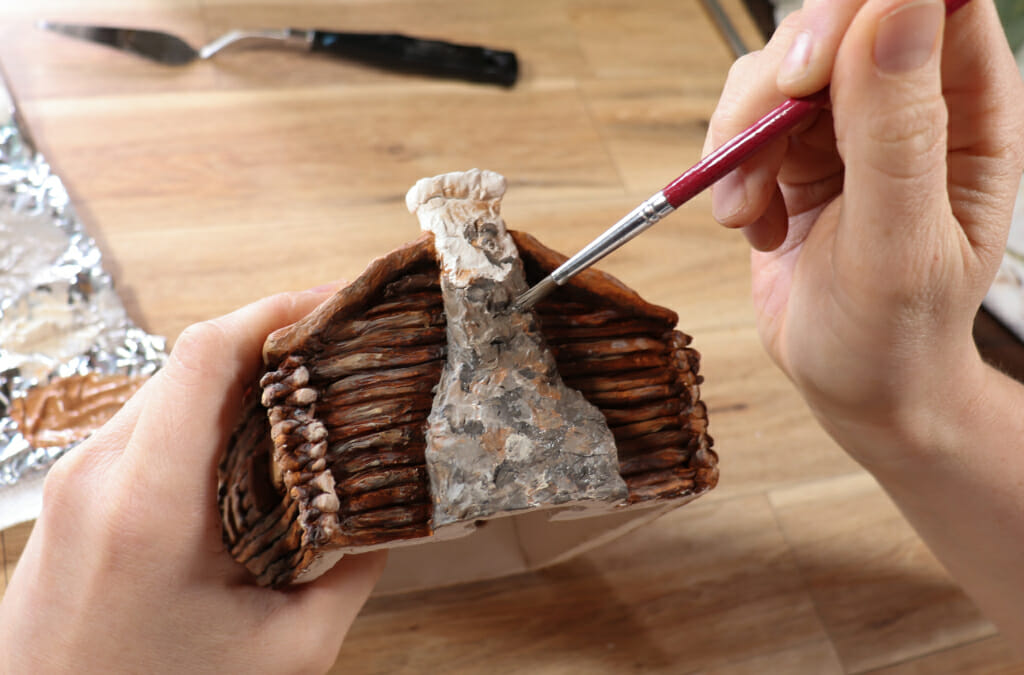
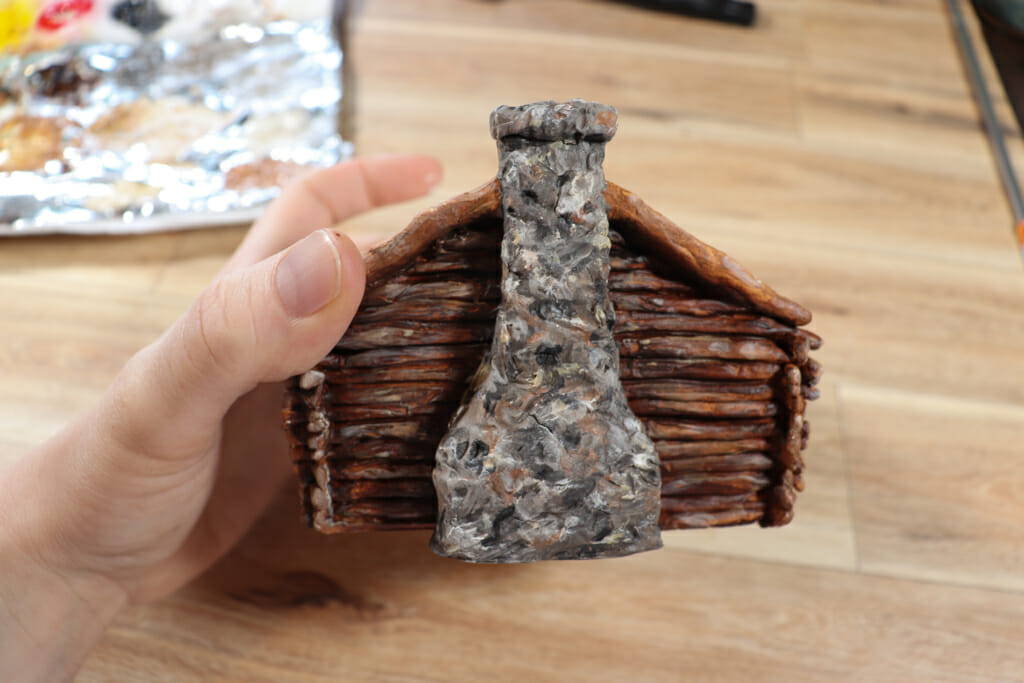
I went back in with darker grey in the inset areas in the chimney stone texture and used lighter gray for the raised area of the stone in an attempt to create some shadows and highlights.
Now to mix up the snow! If you don’t have the gel medium, iridescent medium, or coarse texture medium, you could just use plain white paint. I wanted my snow to have dimension so I opted for the extra materials. I mixed Titanium white, coarse texture medium, gel medium, and iridescent medium together. I then added a tiny dab of Cobalt Blue Hue, Cadmium Yellow Medium Hue, and Cadmium Red Medium Hue. I did this just to add a little more realism to the snow so it wasn’t just white since snow reflects light and colors.
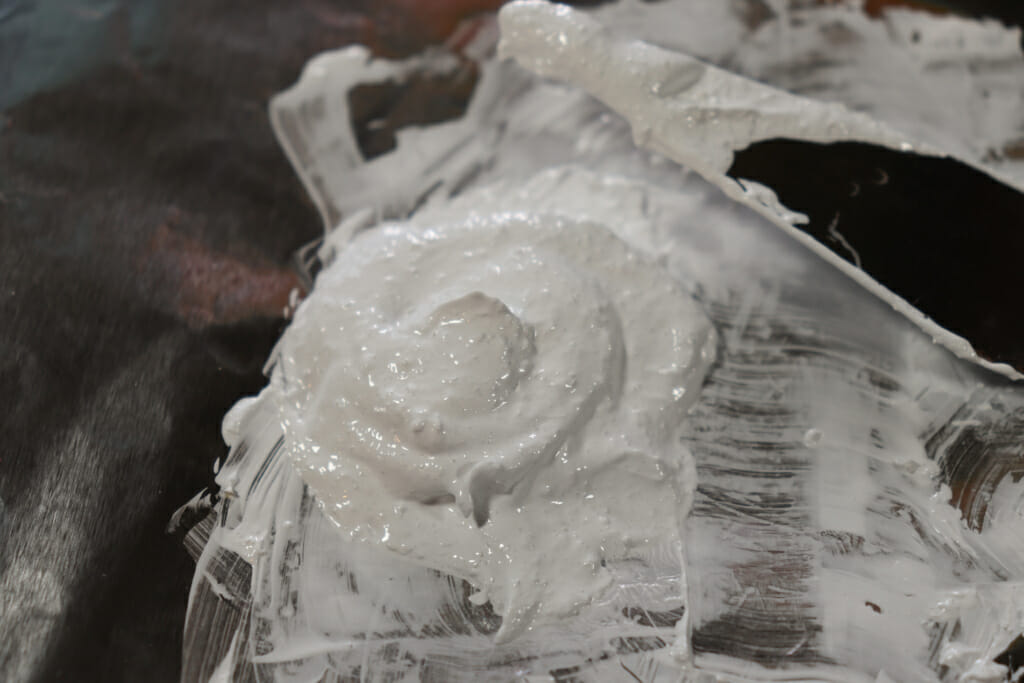
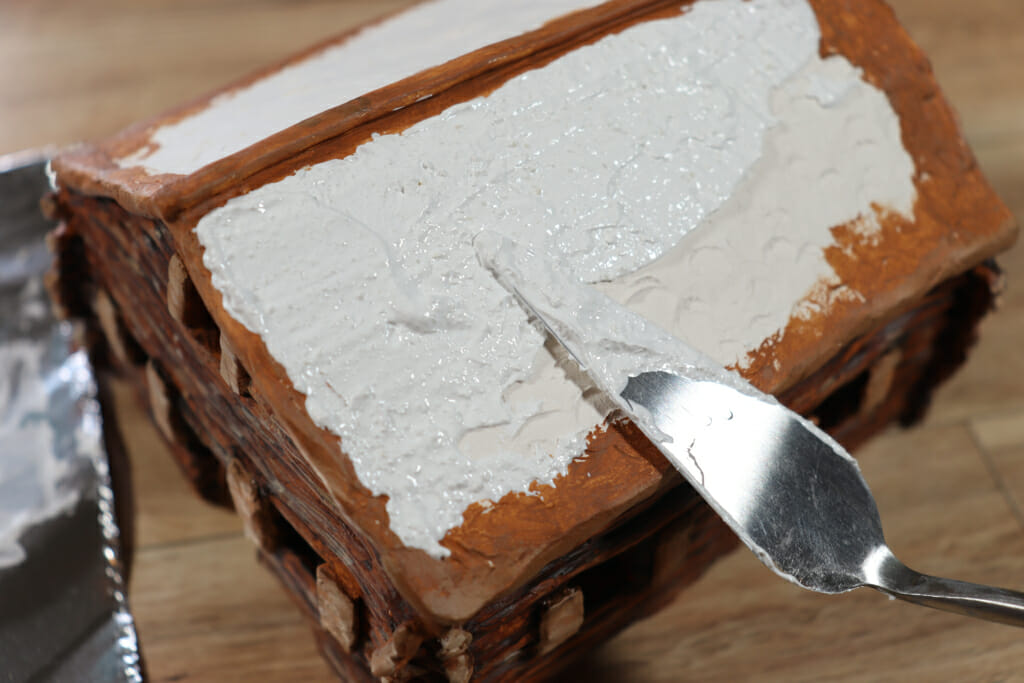
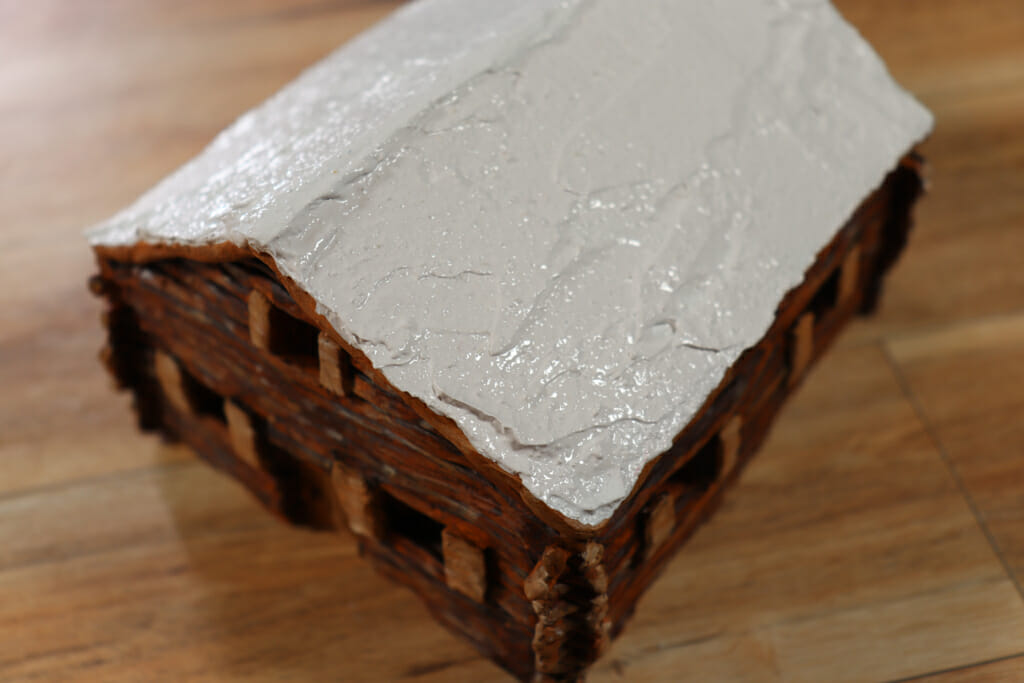
With a pallet knife, painting knife, or popcicle stick spread the white paint mixture on top of the cabin roof.
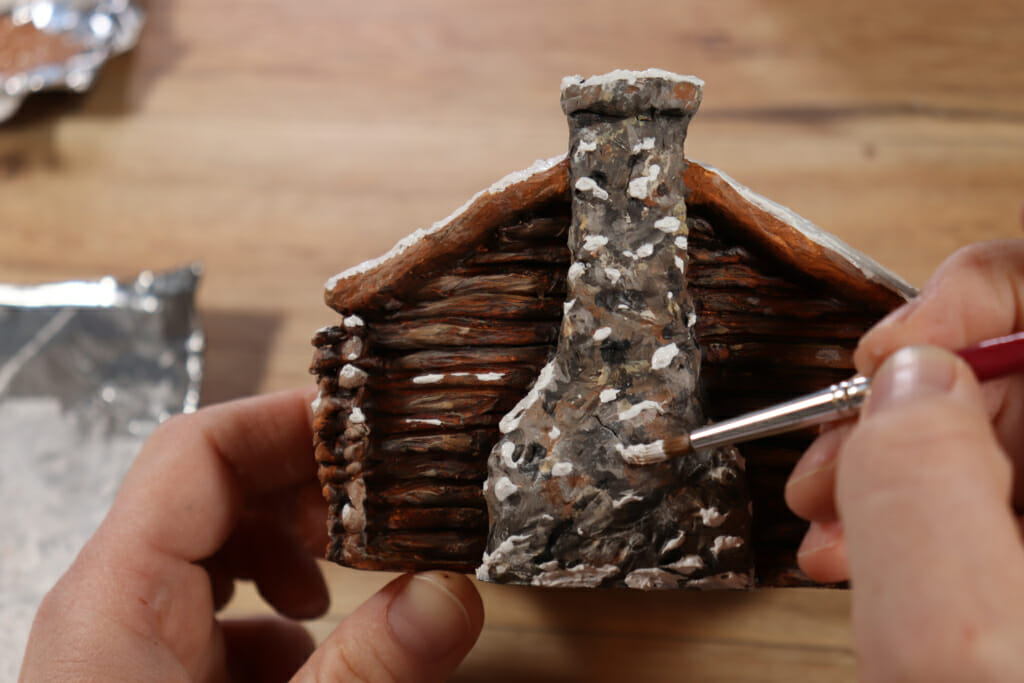
I then added some snow to the raised areas of the chimney rock texture and to parts of the logs on the walls of the cabin.
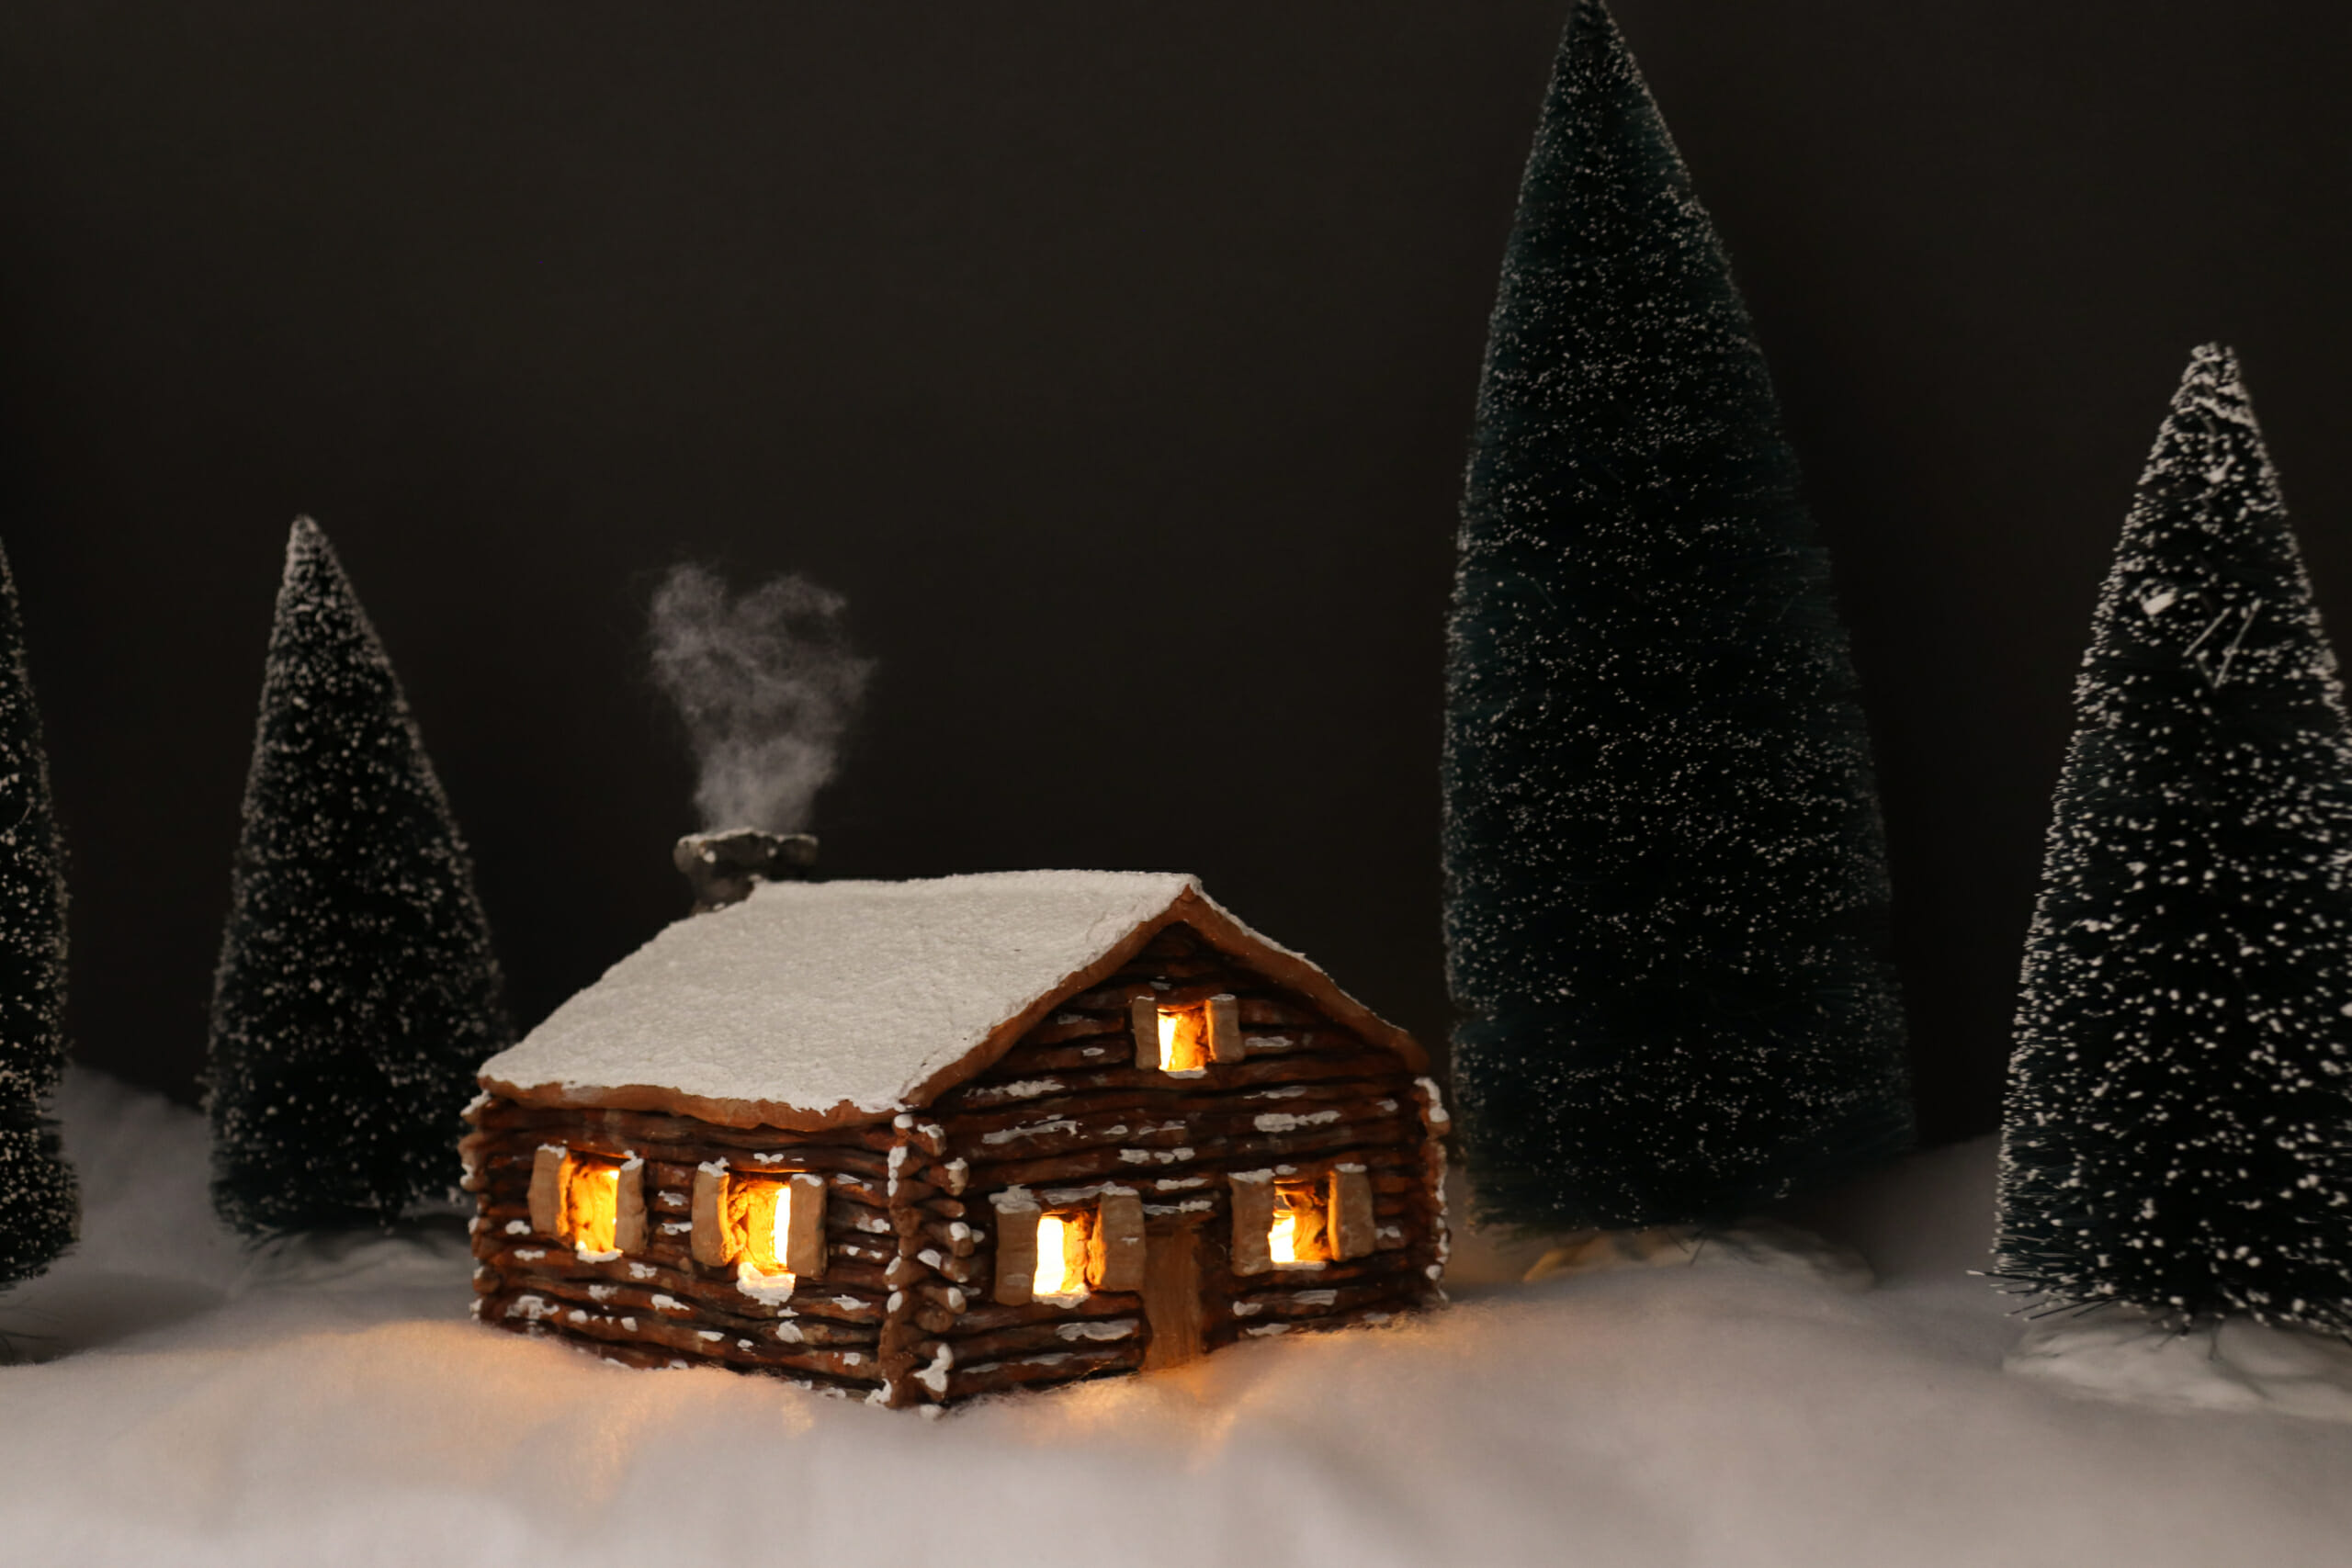
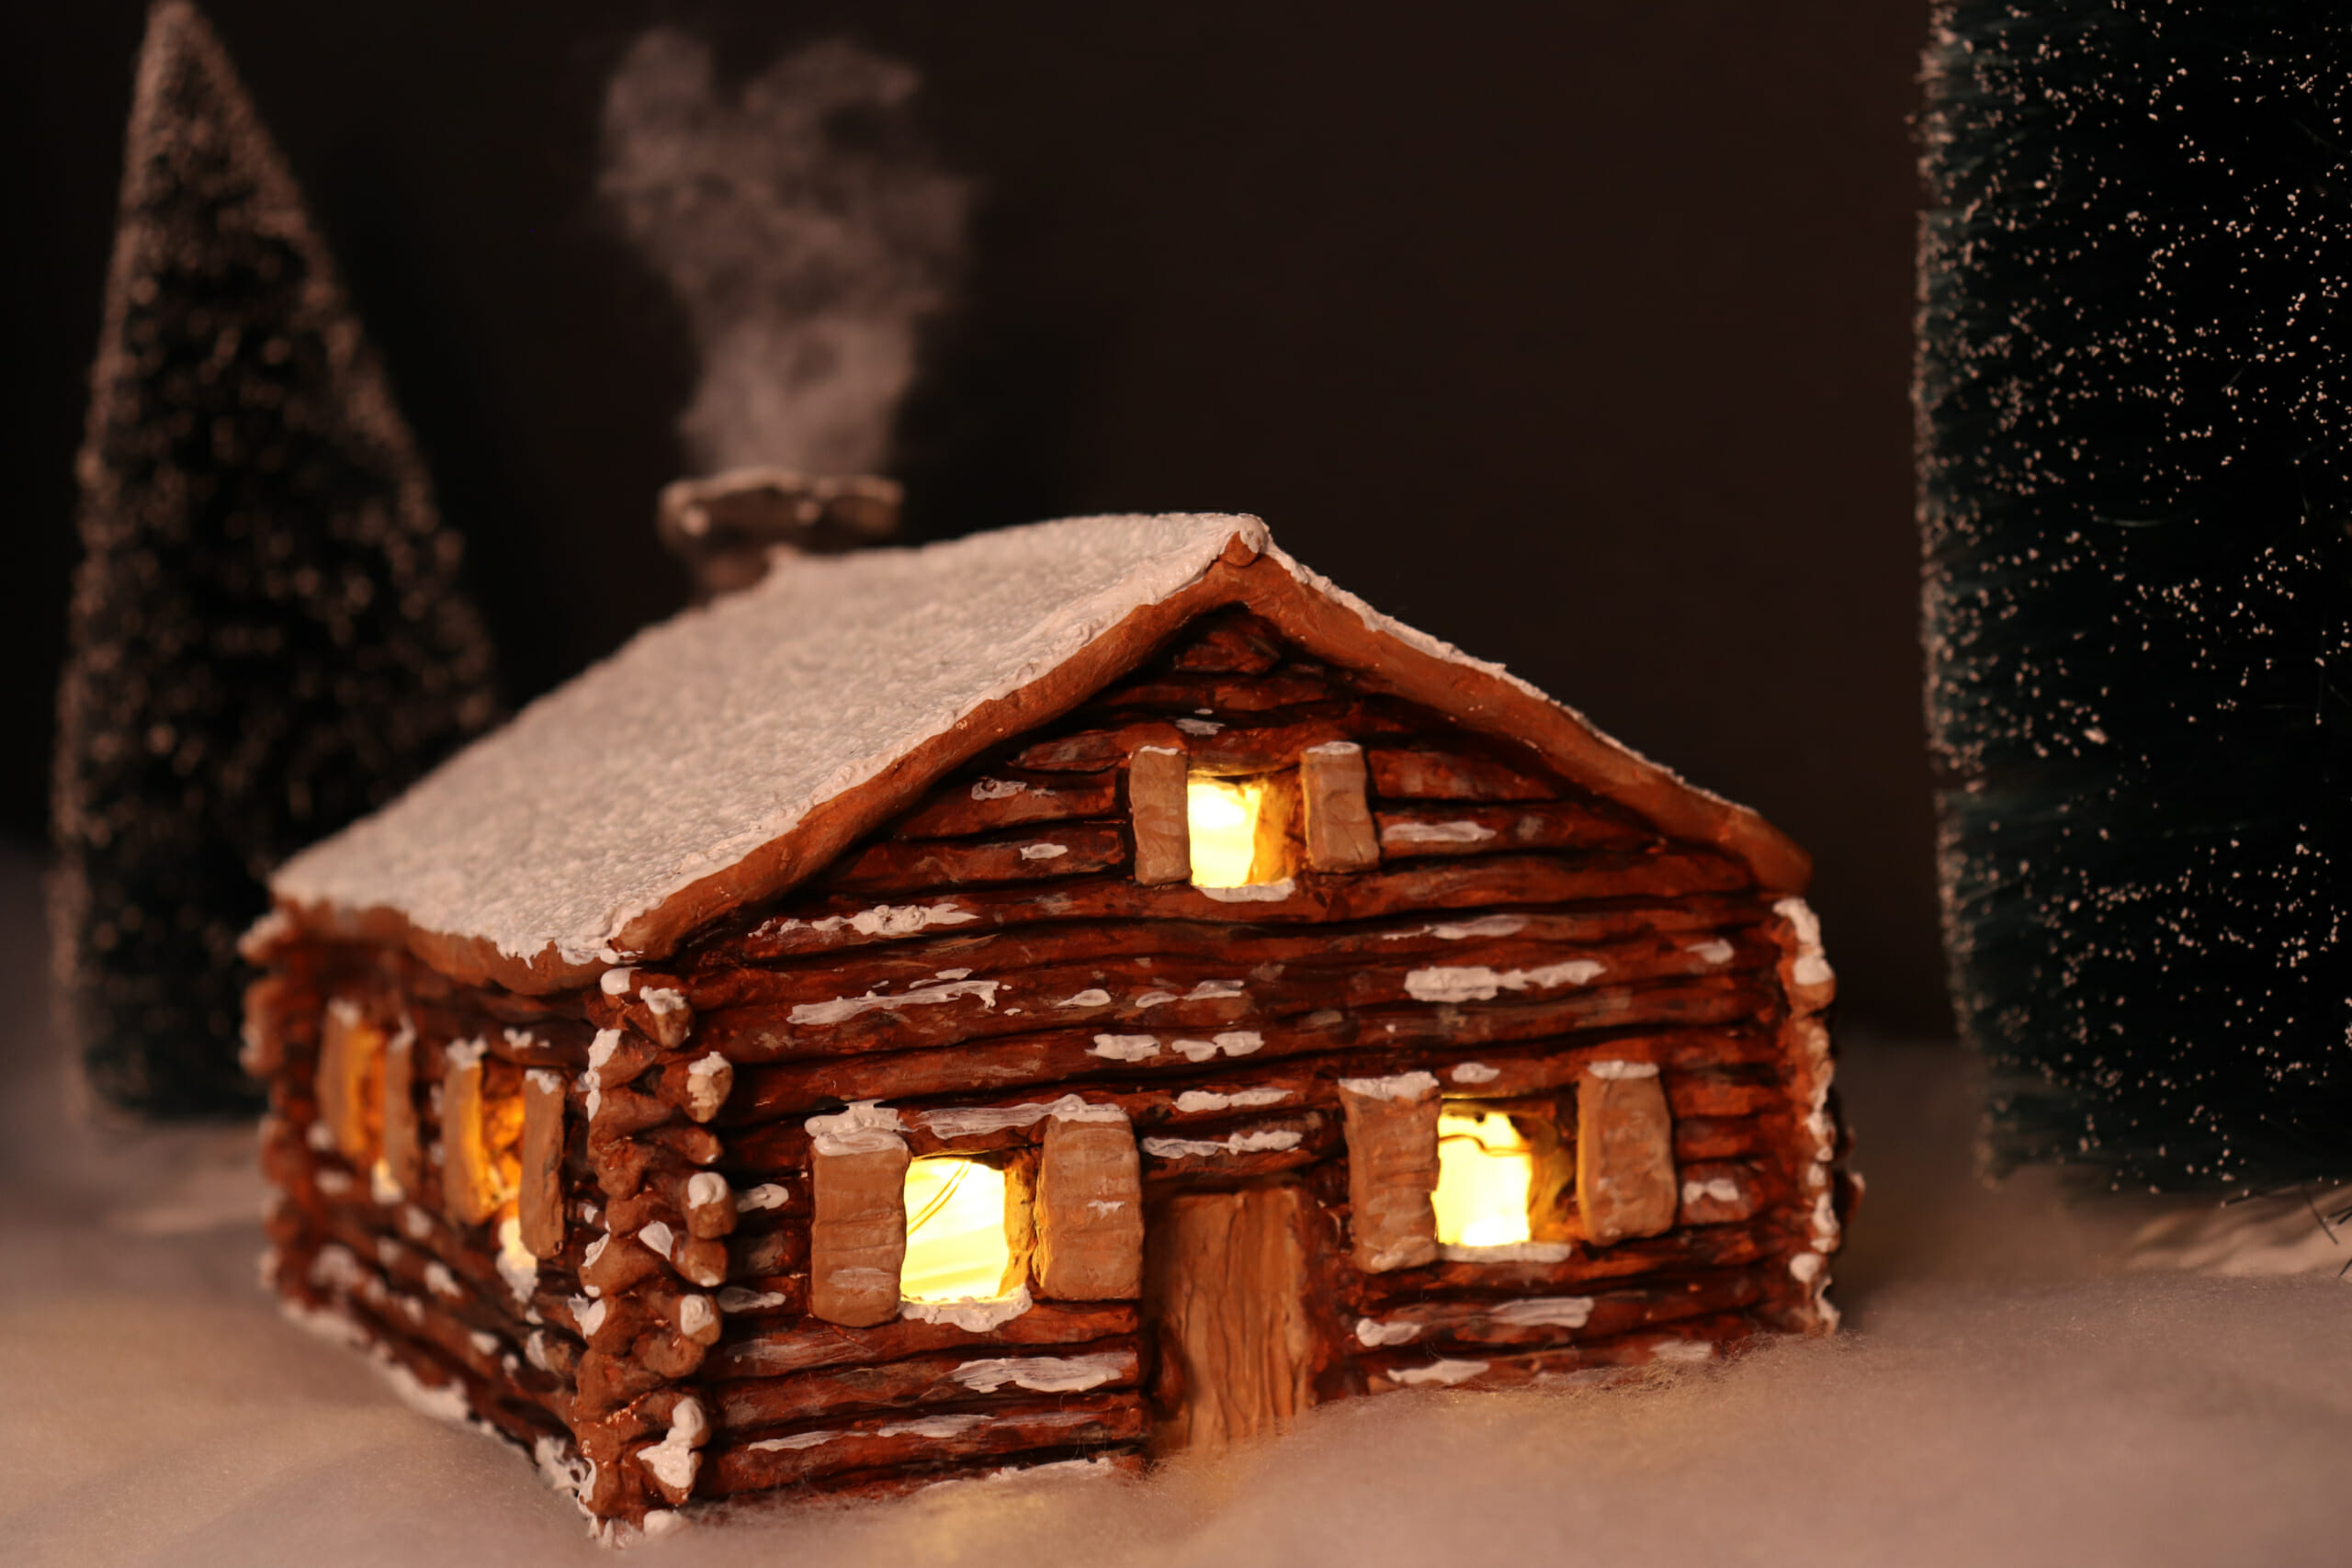
I let the snow dry completely. And then as a final step I added a wisp of Buffalo Snow to the top of the chimney to look like smoke.
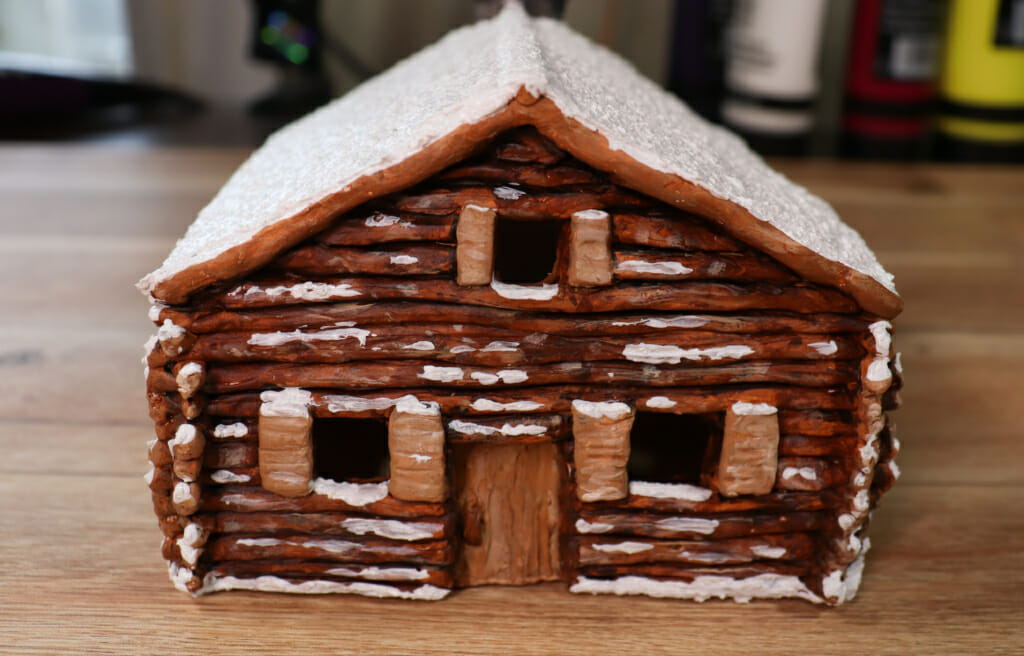
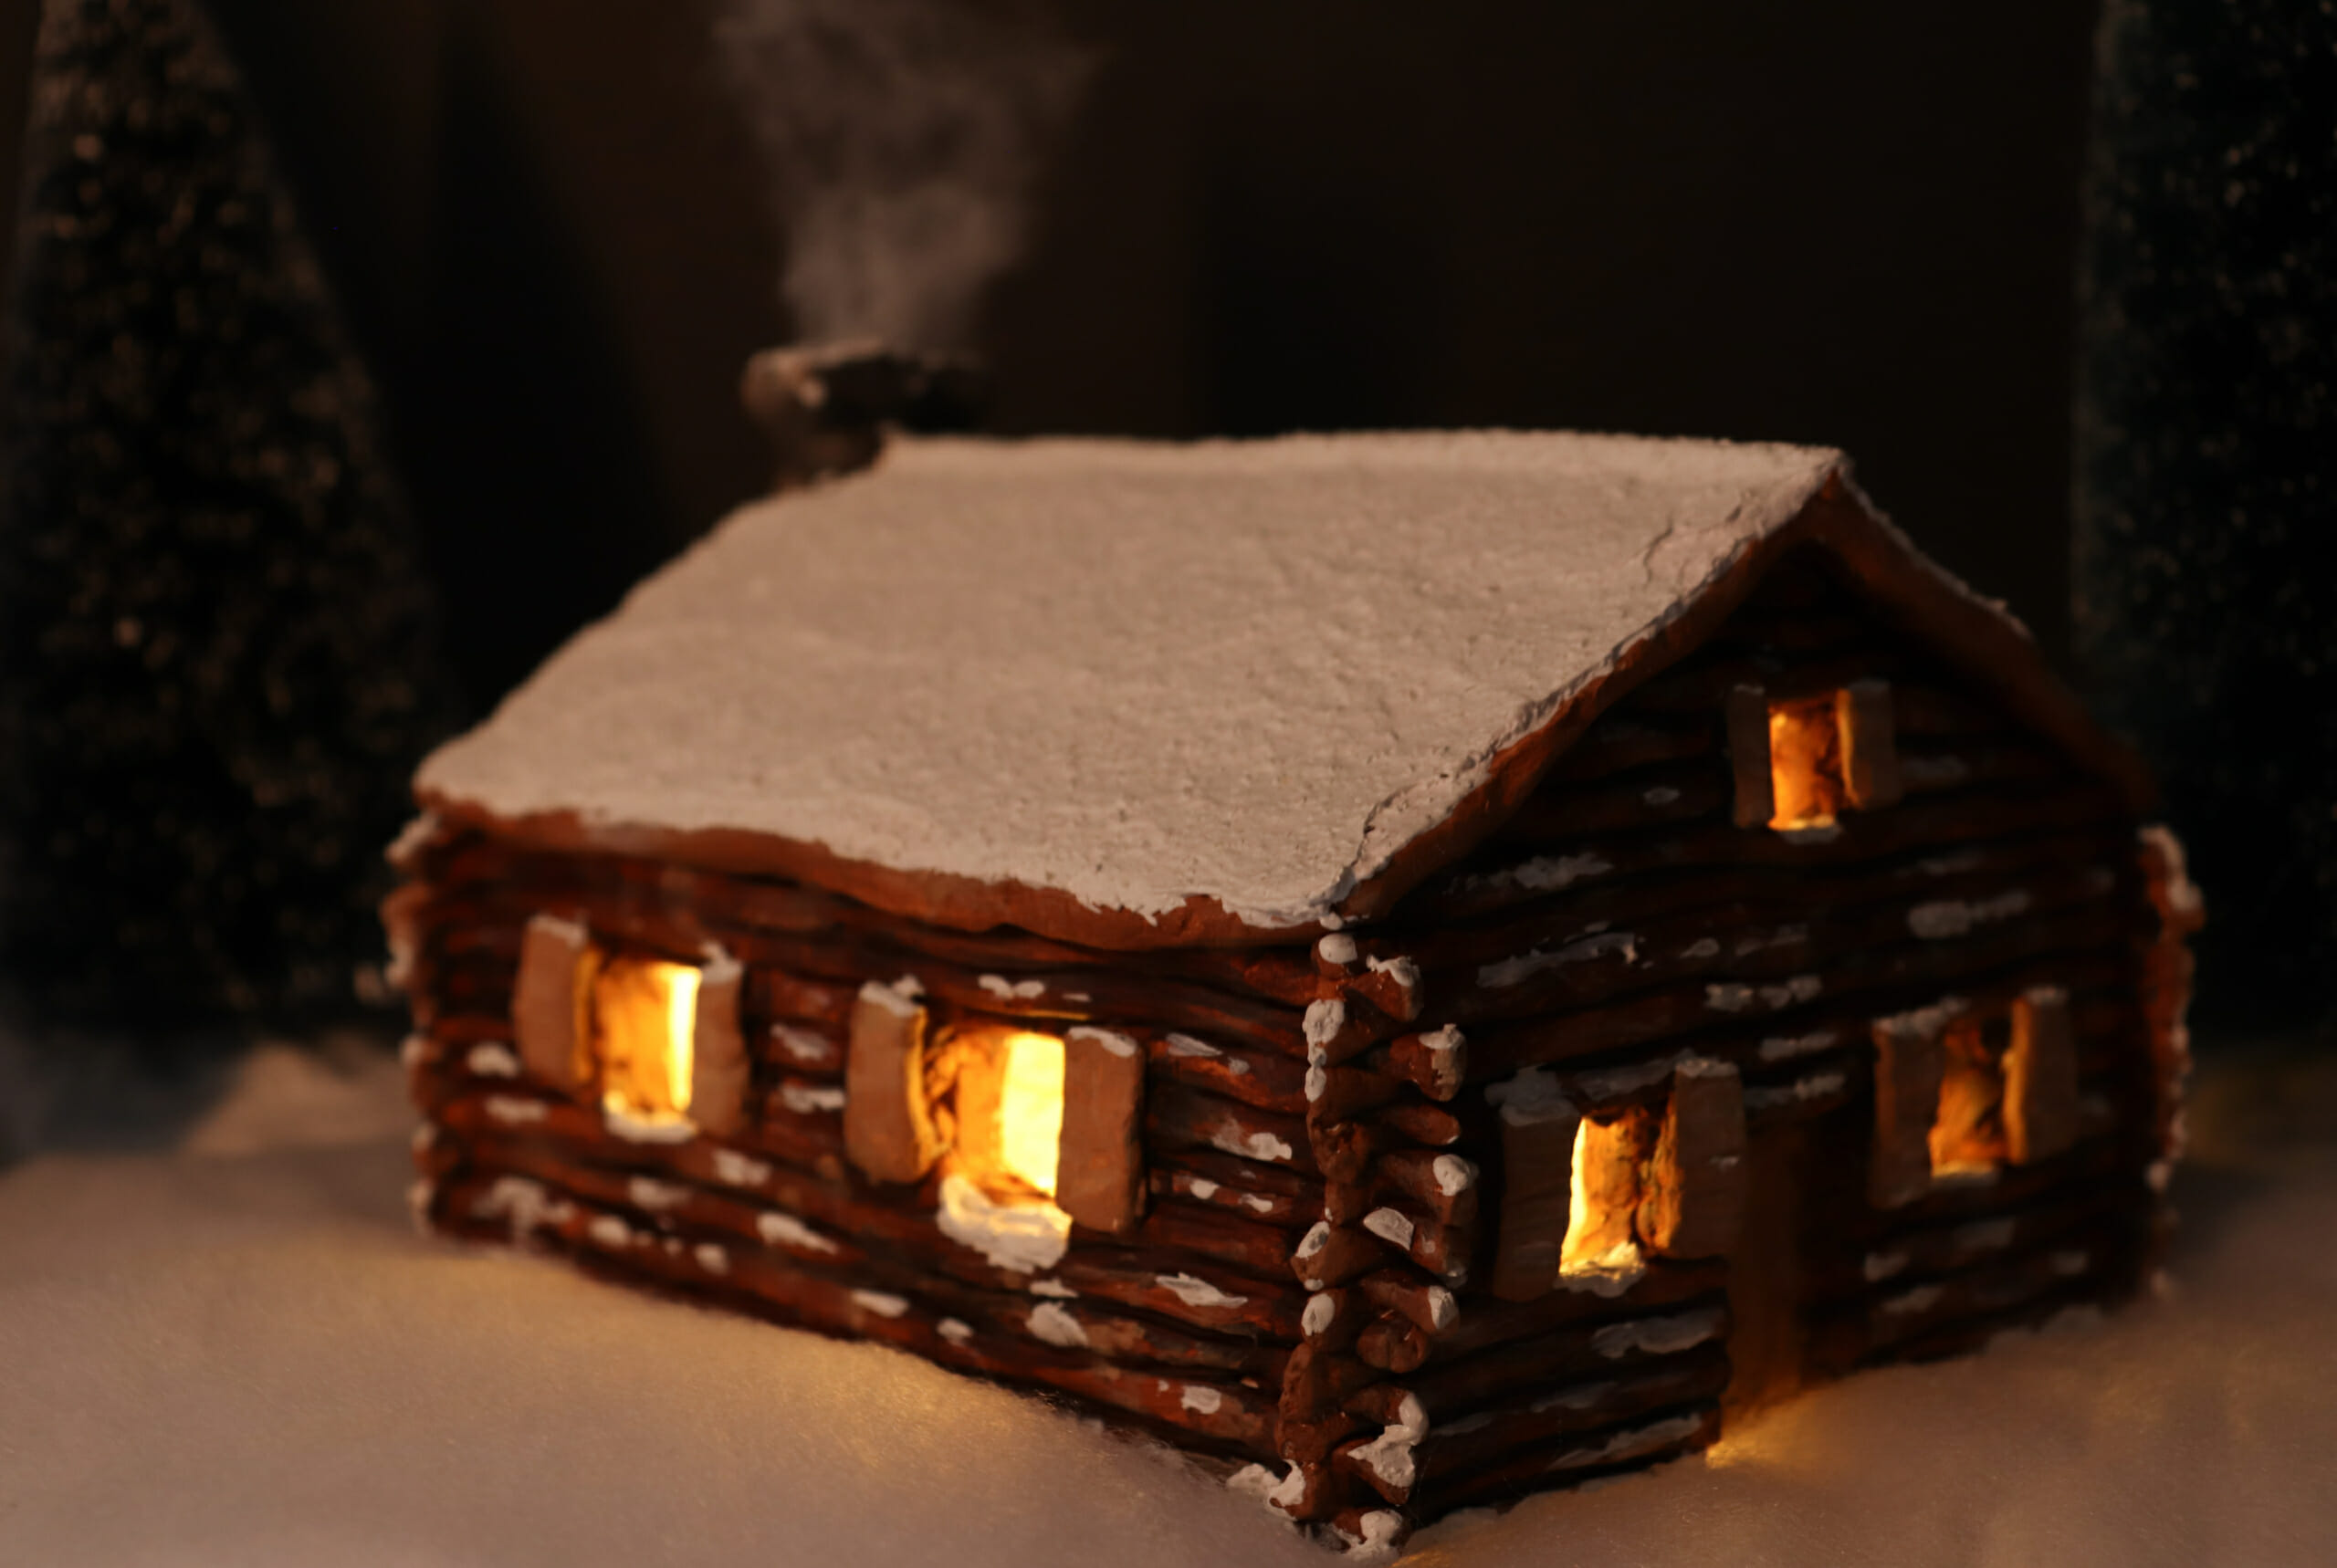
Here it is all finished and placed on my shelf with a wintery scene surrounding it. I took remote controlled string lights and put them into the cabin to create an inviting cozy glow. Hope you enjoy this craft as much as I did!
DISCLAIMER: Some of the links included might be affiliate links. If you purchase a product or service with the links provided, we may receive a small commission. There is no additional charge to you! Thank you for supporting The Daydreamers Journal!
- Written By Danielle D.