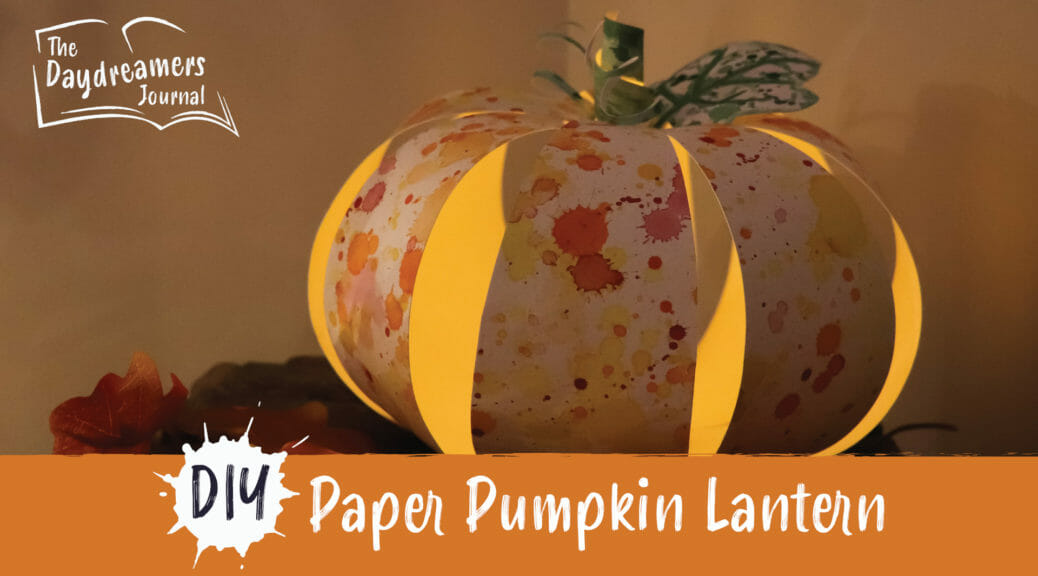
Paper Pumpkin Lanterns
It’s November! The time of year for pumpkin spiced everything! Including your lighting fixtures!?
Though I have a hard time giving up the summer season I must admit, autumn eventually wins me over with its unique and colorful charms. The crisp snap to the air, the ground covered with colorful leaf confetti, hot apple cider, snuggling into a fuzzy blanket or into my husband’s comfy flannel.
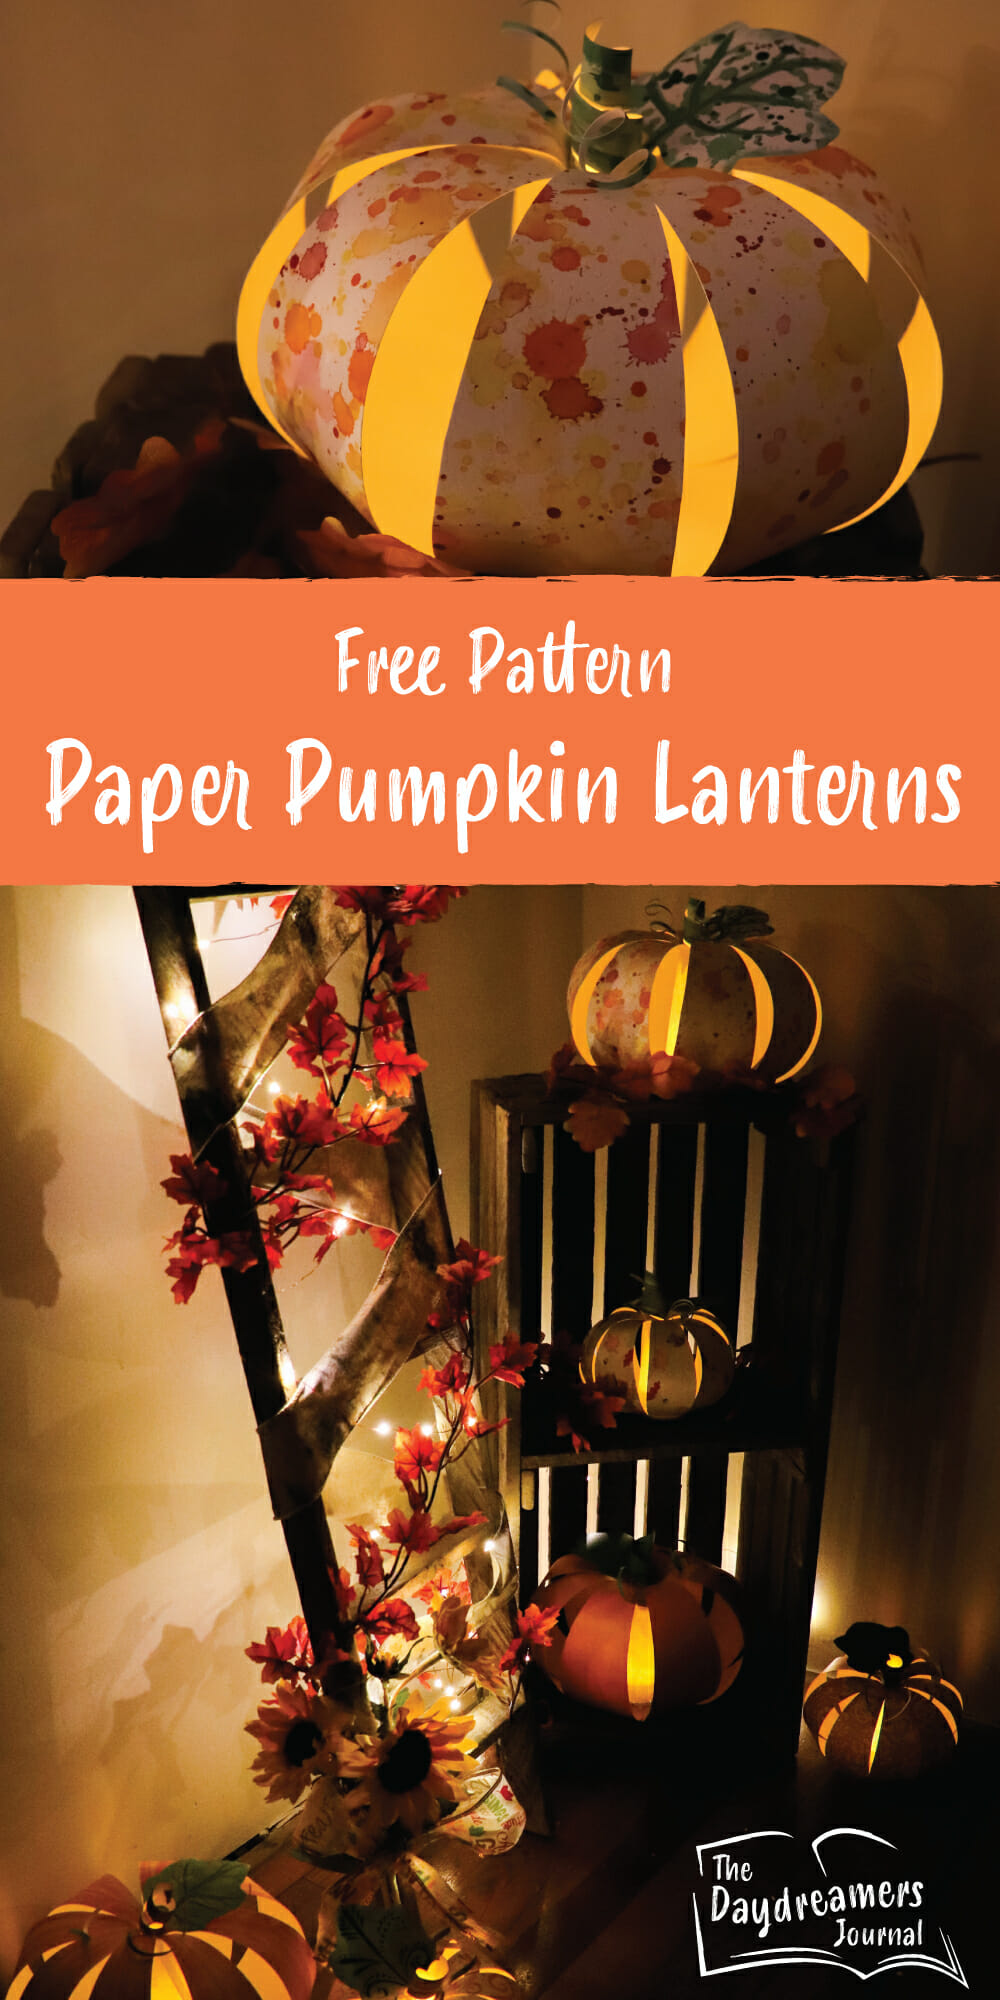
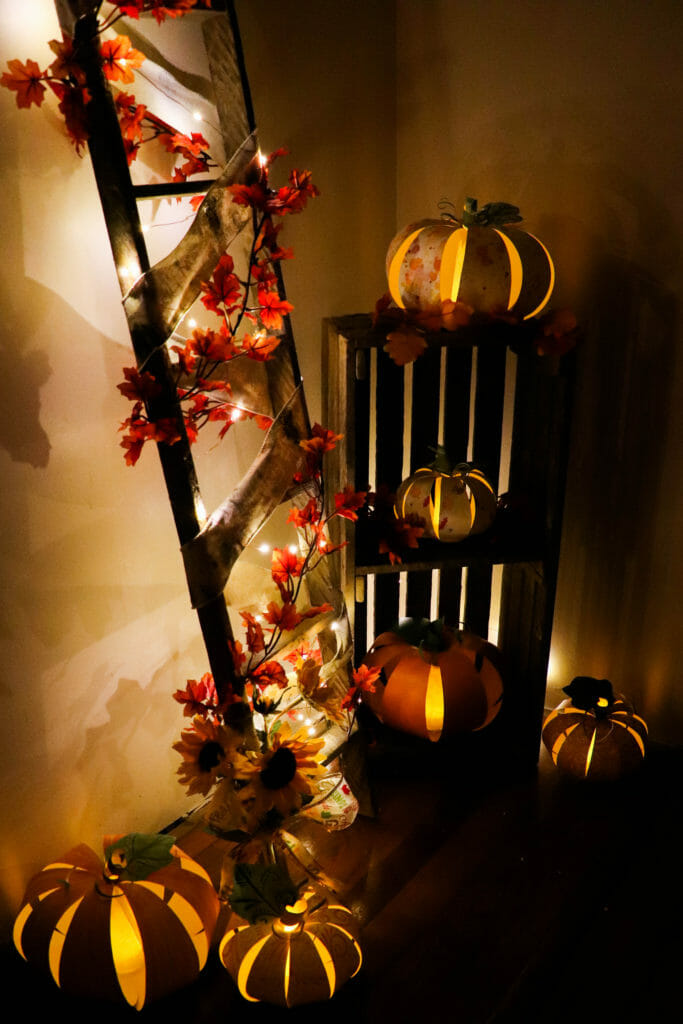
With the receding daylight hours of autumn I find it fun to have tea lights or other twinkly string lights around the house to create a cozy atmosphere. These pumpkin lanterns are a great addition to any fall décor. I originally designed and made these to sell for my business, The Art of Daydreams, but they never really took off as a sold item, but people seemed to like them, so I thought I’d share them as a free pattern and craft that you can make for yourself or as a gift!
The materials are simple; you probably have most of what you need stashed around your house right now. Here is the list of what you’ll need:
- Printer paper (for the center of the lantern, I found that this paper offered the best light diffusion)
- Cardstock or Watercolor paper/ thicker printed paper
- Battery Powered Electronic Flameless Tea Lights (this should go without saying, but please don’t use the tea lights that you actually light on fire. Paper+fire=bigger flames and you don’t want that!)
- Pencil
- Eraser
- Scissors
- X-Acto Knife (not strictly necessary but it is helpful)
- Cutting board or self-healing mat (again, helpful but not totally necessary)
- Quick Dry Tacky Glue (you can use good ole Elmers glue or a glue stick, but the best results will be with a glue that dries quickly and you only need to use a small amount.) This is my favorite brand.
- Clothespins (optional, but can help with keeping things in place while they are drying)
- Decorating materials: Watercolor or Acrylic Paint, markers, colored pencils, stickers, finger-paint, you name it! You can use whatever you fancy!
Start by printing out the free pattern. The pumpkins come in two sizes medium and large.
Print this part of the pattern on regular printer paper. *
Print these two on Cardstock.
Cut out all the pattern pieces for the size pumpkin that you want to make.
*Note: the centers of the pumpkins are printed on regular printer paper because I found that this paper diffused the light of the tea light best. So the pieces that you cut out for the centers will be the actual pieces that you will use for your pumpkin. The base of the pumpkins (the pieces that look like donuts) are also cut out and set aside to be used the final construction of the pumpkin.
The rest of the pieces printed on cardstock will be used as a template, so you’ll be using a pencil to trace those shapes onto whatever paper you would like to use for the sides, stem, and leaf of your pumpkin. I did this so that you could avoid printer lines on the exterior of the pumpkin and to also allow for more versatility.
Here is a video showing the whole process!
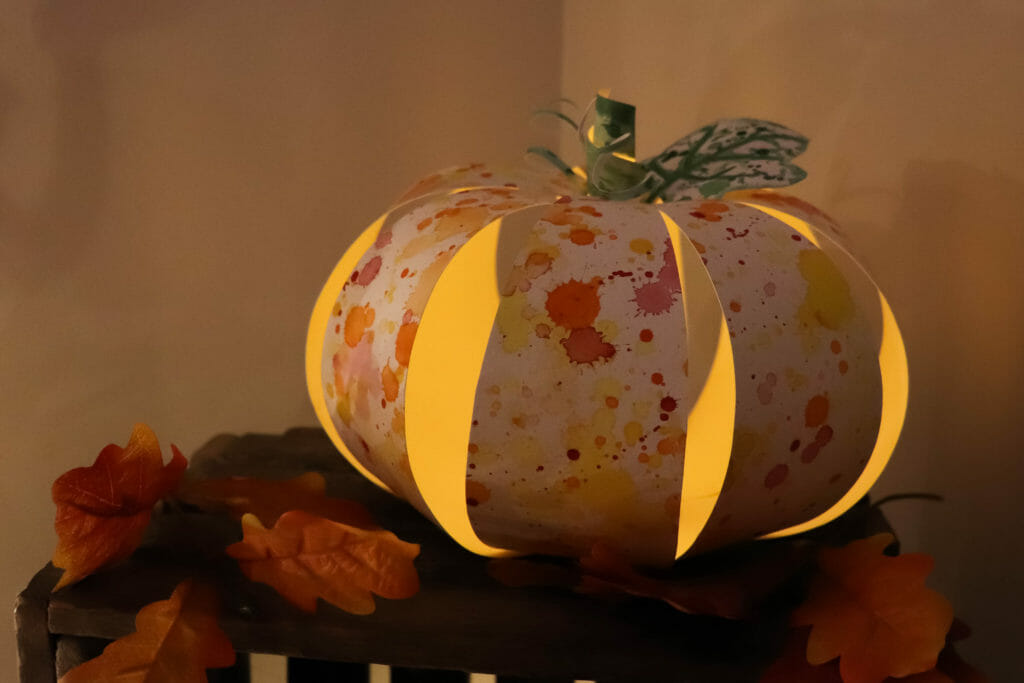
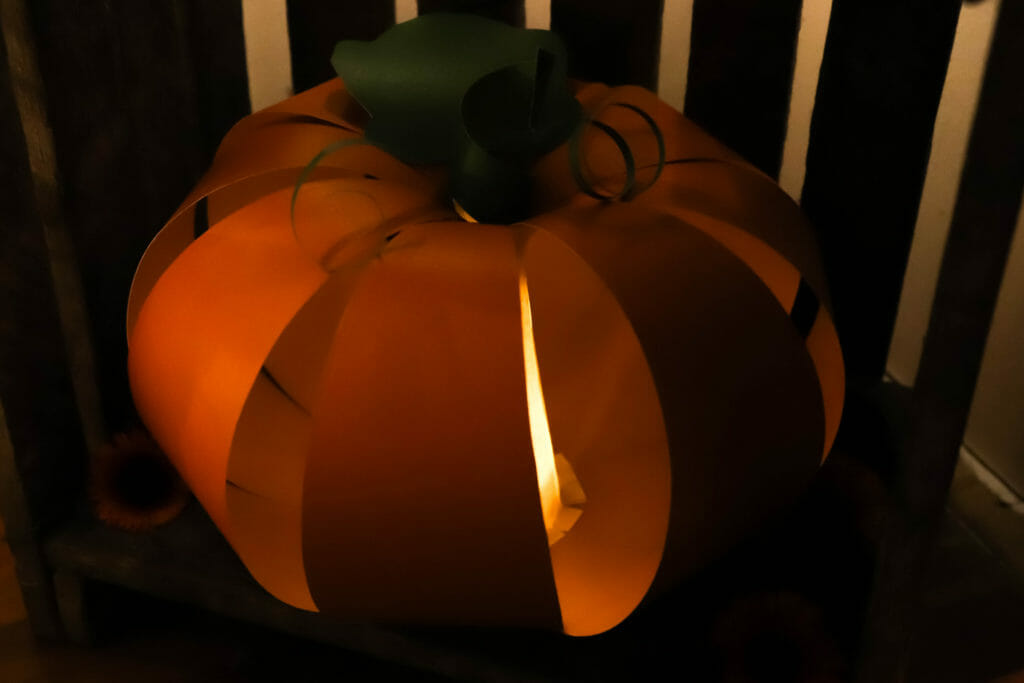
After you have the pieces cut out, now it is time to trace your stem, sides, and leaf onto the paper of your choice. In the video, I chose to use watercolor paper with watercolor paint. I must say I really loved how the splatter pumpkin turned out, and it was really fun to do! So If you don’t mind making a mess (I tend to be very good at making a mess), I definitely recommend it!
But you can do whatever you would like. Below is a large pumpkin that I made out of a lightly textured scrapbook paper. The light coming from it is slightly more subtle than the pumpkins made of a lighter colored paper, but I still liked how it turned out.
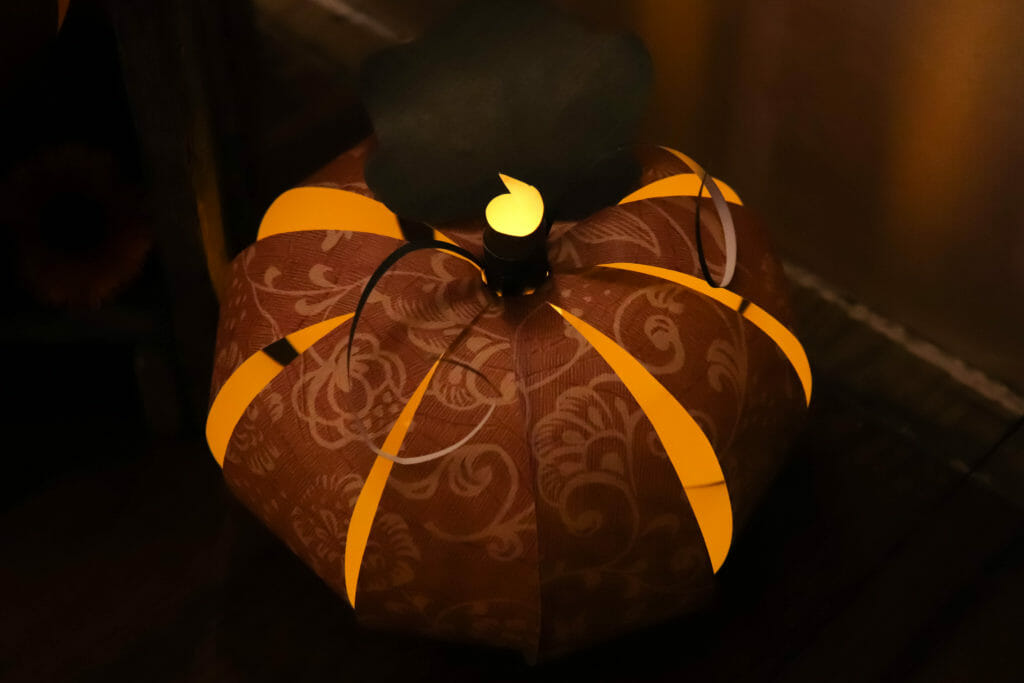
I also made a medium pumpkin out of printed scrapbook paper (picture below). Which I also thought had a nice effect. Make sure that the paper you plan on using for the stem, leaf, and sides feels similar to the weight of cardstock; you’ll need that rigidity to help your pumpkin have a nice shape. If your paper is too thin and lightweight the pumpkin won’t hold its shape as well and may start to sag.
Right! On to Construction!
Once you decide on your paper, trace the leaf, stem and sides onto your desired paper using a pencil (that way you can erase any lines that are too noticeable). For a medium pumpkin you will need to have nine side pieces. For the large pumpkin you will need eight side pieces.
Now there is two optional pieces that I didn’t include in the pattern. They are two curly pieces of paper that look vine-like, that are thin strips no more than an 1/8th of an inch wide at their widest point and I cut them so they would get thinner and form a point. And they can be as long or as short as you like (mine averaged around six inches). I chose to make mine the same color as the stem and leaf, so when I painted the stem part of my pumpkin I simply painted a little extra width that I then cut into strips after I cut out the stem. But this part is totally optional, I just thought it added a nice touch, but it would have been a difficult piece to make a template of to include in the pattern.
Take the center of your pumpkin (that will be the piece printed on thinner paper that looks kinda like a trapezoid) and add a small line of glue along one of the straight sides, try to go sparingly on the glue here, you just want enough to hold it together not drip down the sides. Curl the piece around on itself to create a sort of tube with one end bigger than the other. Try not to overlap too much here or the tube will be too small to fit your tea light. I aimed to overlap no more than an 1/8th of an inch when I glued this piece. If you have clothespins handy, pin one to each end to hold the paper in place while the glue dries, set aside to dry completely.
After you decorate your paper (if you are decorating your paper) cut out all your sides, the stem, and the leaf. Grab the base of the correct size and take your tea light and make sure the hole of the base is the right size for your tea light. The base should fit over the tea light with a small amount of wiggle room. If for some reason it doesn’t fit you’ll need to expand the hole of the base.
Add a dab of glue to the base and attach first side piece painted/decorated side down, being careful not to get too close the hole where the tea light will go. Continue dabbing glue on the base and attaching your sides evenly around the base. They will overlap slightly; it may be helpful to lay out the pieces around the base without glue first to make sure you have a good idea of what the spacing should be. Let the base and the side pieces dry. At this point it looks more like a giant flower than a pumpkin!
Once it is dry, take your center tube you made earlier and remove the clothespins. Set the tube down with the widest part on your table. Does it lean to one side or rock back and forth? If it does, trim off the excess so that it sits more or less flat on the table. Take a pair of scissors and make small snips around the widest part of the tube approximately 1/8th of an inch long and 1/8th of an inch apart. Use your fingers to fan out the snips so they are at approximately ninety degrees to the rest of the tube. Add some dabs of glue to the snipped area and attach it carefully to the base of the pumpkin over the hole. Make sure the sides of the tube are not overlapping the hole in the base, the best way I’ve found to check is to put one eye up to the hole in the top of the tube and look down to the base to make sure the hole is clear and the tube is centered over the hole. Press the snipped areas flat to adhere the glue. This step feels a little bit like looking through a spyglass and you can see me do it in the video where you can’t see the pumpkin anymore, all you can see is the back of my head! But it really was the best way I could find to make sure it was centered properly, if the tube isn’t centered correctly it will affect how your tea light fits. In fact, I would recommend, after these pieces dry you take your tea light and fit it in the hole on the bottom again just to be sure nothing went wonky. I have made some pumpkins where the tea light fits a bit more snug than I’d like. (If for some reason the light doesn’t fit, don’t despair, take an X-Acto knife and trim the center tube off the base of the pumpkin and print out a new center and try assembling it again)
Now the fun part, where it actually starts to look like a pumpkin! Take a pencil and one of the side pieces and run the straight side of the pencil along the interior of the pumpkin piece to give it a slight curl. This step isn’t totally necessary, but it does help to keep your sides from getting any folds or creases and it gives it a smooth curve. Add a dab of glue to the inside of the pointy end of one of the side pieces. Carefully insert the side piece into the top of the center tube, the point shouldn’t go into the tube more than a ½ an inch, and press it against the wall of the tube. Press and hold so the glue adheres. Spin the pumpkin around to the opposite side and repeat. I glued the sides this way to try to keep the pumpkin even. Keep gluing alternate sides until all the sides are connected to the center.
Take your stem piece and a pencil and wrap the stem around the pencil tightly, decorated side out. Hold it for a moment and remove the pencil. Stretch and open the coils of the stem and test fit it into the pumpkin (The end of the stem with the diagonal cut is the top of the stem that will be sticking out of the pumpkin). Then pull out the stem and add a few dabs of glue around the bottom of the stem and insert it into the top of the pumpkin.
Take the leaf and a pencil and run the straight side of the pencil along the back of the leaf to give it a light curve. Add a dab of glue to the stem of the leaf and insert it in the pumpkin beside the stem piece.
*Optional* cut out your thin vine-like pieces from the same color as your stem. Wrap these thin strips around a pencil tightly. Remove the pencil and add a dab of glue to the wider end of the strip and insert into the pumpkin beside the stem piece. Repeat with other strip.
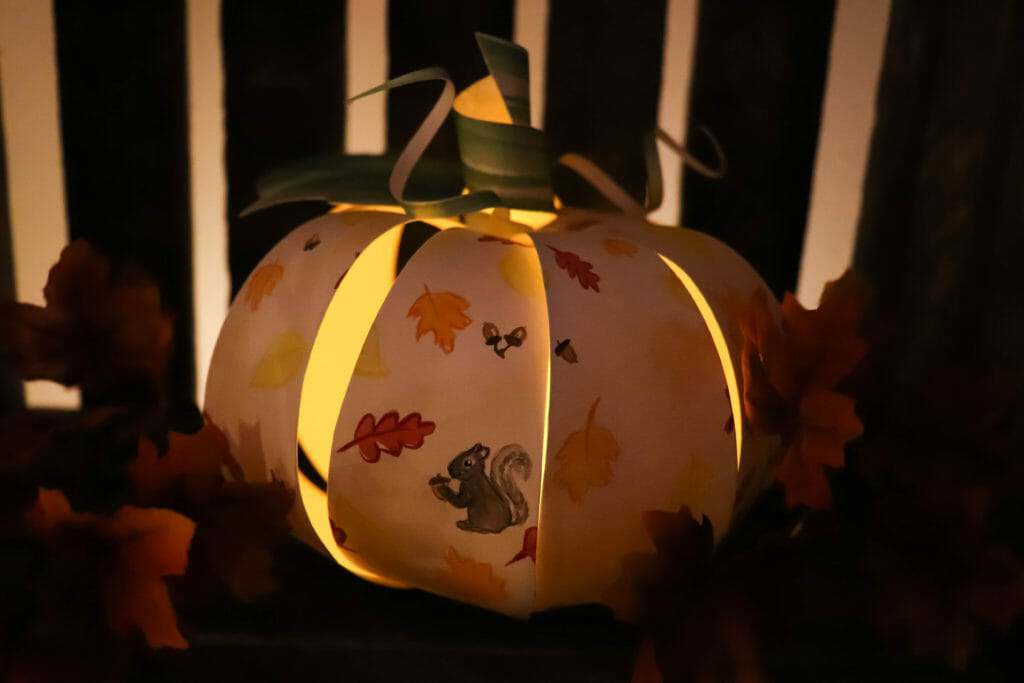
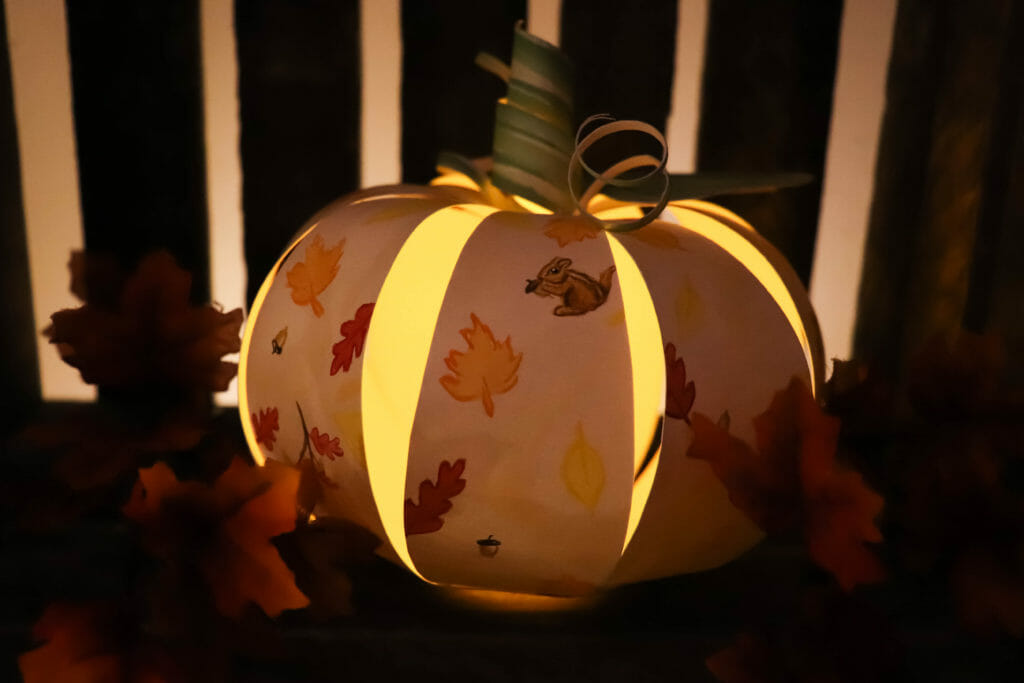
After the glue dries your masterpiece is complete! Switch on the tea light and place it under the pumpkin and enjoy the cozy glow!
God bless and have fun!
DISCLAIMER: Some of the links included might be affiliate links. If you purchase a product or service with the links provided, we may receive a small commission. There is no additional charge to you! Thank you for supporting The Daydreamers Journal!
- Written By Danielle D.