Homemade Chocolate Mug Cake Mix (Great For Gifts!)

I’m always on the lookout for unique gifts for people in my life. Though gift cards are always a great option, I really enjoy being able to give a homemade gift. I also have a minor obsession with cute jars/bottles/containers etc… So making gifts that fit into jars is always fun for me!
Anyways, this chocolate mug cake mix is a great gift option if you are in need of a quick and easy gift for someone this holiday season. When searching for a mug cake mix, I found a good base recipe here. It is a delicious recipe, but I made some adjustments to fit my preferences and quadrupled the recipe to make a mix with just dry ingredients so I could gift it. You wouldn’t have to make this mix as a gift; you could simply put the mix together and use it as an easy dessert for when you are feeling peckish for some chocolate. 😉
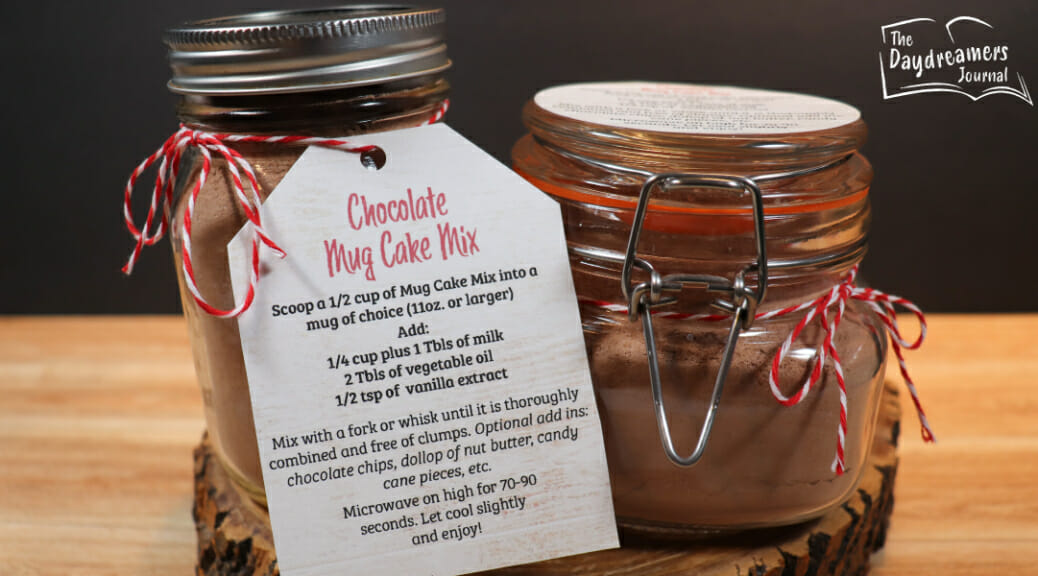
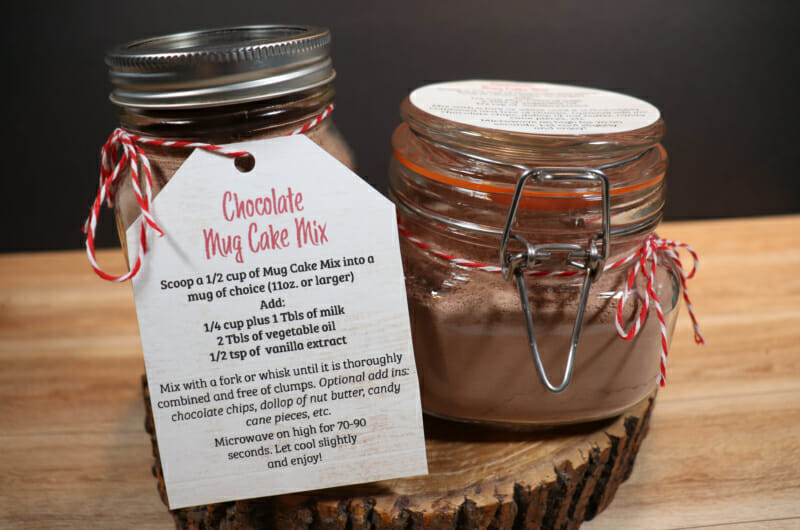
I also am including some printable tags to attach to your jar of choice with easy instructions. I really like swing top jars because the mouth is wider and allows for easy access to the mix with a measuring cup, but you can also just use a regular canning jar or clean mayonnaise jar if that floats your boat.
The one tag is circular and I designed it to be attached to the top of the swing top jars. But, you could also punch a hole near the top of the tag and attach it to your jar that way too. I also made a rectangular tag as well if that suits the shape of your jar better. Hope you enjoy! Now, on to the recipe!
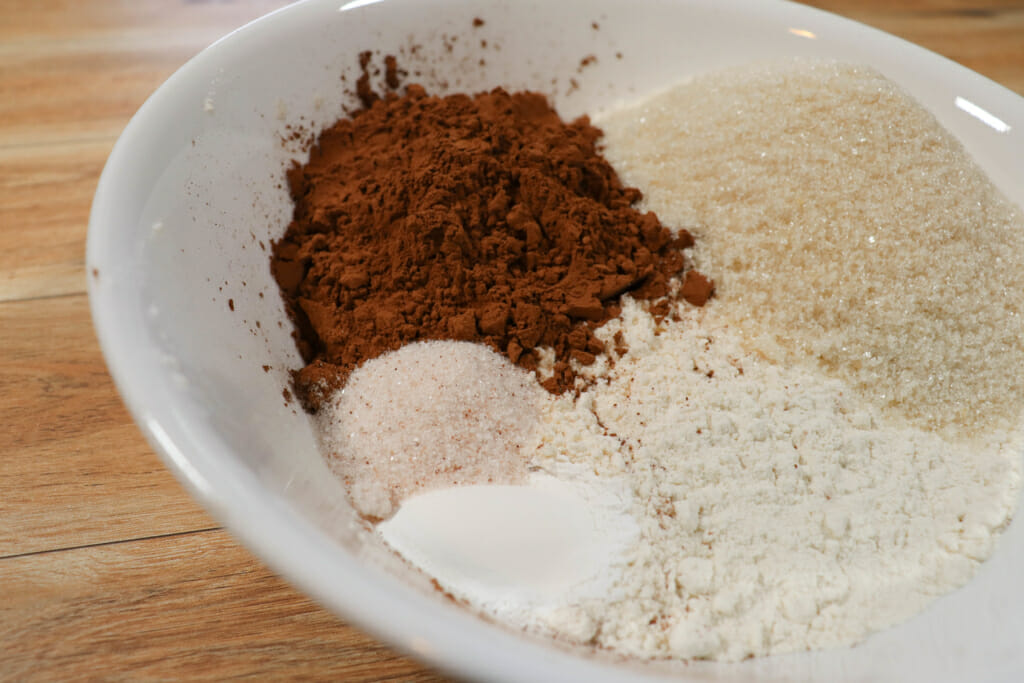
This mix makes enough to make 4 mug cakes, it works out that it will just fit into a 16oz jar, if you shake it down. 😉 The process is super simple: take all of the ingredients and dump them into a bowl.
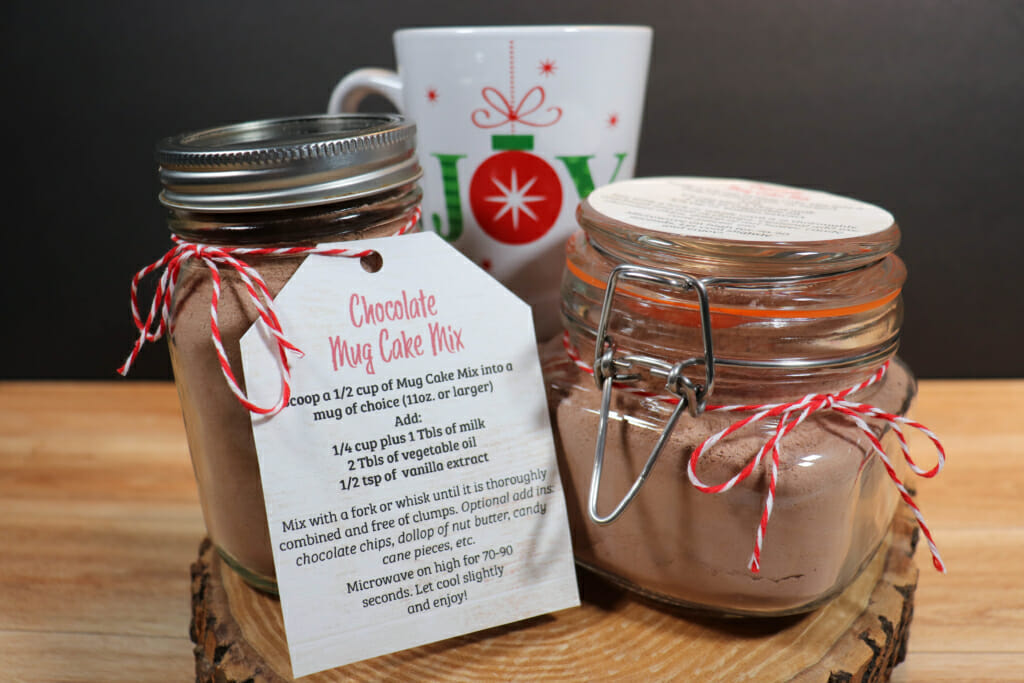
Then, whisk thoroughly so that all the ingredients are equally distributed and carefully transfer the mix into your desired jar. A canning funnel or a piece of parchment paper formed into a funnel-like shape works well to get the mix into the jar without making a complete mess. Although, I usually find a way to make a mess anyway. 😛 After that, it is just a matter of adding the tag and embellishing the jar. I used some festive twine, but you could use ribbon, fabric, etc. In a small bag, you could also include chocolate chips, candy cane pieces, peanut butter cups, nuts etc. if you wanted to make it a more elaborate gift. Or, give the mix with a fun mug! Viola! All done!
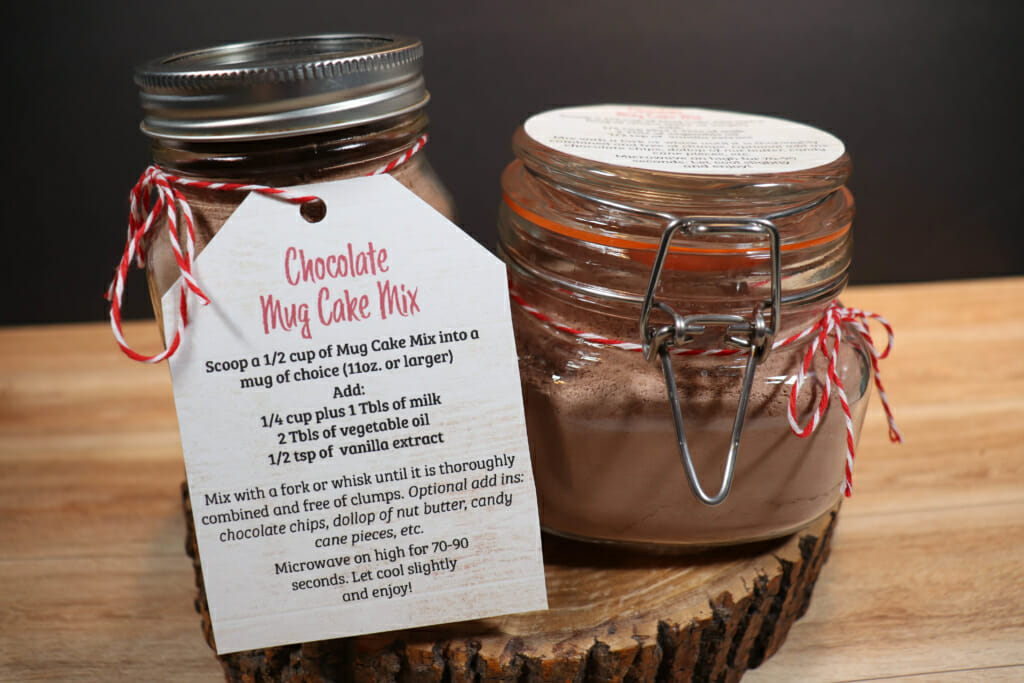
To make the mug cake, scoop a 1/2 cup of mug cake mix into a mug 11oz. or larger, then add 1/4 cup plus 1 Tbls of milk, 2 Tbls of vegetable oil, and 1/2 tsp vanilla extract. Mix all ingredients well with a fork or small whisk until it is well mixed and no clumps remain. Optionally, you can add in chocolate chips, candy cane pieces or a dollop of your favorite nut butter, etc.
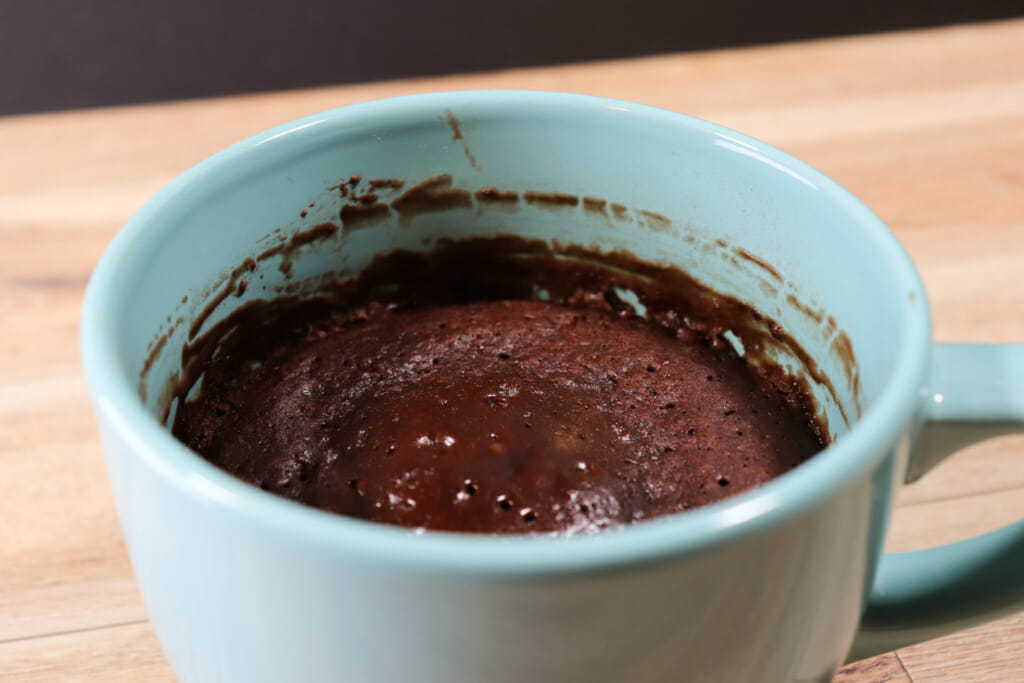
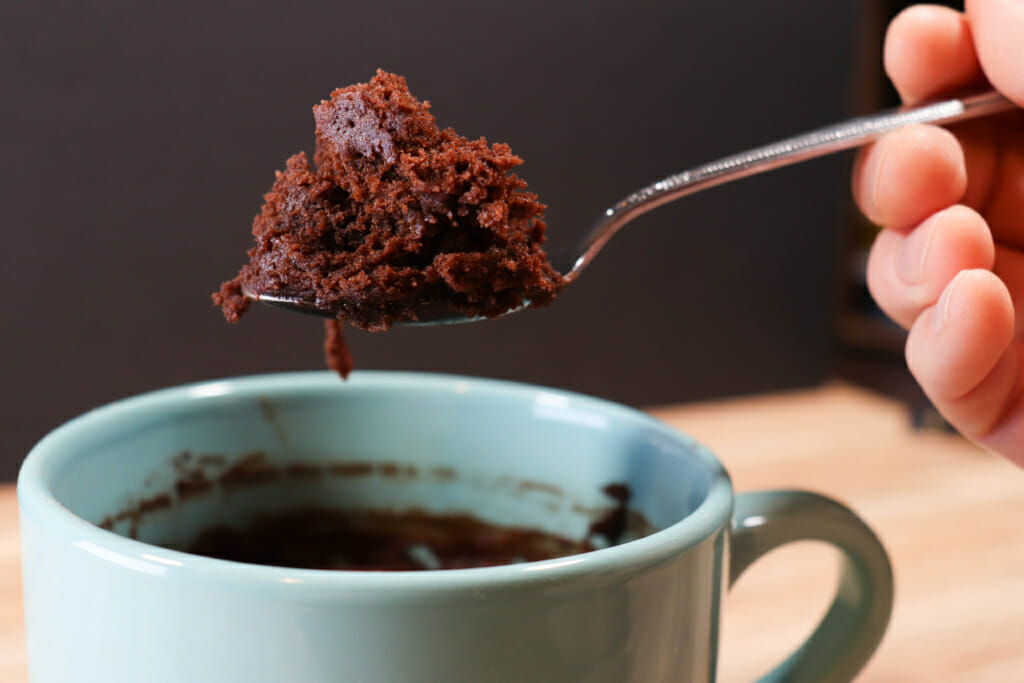
Microwave on high for 70-90 seconds, (how long it takes depends on your microwave, just keep an eye on it. It is actually quite fun to watch it puff up in the microwave). Let it cool slightly and enjoy!
Hope you have fun with this recipe!
Homemade Chocolate Mug Cake Mix (Great For Gifts!)
4
servings10
minutes1
minuteIngredients
1 cup flour
1/2 cup cocoa powder
1 tsp baking soda
2/3 cup plus 1 Tbls sugar
1 tsp salt
- To make the cake
1/2 cup mug cake mix
1/4 cup + 1 Tbsp milk
2 Tbsp vegetable oil
1/2 tsp vanilla extract
Directions
- Place all ingredients in bowl.
- Whisk thoroughly make sure all ingredients are evenly distributed.
- Carefully transfer to a jar of choice (16oz. or larger).
- To make the cake
- Mix all ingredients well with a fork or small whisk until it is well mixed and no clumps remain. Optionally, you can add in chocolate chips, candy cane pieces or a dollop of your favorite nut butter, etc
- Microwave on high for 70-90 seconds. Let it cool slightly and enjoy!
DISCLAIMER: Some of the links included might be affiliate links. If you purchase a product or service with the links provided, we may receive a small commission. There is no additional charge to you! Thank you for supporting The Daydreamers Journal!
- Written By Danielle D.