
DIY Faux Wood Box Decoration
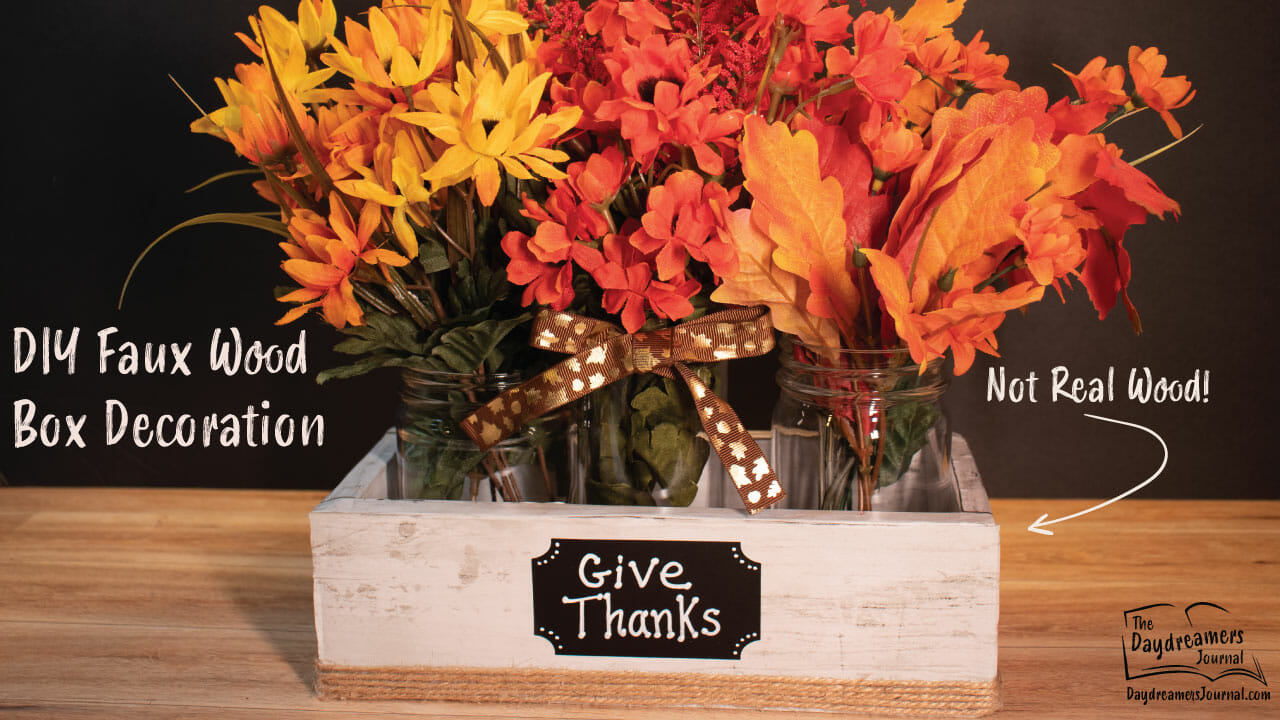
So I was inspired by a craft store… again. Does that happen to anyone else? You go to a craft store just to “look around” and find something cute and think, “That’s cool! I could totally make that. And it would be cheaper too…” And the wheels in your brain start turning. Well, it happens to me rather frequently. Maybe I’m just frugal, but I really dislike overpaying for something that I could make myself, especially when I could customize it to my own liking as well! So, full disclosure time, my original plan was to make this box out of actual wood, but we are working on remodeling the house we bought earlier this year and I suddenly realized, oh, all of our tools I would need for this project are over at our house (we are currently not living in the house yet due to repairs). Hm… that might make this a little more interesting. So, with my creative engine chugging along I thought, “Okay, I can’t make this out of wood… but I could make it look like wood!” Thus, this craft was born!
I raided our recycling stash for most of the basics for this project. Cardboard, chipboard from the back of old sketchbooks, and glass jars. Along with my obsessions with yarn, paintbrushes, and chickens, I also have a cute container fascination. Jars, bottles, bowls, etc. There is something about these vessels that just makes me happy. (It must run in my family because my sister and I both geek out about cute containers ?) So why let those adorable jars go to the recycling center when you can make something with them that you would be proud to display in your home or give away as a gift?
So just a side note, you could totally make this craft with a wooden crate or box that you purchase or make, but if you want an added challenge and you want to upgrade your creative recycling status to the next level, you can make it like I did in the video below ? Or could you go the faux wood route if you are like me and have a hankering to craft, but alas, your wood working tools are not available at the moment. Either way, I really enjoyed this craft and was very happy with the way it turned out! I also love that fact that it can be used for multiple seasons, simply by changing the decoration inside and adjusting the chalkboard label. I’m all about having things that can be used for more than one purpose!
Let’s Get Started!
What you will need:
- Cardboard box (this is your starting structure)
- Chipboard or old cereal boxes
- Printed peel and stick wallpaper
- Glass Jars
- Hot glue gun
- Hot glue sticks (I like this brand)
- Scissors
- T-Square or Ruler
- Cutting Mat
- Utility Knife or Xacto Knife
- Rotary Cutter (optional, but very helpful for this project)
- Bone Folder or Stylus (for scoring and bending chipboard)
- Pencil or Pen
- Chalkboard Labels
- Chalk Marker
- Twine or String
- Ribbon
- Artificial Flowers, Leaves, etc.

A few notes and explanation of what you see in the video:
First, you could do this whole project with corrugated cardboard and skip adding the chipboard pieces all together. I choose to add the chipboard to make the finished product smoother. That way you would not see the lines and texture of the corrugation in the finish product. It also made the box a bit thicker and I think made it look more like wood. The main area that the chipboard is needed is on the top lip of the box, these rough corrugated ends would look a bit messy without it.
Second, I chose to add some extra details of the wallpaper at the very end of the box construction, like the extra pieces on both shorted ends of the box. I did this to try and add the illusion that it was pieced together like it would be if it were really made of wood. Those steps are totally optional, it was just a personal preference.
- Written By Danielle D.