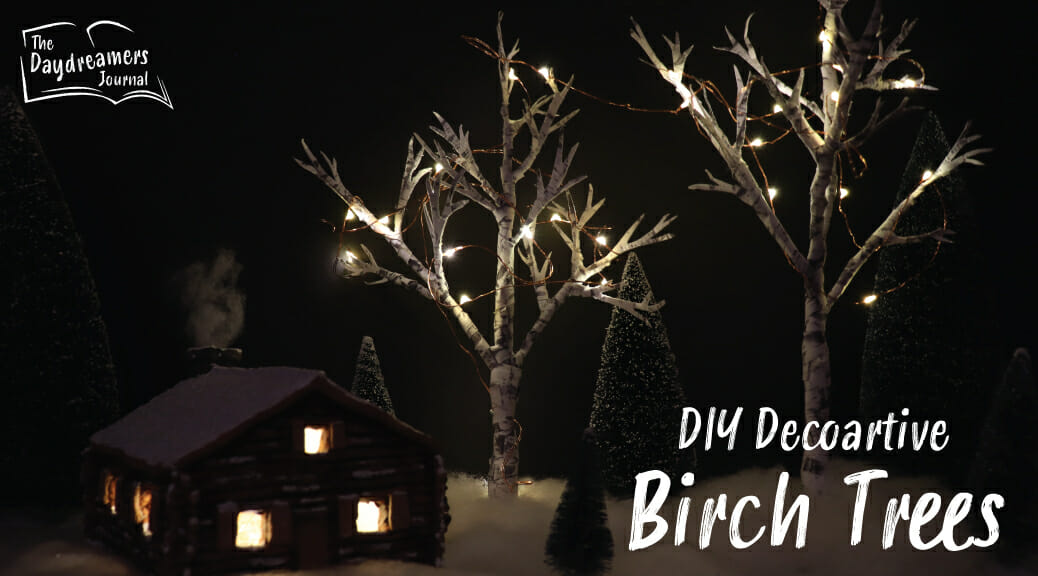
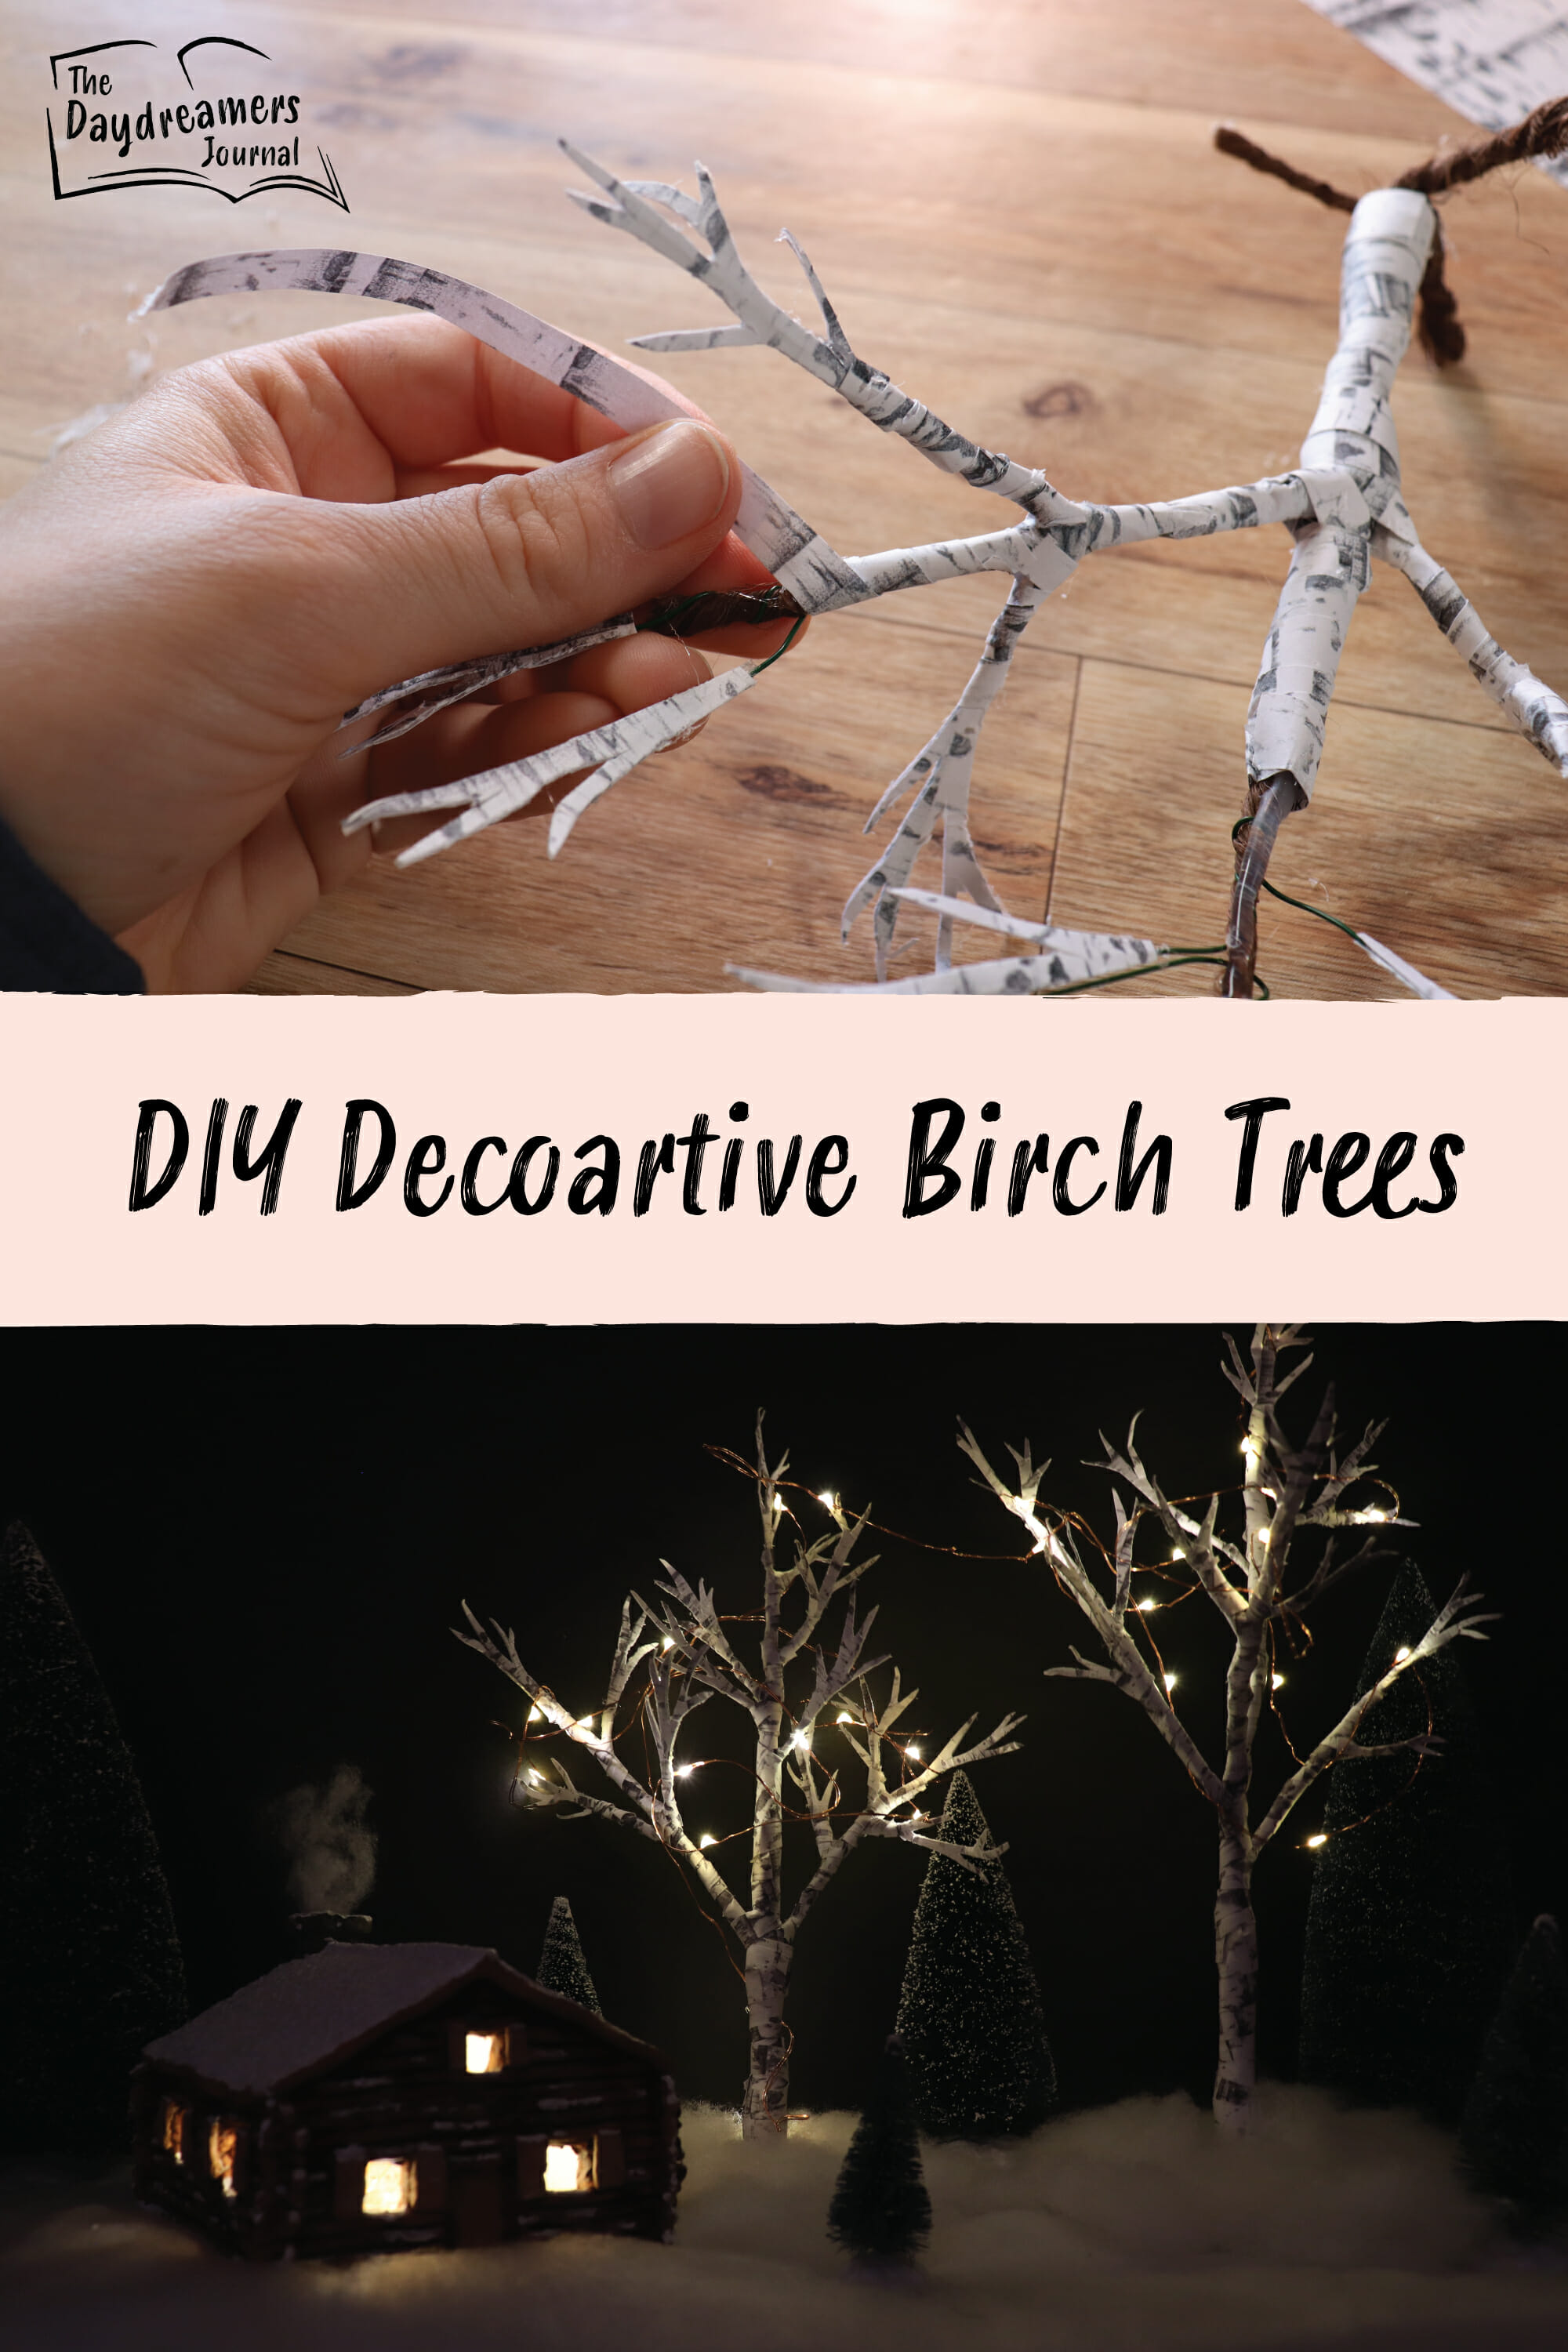
DIY Decorative Birch Trees
January can be a difficult month. The hubbub of Christmas is over and things start to return to our normal routines. But at some point I usually get a little restless. What better way to dispel the restlessness than with a craft! I made a clay cabin a little while ago and I wanted to add one more touch to the decoration. Birch trees! I’m using them for a winter scene, but they would also be adorable as a spring decoration by adding dried moss, tissue paper, or felt to the roots instead of buffalo snow. You could also glue dried moss or tissue paper to the tips of the branches to look like small budding leaves. Come to think of it you could also add warm autumn colors to make it pop as a fall decoration too! So many possibilities! Let’s get rolling!
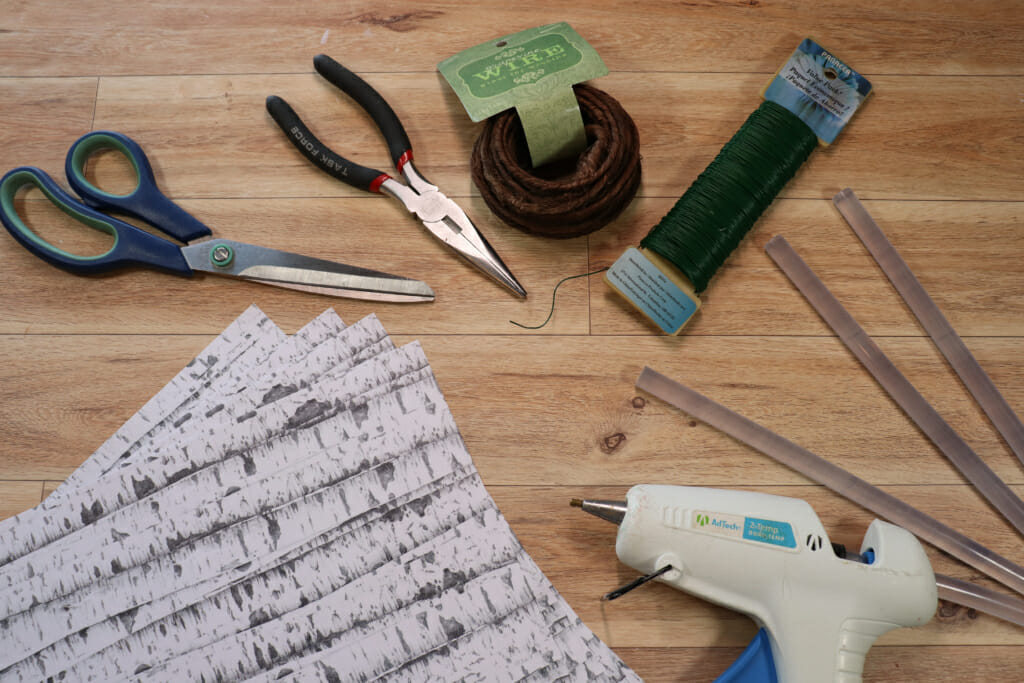
What You’ll Need:
- Florist Wire
- Grapevine Wire
- Paper printed with birch texture
- Hot glue gun
- Hot glue sticks
- Scissors
- Wire cutters
- Pliers(optional but can be helpful when twisting wire)
- Cardboard for the base
- Buffalo snow, dried moss, felt, or tissue paper(depending on your desired season:))
Getting Started
Start by cutting wire into various lengths, I cut 3 pieces of the grapevine wire, one about 9 inches long and two more that were shorter. I then cut some of the thinner florist wire into shorter lengths about 3 to 6 inches long.
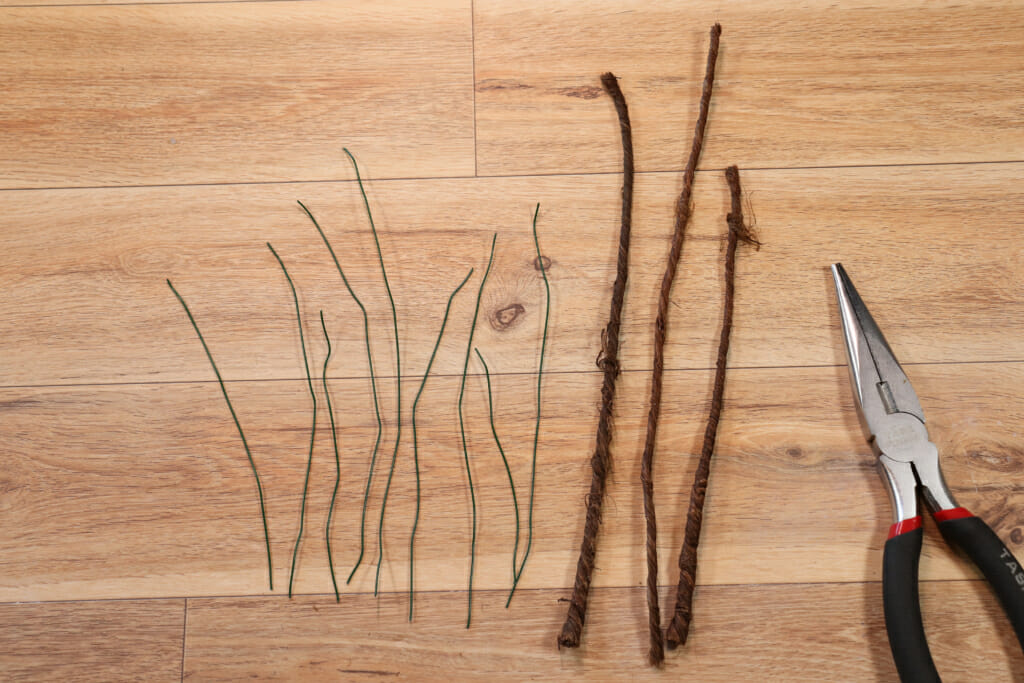
Next, I took the pieces of grapevine wire and twisted on pieces of the florist wire near one end of the grapevine piece. I folded the thinner wire in half over the top of the grapevine wire and then wrapped the ends of the florist wire around one or two more times to hold it in place. This creates the smaller branches of the tree, I tried to vary the length of the branches by using shorter and longer wires.
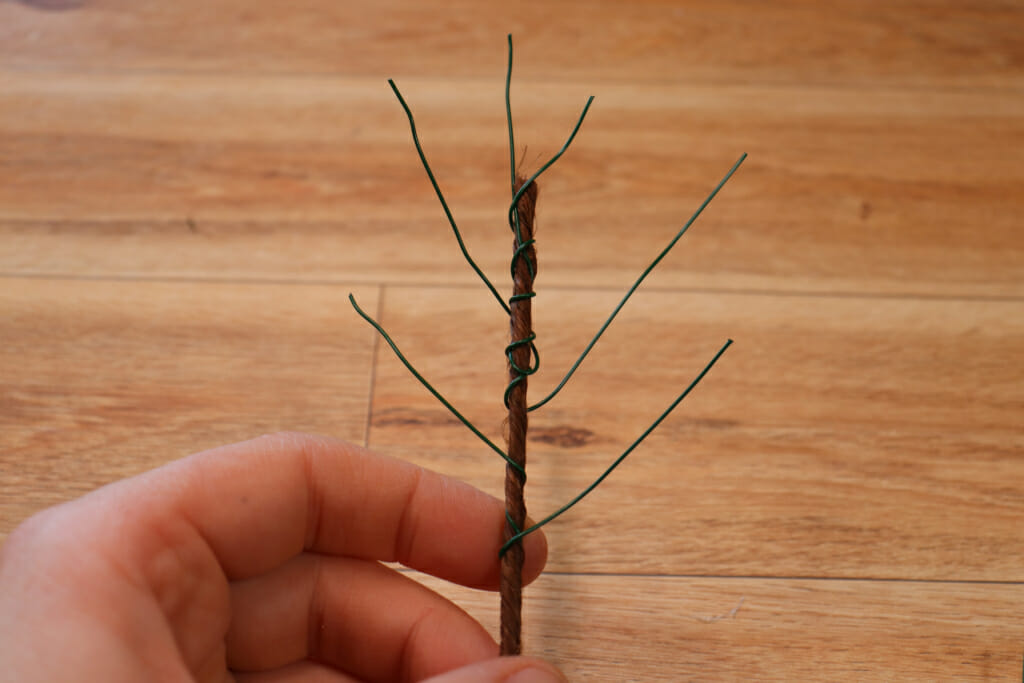
Then do the same thing to all of the pieces of grapevine wire.
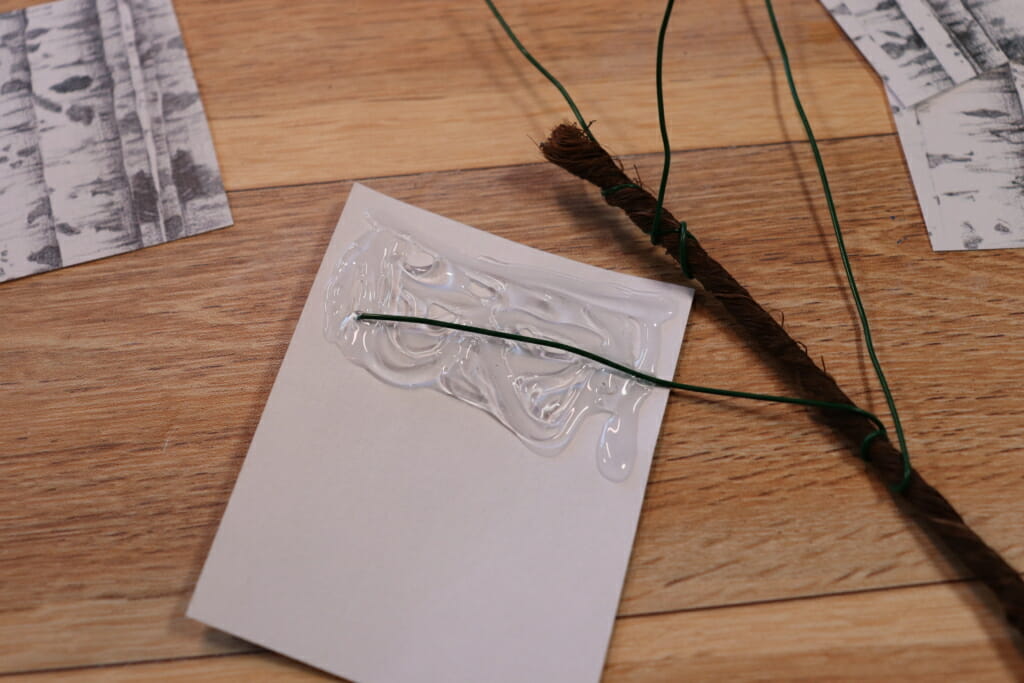
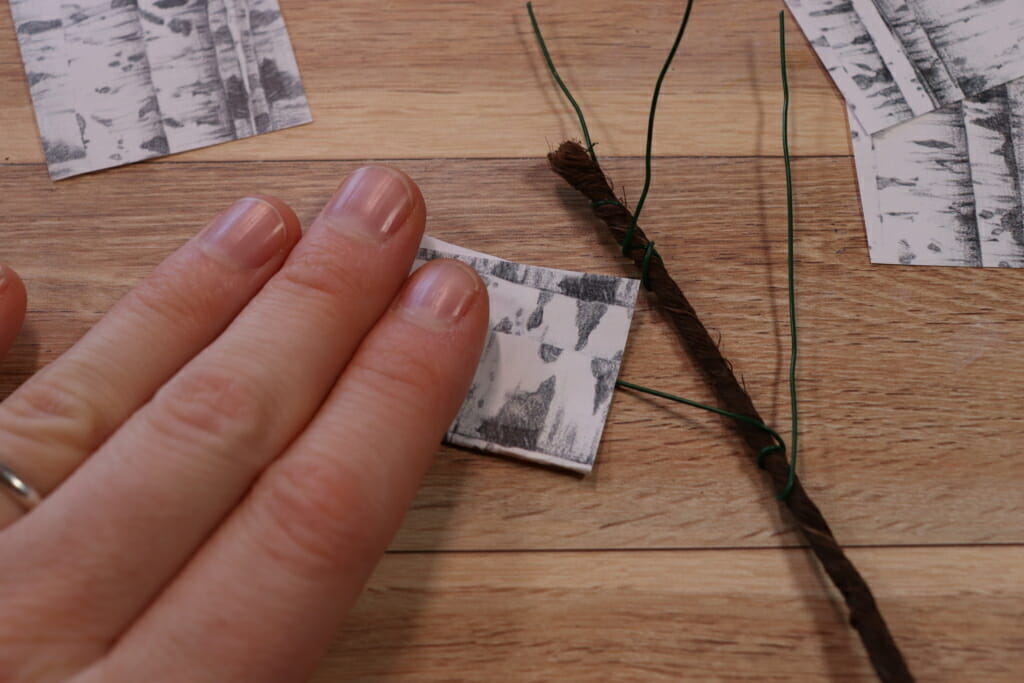
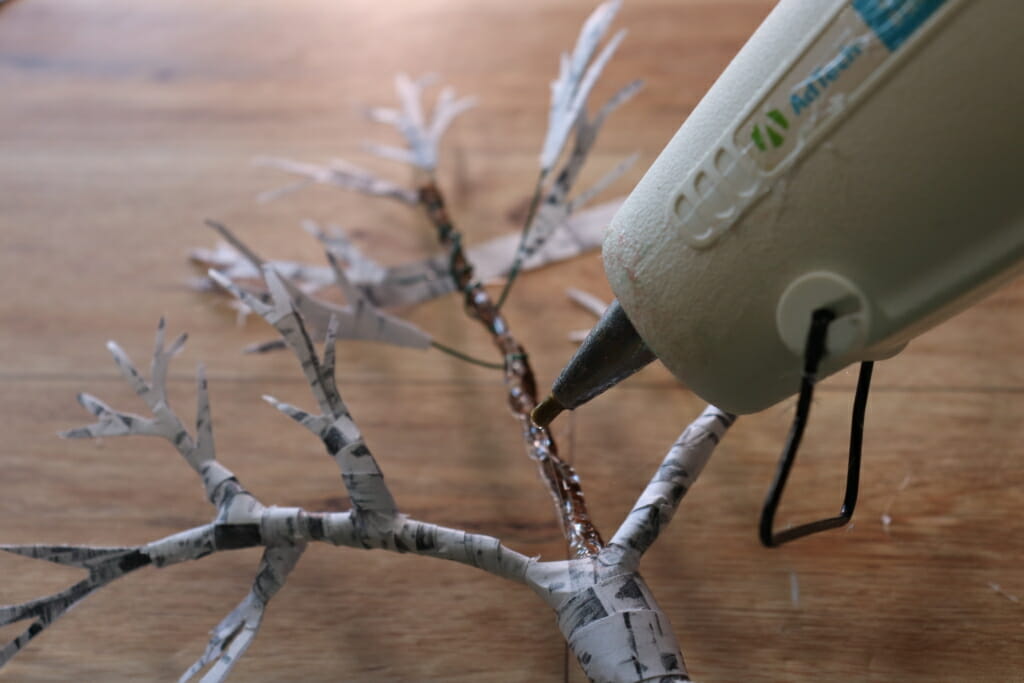
Next, I cut out small pieces of the birch paper approximately 3 inches by 2 inches. I added hot glue to one side of the unprinted part and placed one of the small tree branches on the hot glue. I then carefully folded over the paper to completely cover the glue.
I completed that step with all of the branches.
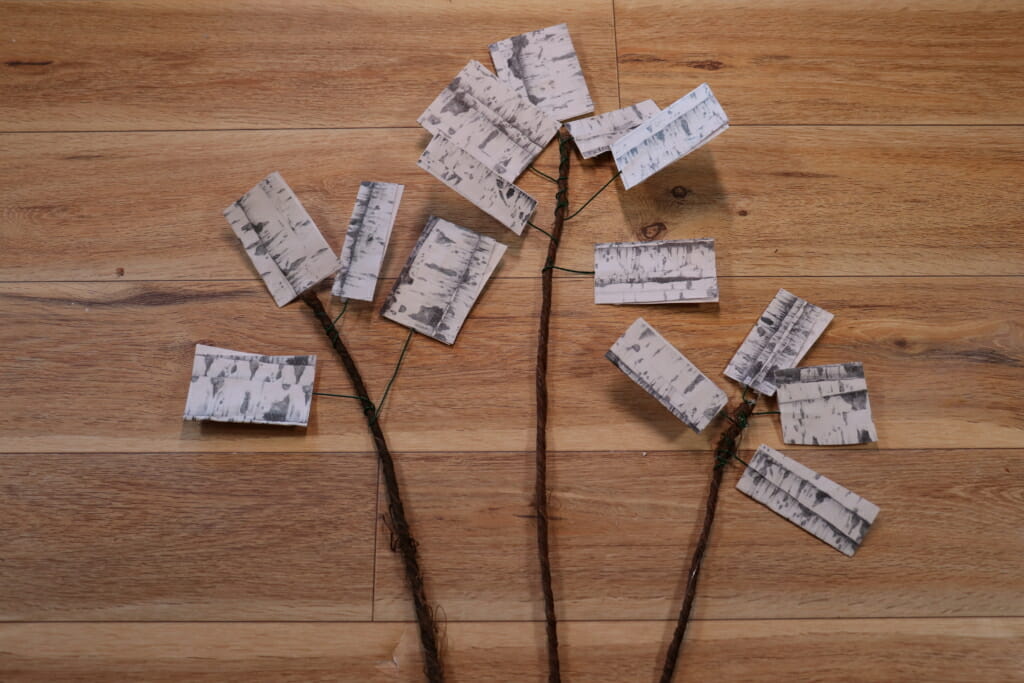
Once the glue was completely cool. I then took a pair of sharp scissors and snipped away the paper and hot glue creating a branch-like shape.
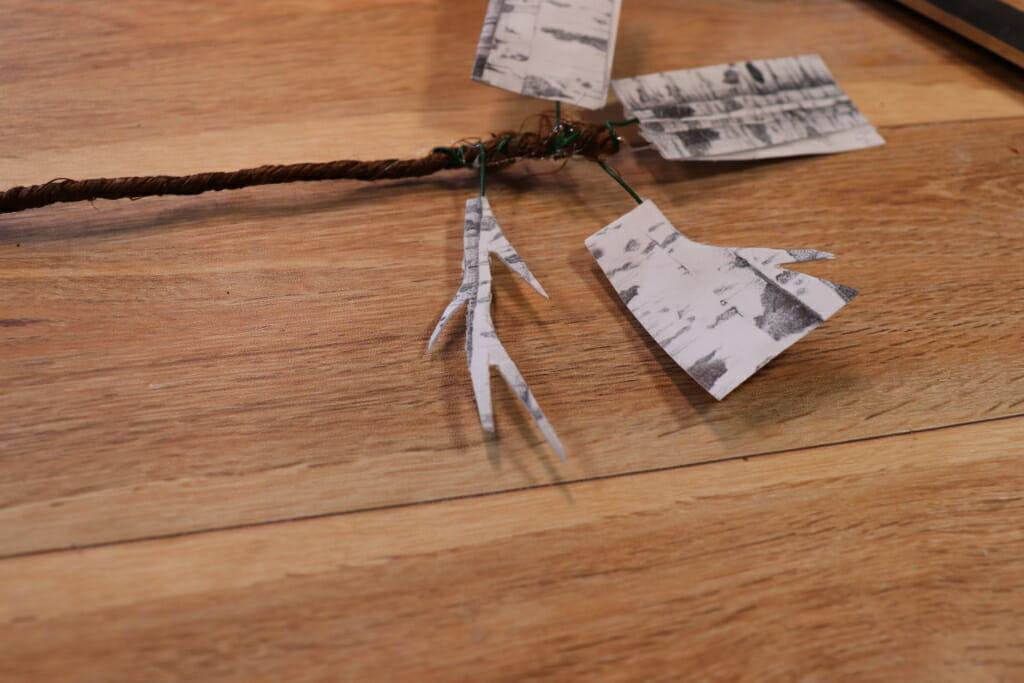
I completed this step on all of the branches.
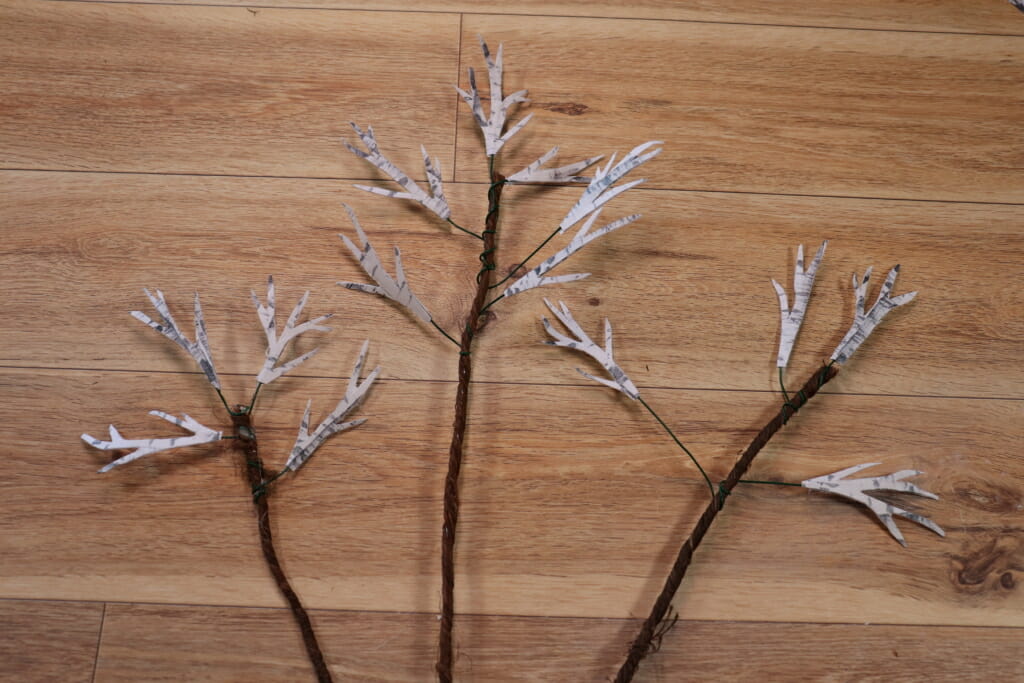
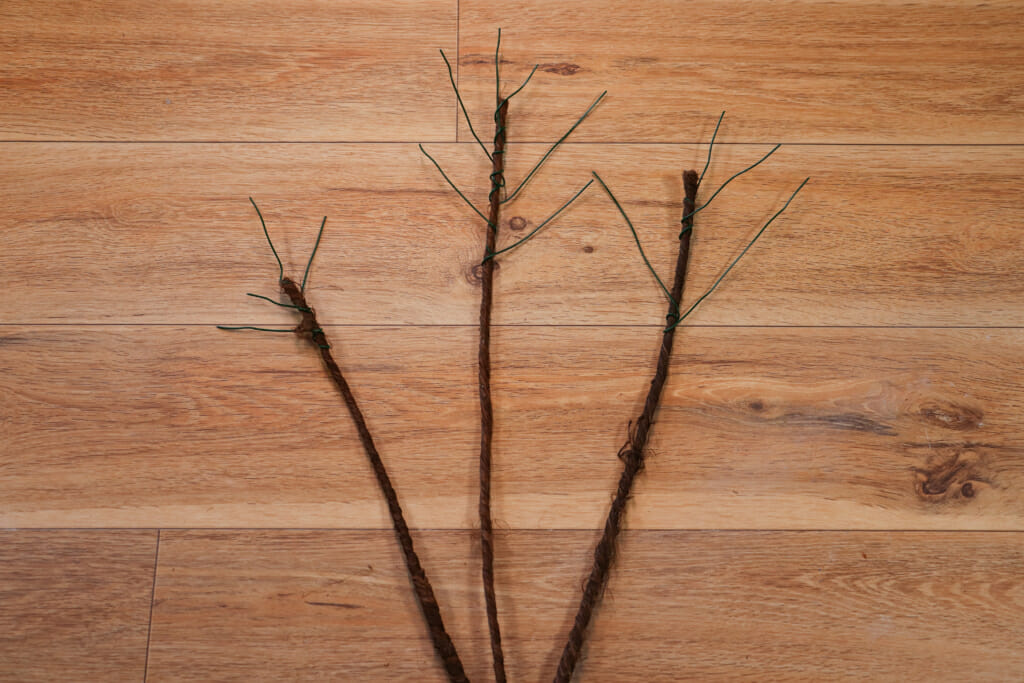
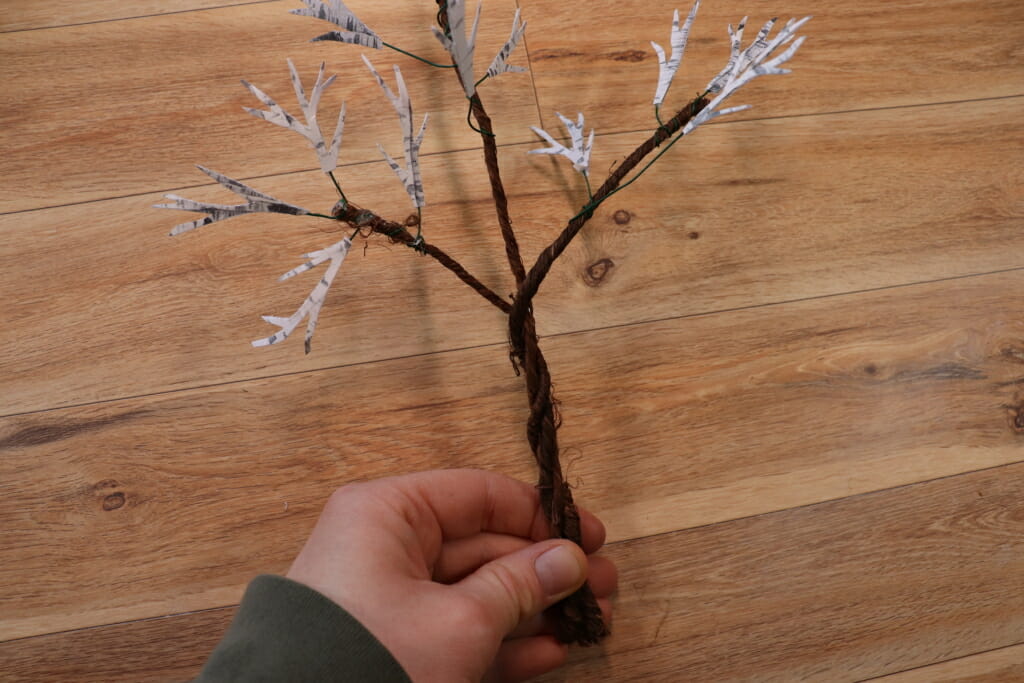
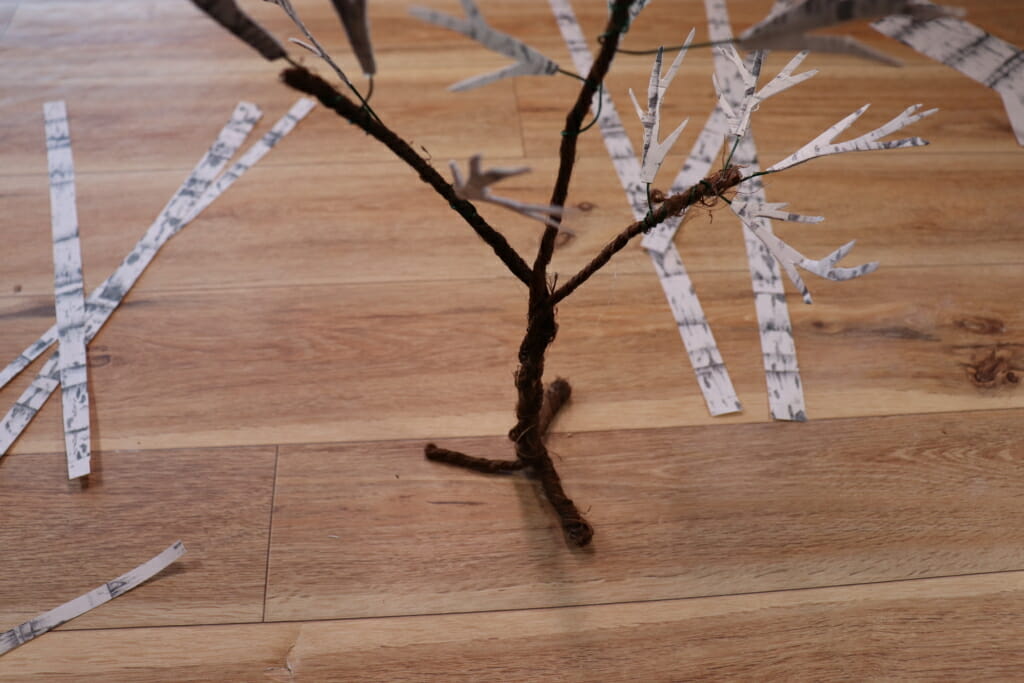
I then took three branches and twisted the bottoms together to create the full tree shape. I tried to keep the shape looking 3 demensional with the branches come out at different angles.
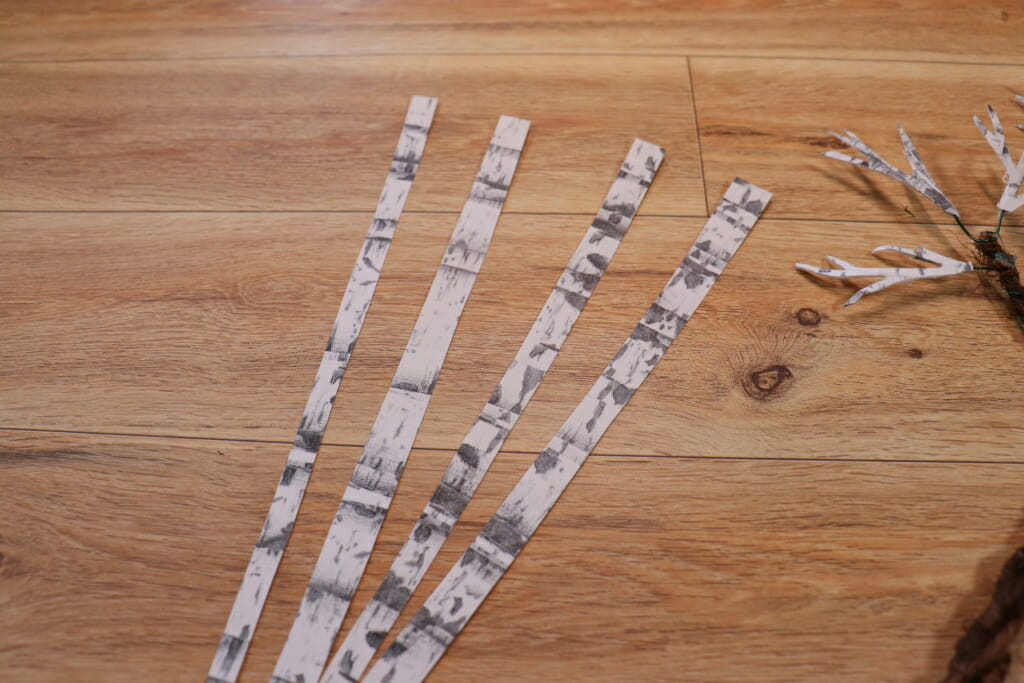
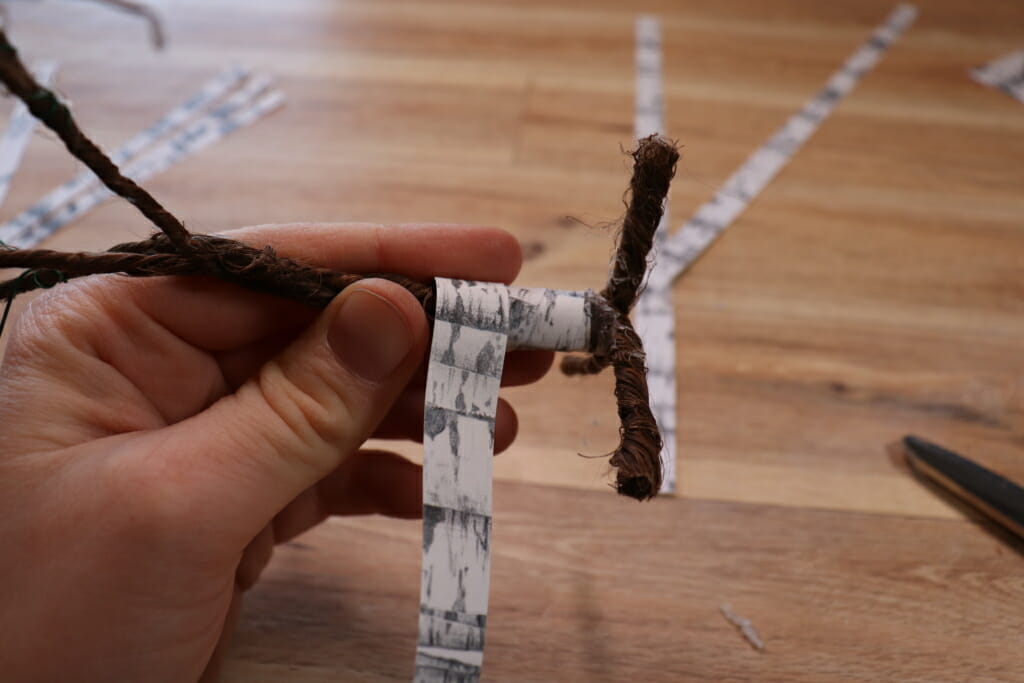
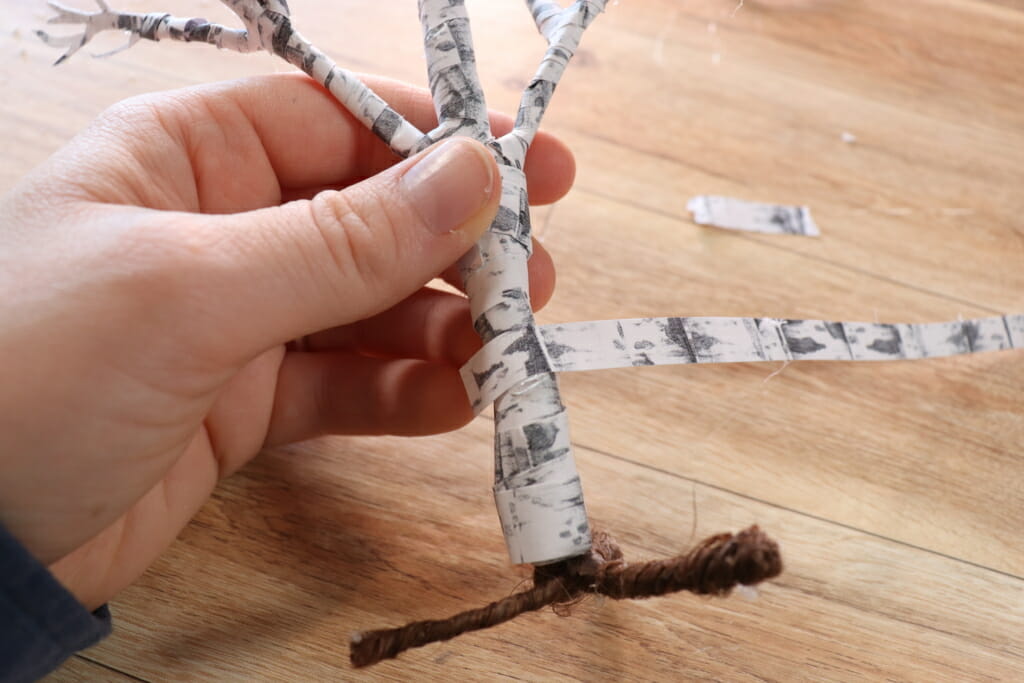
After that I cut strips of the birch paper about 1/4 inch wide, the exact measurement isn’t a big deal.
I then spread out the bottom of the tree to create short ‘roots’ so the tree would stand on its own and it would give a way of attaching the tree to the base later on.
After that I added a spot of hot glue to the base of the tree and attached a paper strip to it.
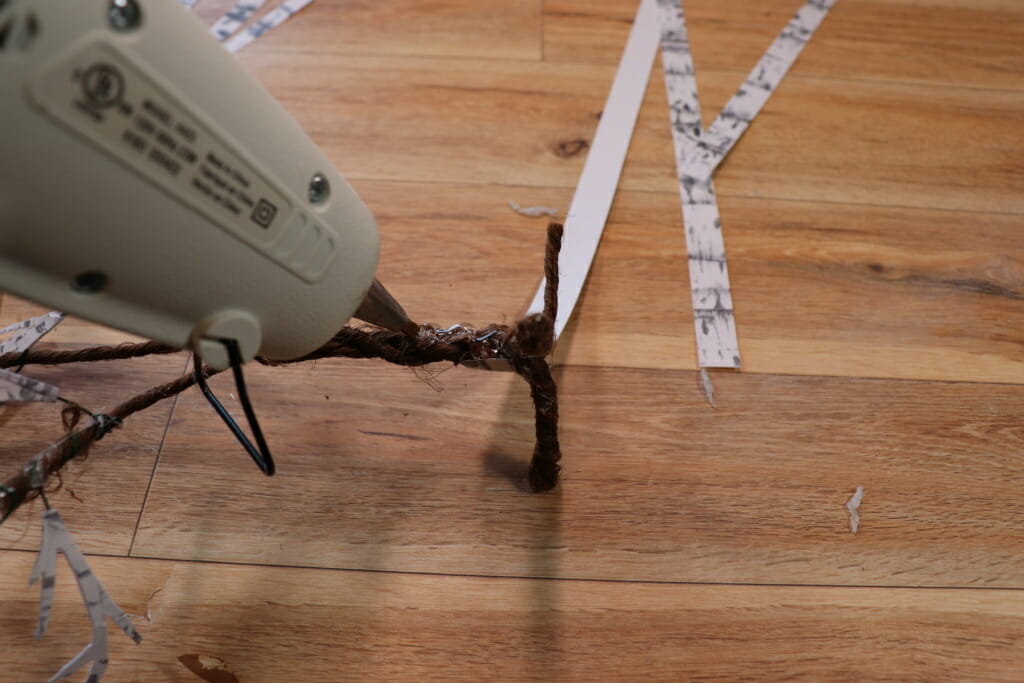
It should go without saying, but be careful during these steps because the hot glue, is, well, hot! lol Anyways, continue adding hot glue and winding the paper around the trunk of the tree overlapping each round a little to hide the wire.
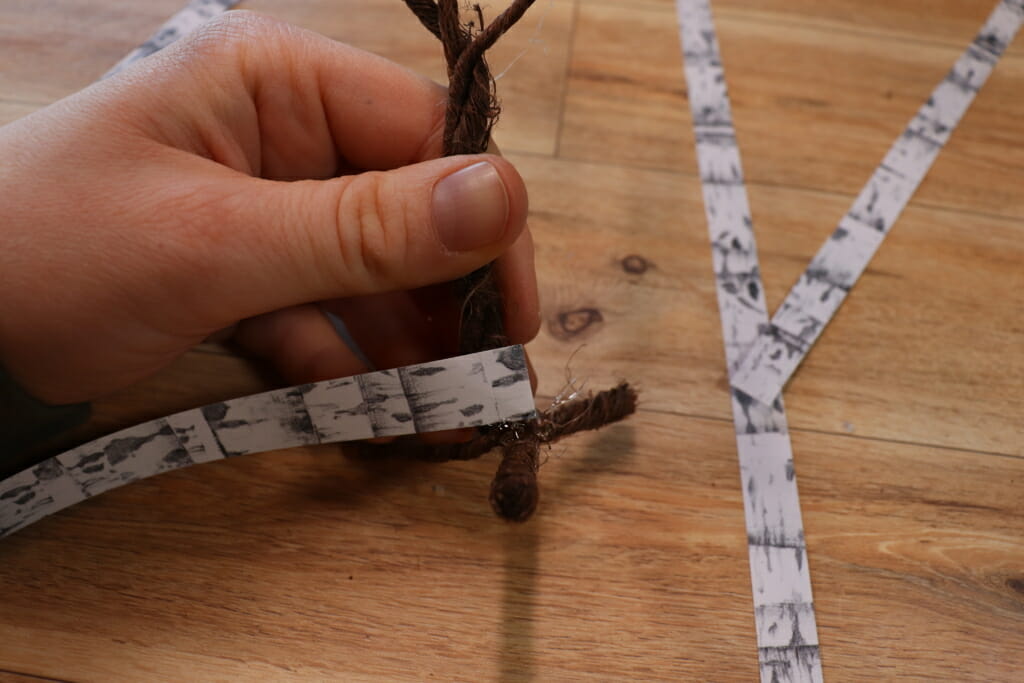
I found it easier to add the hot glue to the paper strip and then wrap it around but experiment what works best for you.
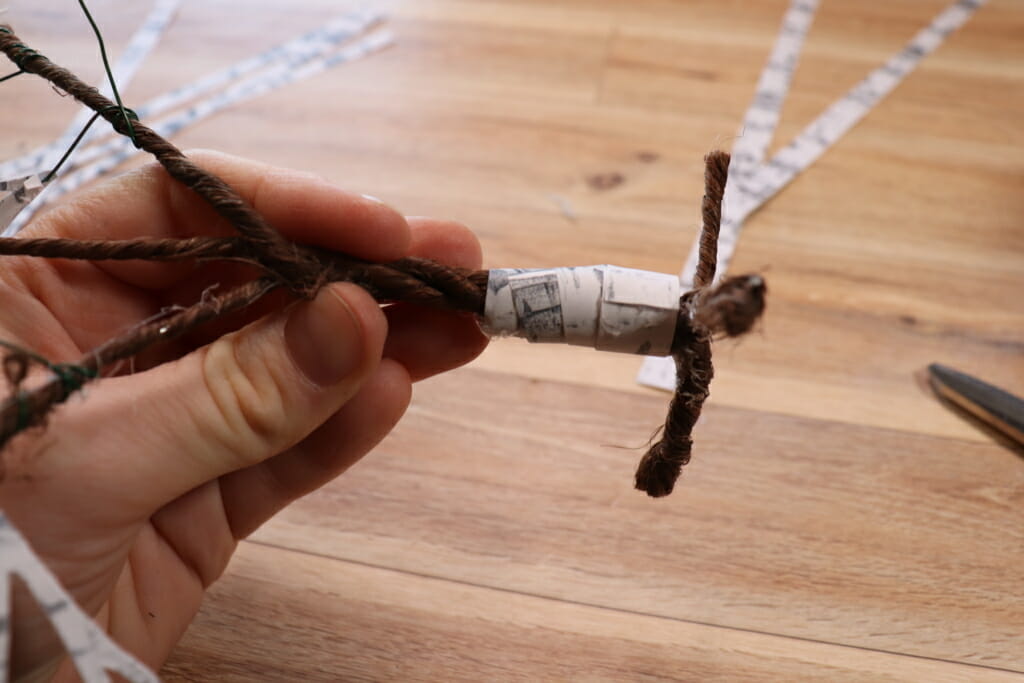
I wrapped some extra paper around the base of my tree to make the trunk a little thicker, this is totally optional, but I thought it looked better this way. Next, continue the process of adding hot glue and winding the paper strips around and around the tree trunk until you get it all covered. As you go up and start working on the smaller branches you may need to cut thinner strips of paper to make it easier.
Keep on gluing and winding until you have all the wire covered.
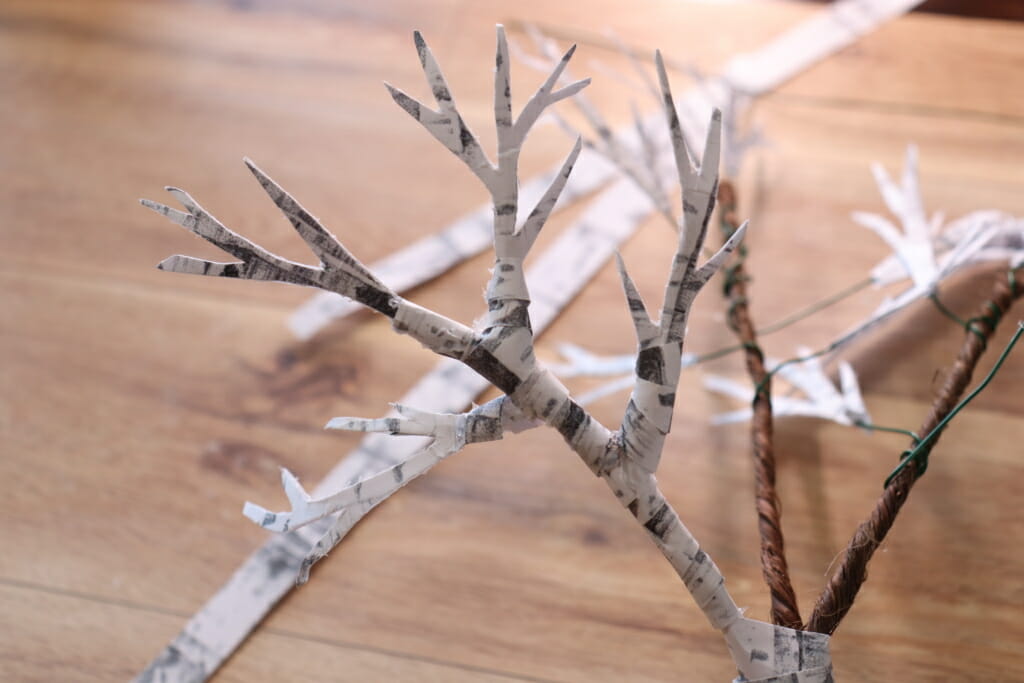
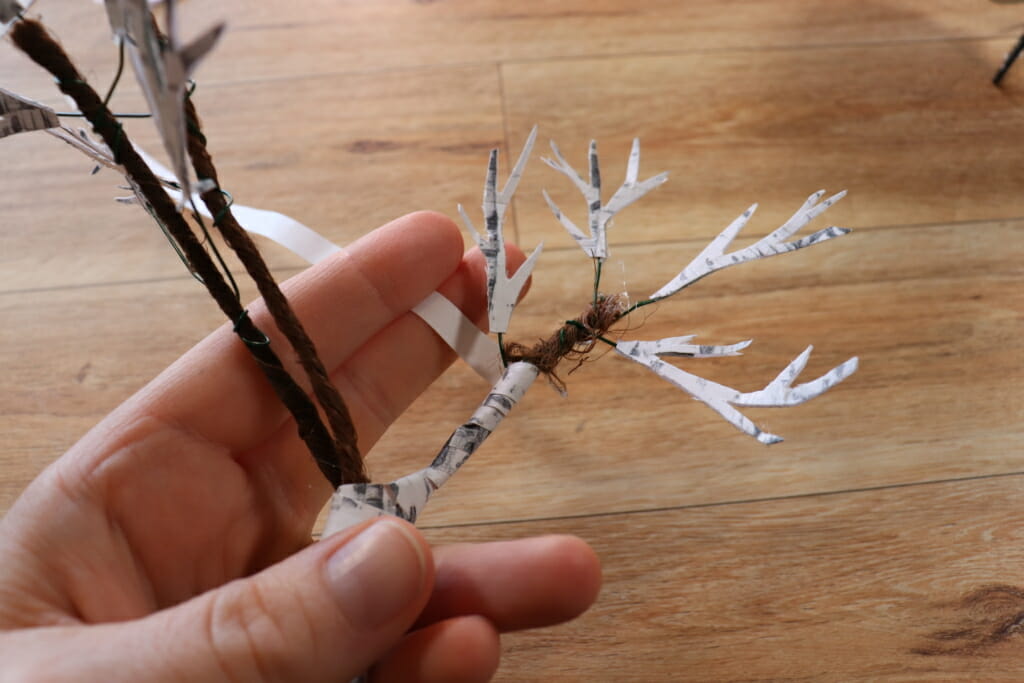
And do the same on all the other branches. If you find that a branch looks a little thin, you can always add a layer of hot glue, allow it to cool and then proceed with gluing and wrapping. My central branch was looking a little on the thin side so that is what I did to beef it up a little.
If there are any other areas that you aren’t happy with simply wrap more paper on top to smooth out the areas. I did this at some points on the trunk to make a smoother transition from the branches to the rest of the trunk.
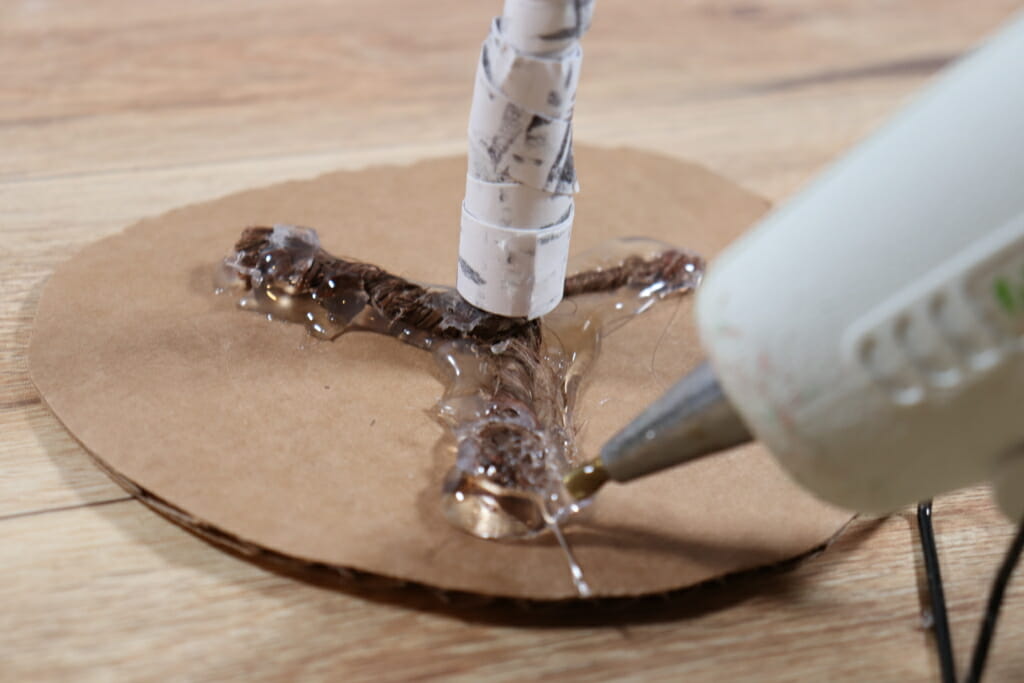
I cut a roundish shape from corrugated cardboard for the base to hold my tree and attached the tree with more hot glue.

I squeezed on more hot glue and attached my fluffy buffalo snow to the base.

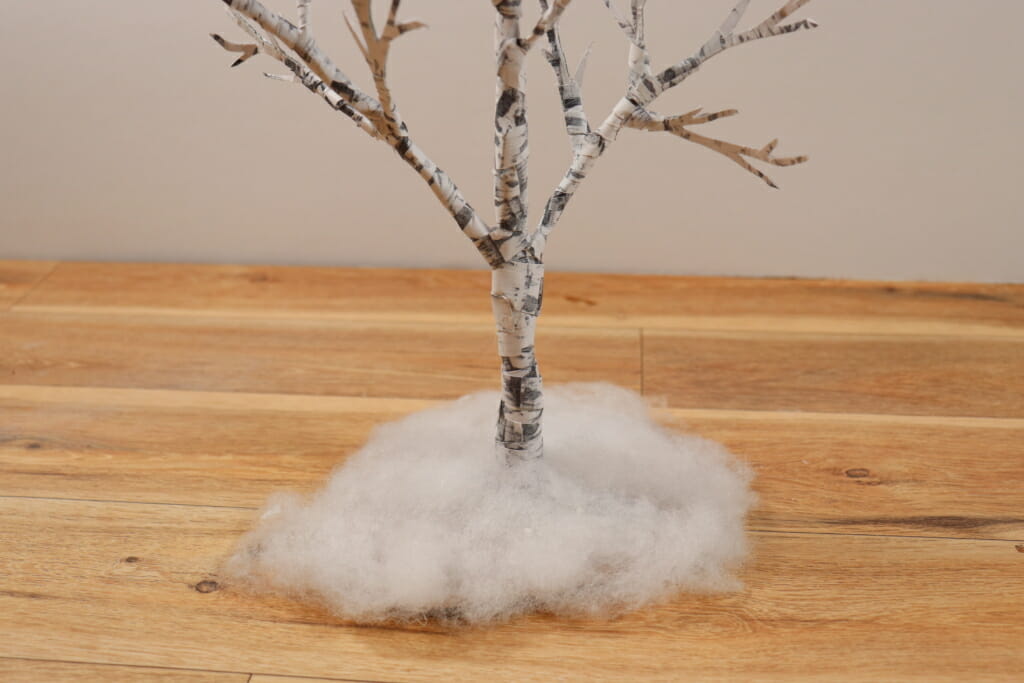
And with that done it is ready to be added into your decorative scene!
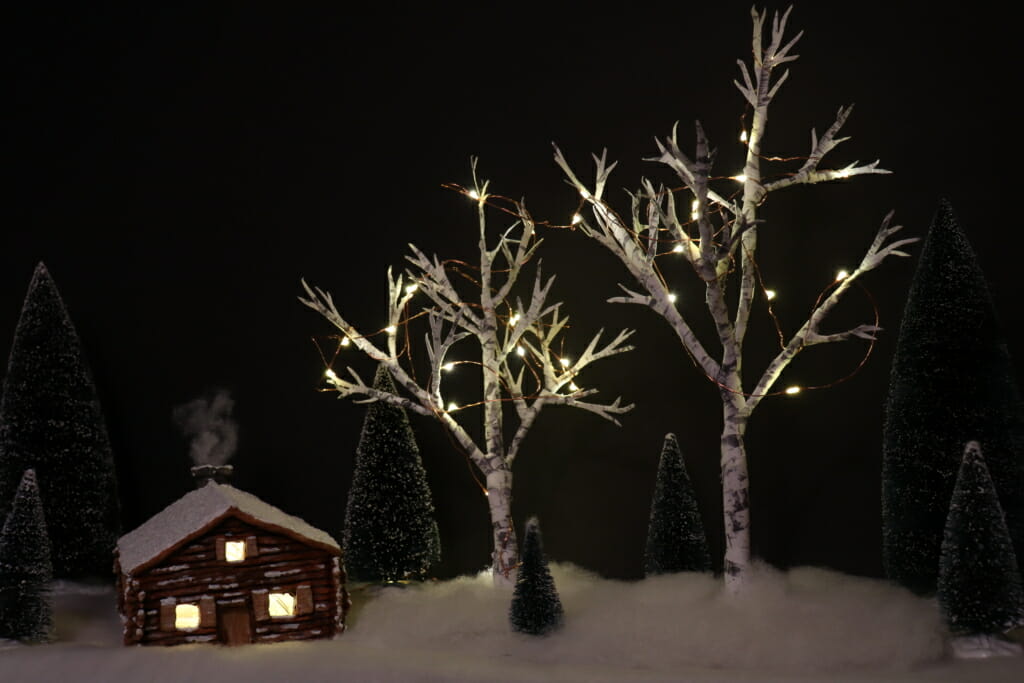
This was a fun satisfying craft to break out of the winter monotony! I love seeing them wrapped with twinkle lights! So cozy! Hope you enjoyed this post and perhaps will give them a try yourself!
- Written By Danielle D.